

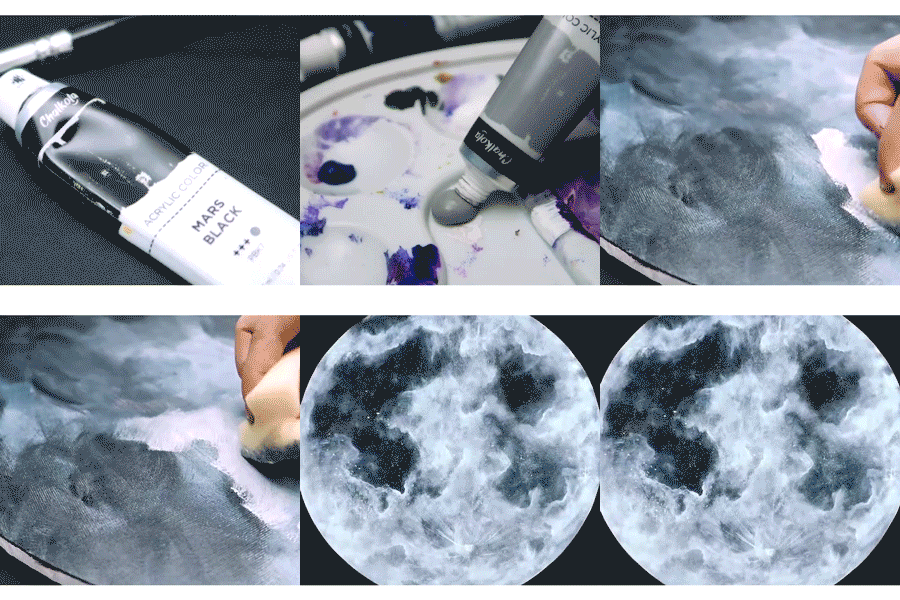



Ever wondered how Vincent van Gogh's famous masterpiece The Starry Night (1889) continues to appear 'vibrant, alive, and moving' even after a century has passed since its creation? You can chalk it up to his brilliance and the impasto painting technique, a method he used in a number of his artworks. Impasto has been around since the 17th century, when Baroque painters such as Rembrandt, Frans Hals, and Diego Velazquez used this technique to depict creased and wrinkled skin or the sparkle of crafted armor, jewelry, and rich fabrics in their paintings. Fast forward to today, impasto is still very much used by all kinds of artists, whether for hyper realistic paintings or abstract pieces.
The 4 Chalkola supplies you need for impasto
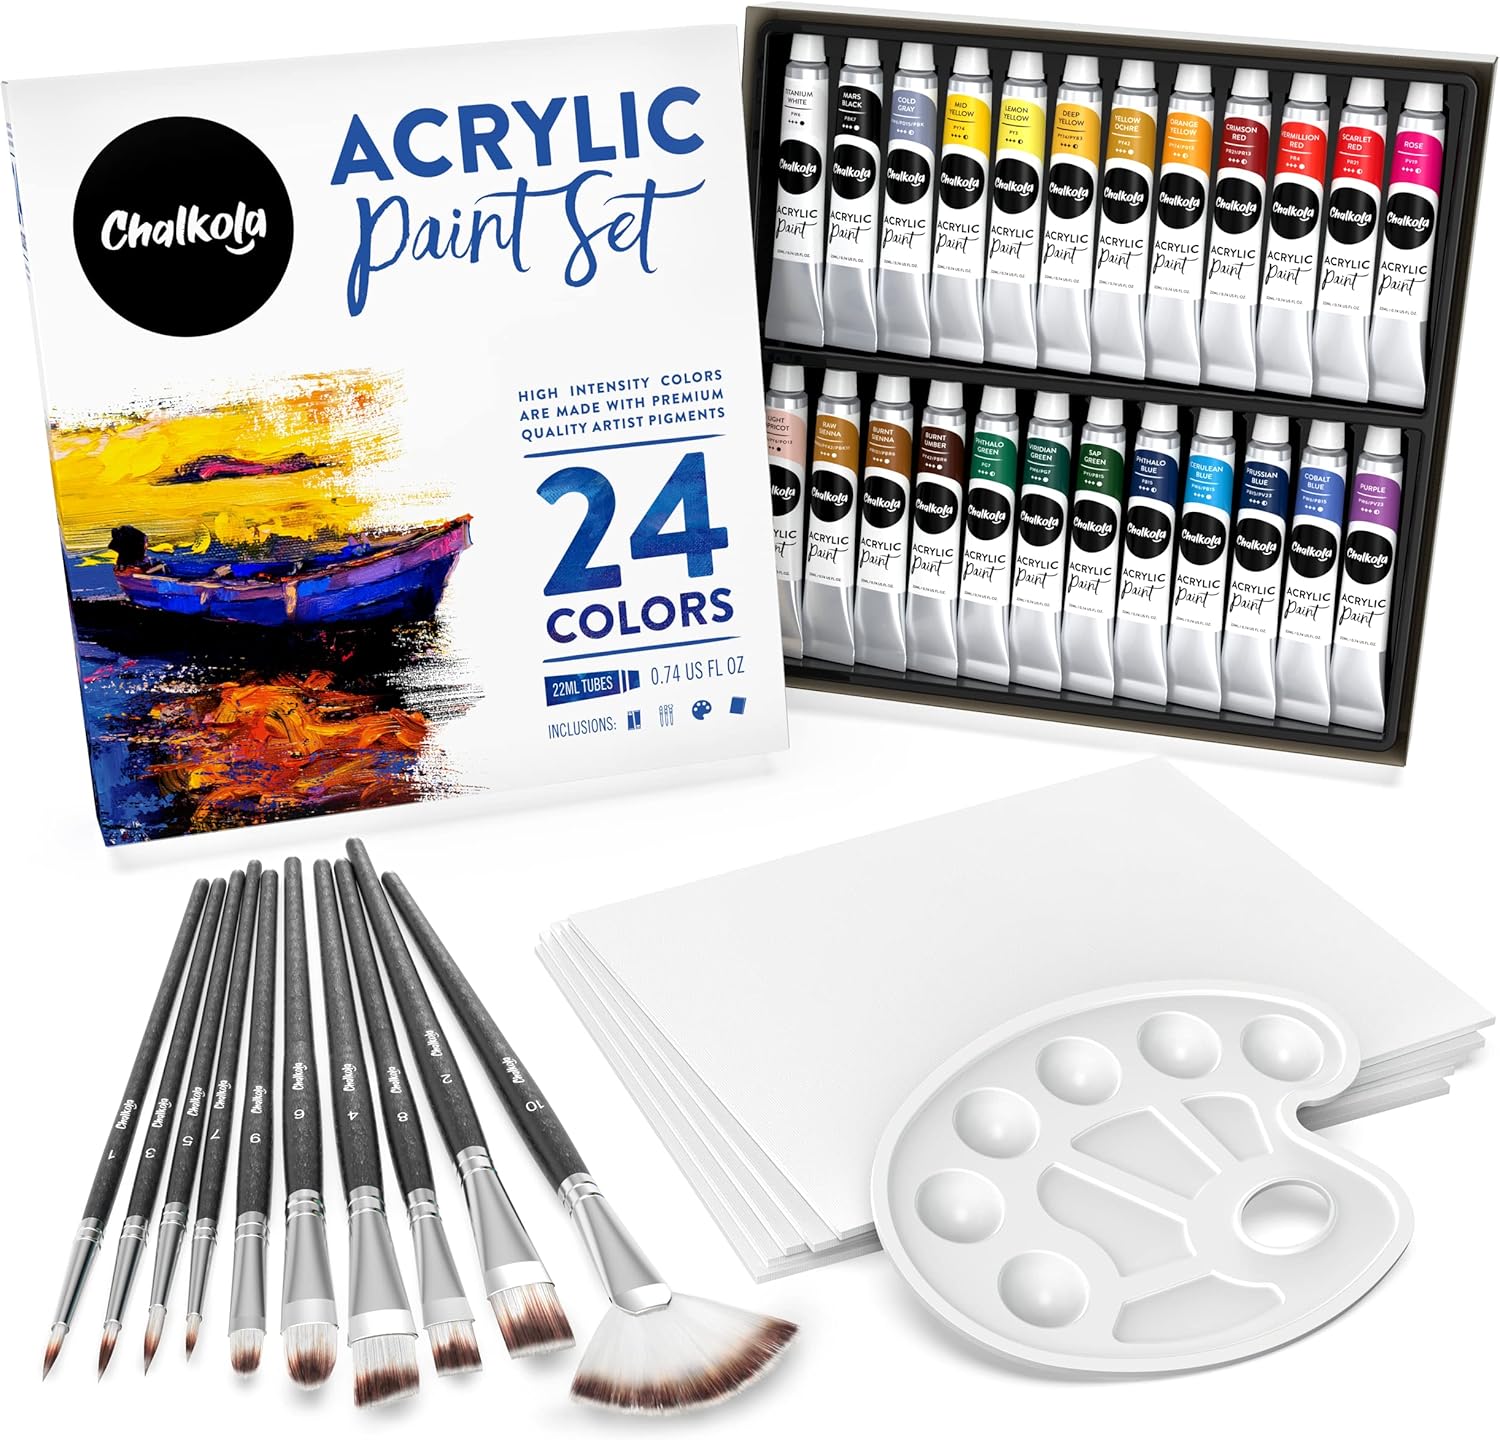
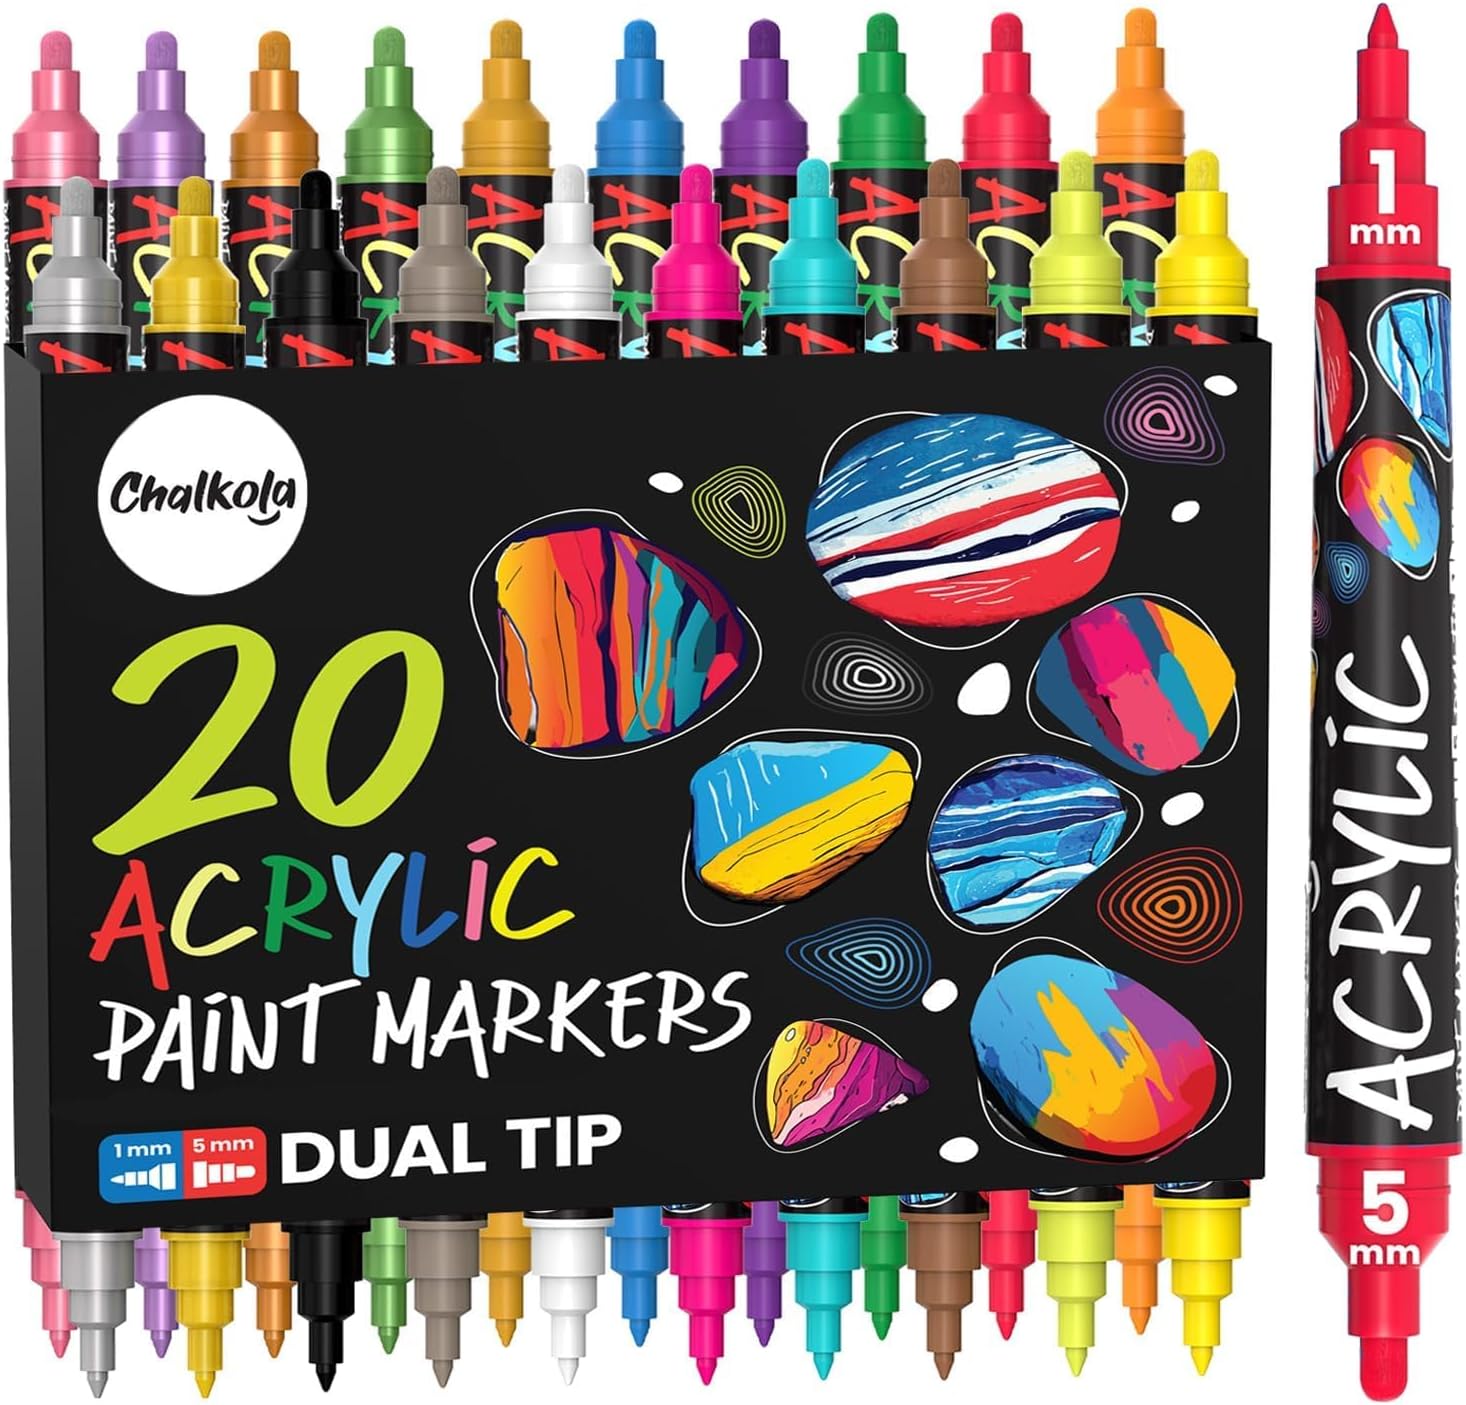
Heavy-body acrylic paint, sturdy canvas panels, and paint markers for fine details. Pick the kit that matches your goal.
What is Impasto Painting?
Impasto is a painting technique where paint is applied on an area of the canvas in thick layers, usually thick enough that the brush or painting knife strokes are visible. The paint can also be mixed straight on the canvas. When dry, impasto provides texture, depth, and dimension, as if the painted artwork is sticking out of the canvas — adding a sense of movement and emotion to the piece.
You can use oil paint and acrylic paint for impasto because of their thick consistency and slower drying time. Watercolor and tempera aren't recommended for this method, unless you use a thickening agent to achieve a richer consistency.
Impasto in art history: 4 artists to study
Impasto (Italian for “dough” or “paste”) has carried some of the most famous textures in art history. Studying how the masters used thick paint is the fastest shortcut to better impasto instincts:
- Vincent van Gogh — the swirling skies of The Starry Night are ridges of nearly unmixed paint laid wet-on-wet with loaded brushes.
- Rembrandt van Rijn — used impasto selectively, building thick highlights on jewelry and fabric so candlelight literally catches the ridges.
- Claude Monet — his late water-lily panels stack broken impasto strokes that read as water only at viewing distance.
- Contemporary palette-knife painters — modern landscape artists build entire canvases from knife-only strokes, proving you don't need brushes at all.
Every effect they achieved with slow-drying oils, you can get faster with heavy-body acrylics and a knife — the techniques below show how.
Is Impasto Painting Hard?
With the right tools, definitely not. Impasto actually allows you more freedom and flexibility to experiment with strokes, dabs, and movement to achieve a textured and layered application. The more visible the strokes, the livelier your artwork. You just have to find the right mediums that suit your style. Some prefer using brushes whereas others prefer using a painting knife. With practice, you'll soon figure out what works for you.
Today, we're going to show you how to do impasto painting using Chalkola Acrylic Paint. Compared to oil paint, Chalkola acrylics are non-toxic, odorless, and water-based, making them easier to use and clean. They also work well on virtually any surface, so you're not limited to using just canvas. You can paint on ceramics, smooth rocks, paper, clay, wood, fabric, leather, and more. Simply put, acrylic paint is the most versatile and convenient paint medium that allows you to achieve varying results depending on how you blend or apply it.
Materials You'll Need
To get started on our impasto painting, you'll need the following materials:
- Chalkola Acrylic Paint
- Chalkola Canvas Panel
- Paint palette
- Flat brush (no. 12)
- Palette knives
- Impasto gel
7 impasto techniques to master
The original tutorial below uses one method (palette knife with impasto gel). These are the seven techniques every impasto painter should know — pick one per painting, or combine for variety.

Palette knife — broad strokes
The classic impasto tool. Hold the knife at a 30° angle and drag thick paint across the canvas in single confident strokes.
Pro tip: Don't drag back and forth — one swipe each direction. Repeated swipes mix the layer below into the new pour and lose definition.

Stiff flat brush — directional bristles
A no. 8 to no. 12 flat brush with stiff hog or synthetic bristles leaves visible directional ridges. Best for moving paint along stems, leaves, and hair.
Pro tip: Press hard. Soft brushes flatten the paint; you want bristle marks visible after the stroke. Wipe between colours with a dry rag, not water.

Palette-knife dabs — pointillist peaks
Tap the tip of a small palette knife straight into the canvas, lift, repeat. Builds a field of small textured peaks — ideal for foliage, snow, fields.
Pro tip: Vary pressure for different peak heights. A field of identical dabs reads as wallpaper; varied dabs read as nature.

Direct from the tube
Squeeze paint straight onto the canvas in lines or dots — no brush at all. Heavy-body acrylics and oils hold their shape for hours.
Pro tip: Best for small accent shapes — flower stamens, flame edges, jewellery sparkles — where you want a perfect glossy droplet.

Mix on the canvas
Drop two colours next to each other on the wet canvas, then drag your knife or brush across the boundary. The colours blend in-place into a textured gradient.
Pro tip: Don't over-blend or you'll lose both colours into mud. 2-3 passes maximum, then walk away while it dries.

Impasto gel + paint
1:1 mix of impasto gel and acrylic paint creates the same thickness with less pigment — colour stays bright, peaks hold for weeks.
Pro tip: Mix on your palette, not on the canvas. Gel + paint mixed mid-stroke goes streaky.

Layered build-up
Apply a thin under-wash, let it dry overnight, then build thick impasto layers on top. The dry under-wash gives the impasto something rigid to grip.
Pro tip: If you skip the under-wash, heavy impasto on a wet base sinks and cracks. The dry layer is the secret to peaks that survive.
Step-by-Step Impasto Painting Tutorial
Watch now and start painting like a pro!
-
Lay out and prep your sky
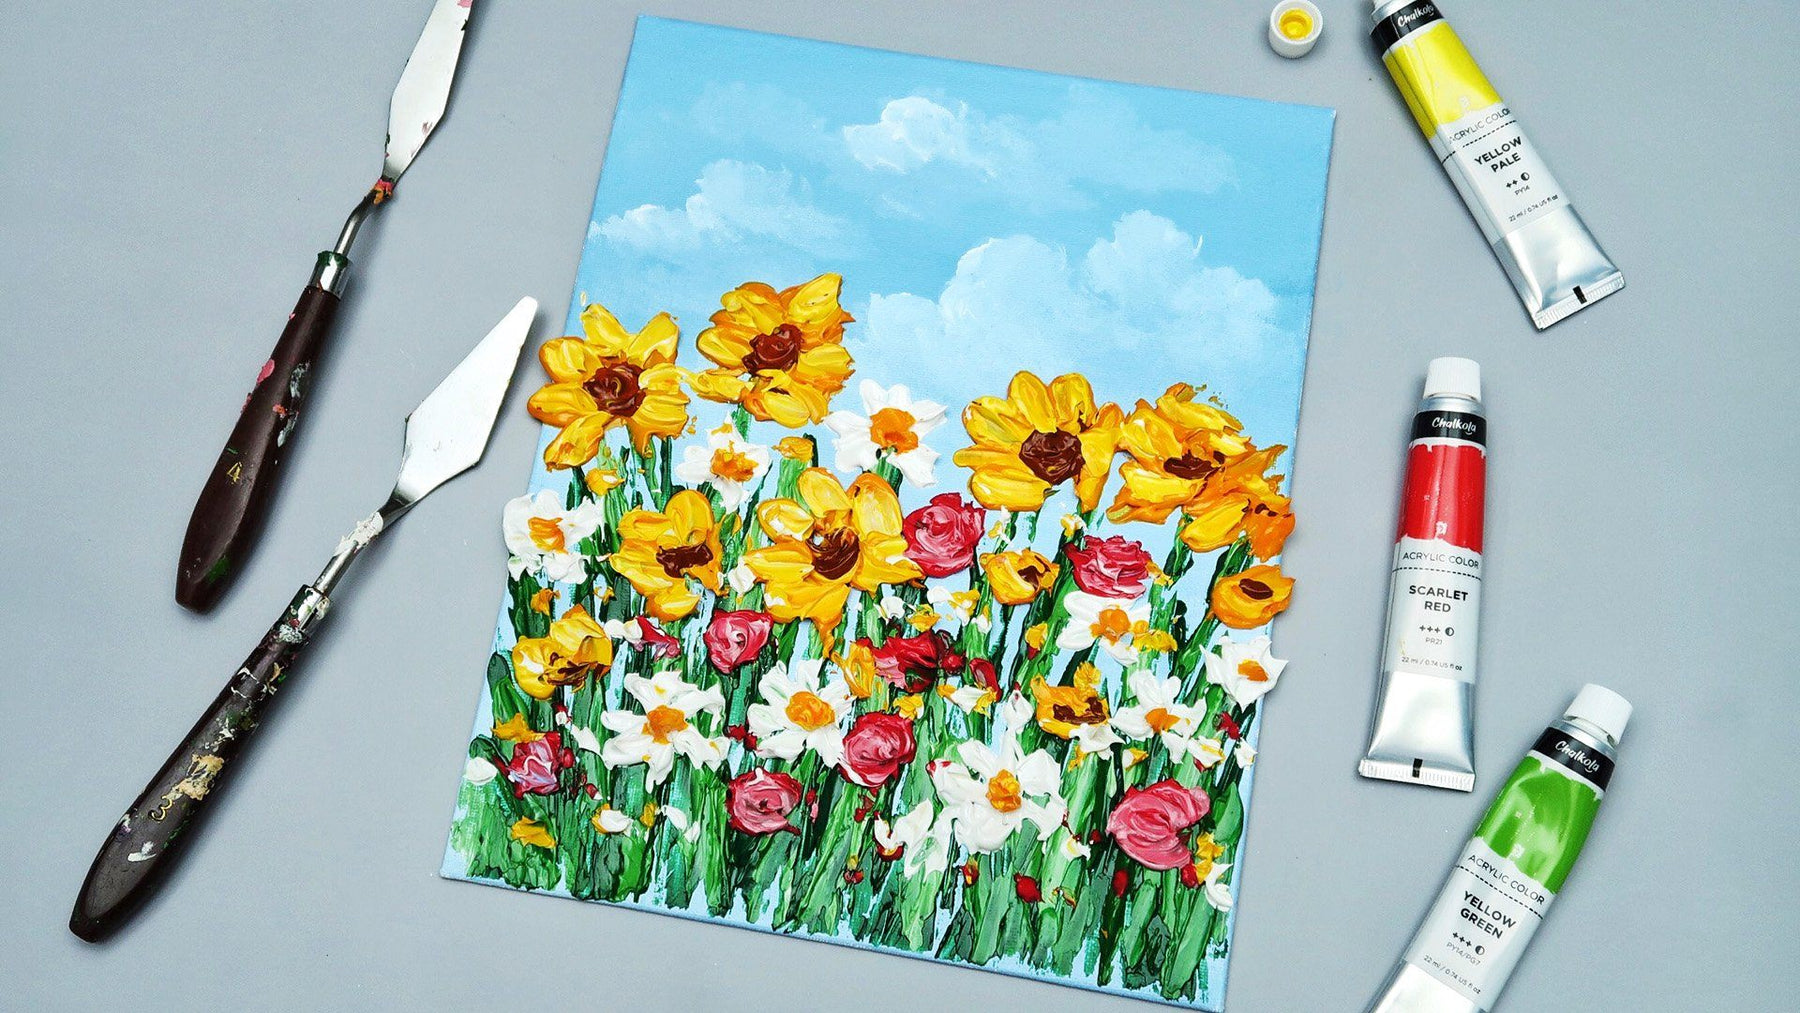
Lay out your materials. Using your flat brush, paint your canvas sky blue. Once you've covered the whole surface, paint soft clouds at the top part.
-
Mix Olive Green + impasto gel
On your paint palette, mix an equal amount of Olive Green and impasto gel to produce a creamy and thick texture.
-
Lay the flower stems with a palette knife
With your palette knife, pick up some of that mixed Olive Green paint and apply it on your canvas in a downward motion to create the flower stems. Repeat this motion until you fill up the bottom part of the canvas with stems.
-
Layer with Yellow Green
Next, mix Yellow Green with impasto gel, and then apply it on the stems to add layers.
-
Build the flower heads
Then, pick your preferred yellow shade for the flowers, add impasto gel, and start applying it on top of the stems. Don't be afraid to paint over the edge of the canvas — this will actually make your artwork look more textured and two-dimensional!
-
Add a chorus of colours
Add flowers in different colours like white, lilac, pink, or red, or use all these colours together to make your artwork pop with vibrant hues.
Wasn't that easy? You've just created a beautiful impastoed masterpiece! If you want to explore more ideas on how to use acrylic paint with a palette knife, check out this tutorial on How to Create a Fall-Themed Acrylic Painting, and get inspired to try out different paint strokes and applications. Happy painting!
5 mistakes that ruin impasto paintings — and how to avoid each
Most impasto failures happen long before you put down a brush. Plan around these five and you'll save a lot of paint, canvas, and frustration.
Too much water in the paint
Symptom: peaks collapse and flatten as paint dries.
Fix: never thin acrylic with water for impasto. Use heavy-body tubes straight from the tube, or mix 1:1 with impasto gel. Water-thinned paint loses structure.
Varnishing before fully cured
Symptom: hairline cracks appear over peaks weeks later.
Fix: wait 2-6 weeks for thick acrylic impasto to cure (longer for peaks > 1 cm). Press the surface gently — if it dents, it's not cured. Oil impasto needs 6+ months.
Cheap canvas warps under thick paint
Symptom: the canvas bows outward or sags in the centre.
Fix: use a primed canvas panel (rigid backing) for paintings larger than 8×10. Stretched canvases need cross-bracing for impasto over 5 mm thick.
Working back and forth in one stroke
Symptom: the layer below mixes into the new layer and turns muddy.
Fix: one swipe per stroke. Lift the knife or brush, reload, place again. Repeated drags blend, and impasto's whole point is unblended layers.
No dry under-wash
Symptom: heavy peaks crack, sink, or peel after a week.
Fix: always lay a thin acrylic under-wash and let it dry overnight before building thick layers. The dry layer gives impasto a rigid surface to grip.
Loved by makers
5,492 Amazon ratings · 4.7★ average
Every technique above works best with the right Chalkola kit. Here's what real customers say.
★★★★★
"This was a great paint set. I bought it for myself and a friend to paint ceramics."
KC Kara C.
Verified Purchase · Chalkola 56-Piece Acrylic Paint Set · Amazon review, Jun 2026
"Love this i buy my kids other things for any gifts. They love to paint a few times a month we paint in the winters here in Alaska" — Wolverine · Chalkola 20 Canvas Panels · Verified Purchase
"Love these markers! Beautiful colors and easy to use. So far we used them to draw a beautiful pic on a clay pot for a mini cactus. So much fun! You can use these markers on just about anything! I would buy these again!" — Ellen R. · Chalkola 20 Dual Tip Acrylic Paint Markers · Verified Purchase
"I painted tires with these and they worked great, the paint stayed vibrant in my garden for over a year" — My S. · Chalkola 15mm Jumbo Acrylic Paint Markers · Verified Purchase
"Vivid colours, easy to apply. I tried them on rocks and ceramic tiles and the results are great! Quick to dry as well." — Amazon customer · Chalkola 20 Oil Paint Pens · Verified Purchase
Related Chalkola Guides
Frequently asked questions
Impasto is a painting technique where thick paint is applied to the canvas so it stands out from the surface, often leaving visible brush or palette-knife marks. Van Gogh used impasto heavily in his post-1888 work. The 3D texture catches light and creates depth photographs can't fully capture.
Yes, but body acrylics thin out as they dry and lose peaks. Mix in an acrylic heavy-body medium or an impasto gel (1:1 ratio) to hold texture permanently. Heavy-body or professional-grade tubes also work straight from the tube if applied thickly enough.
A medium-flex palette knife (2–3 inch), stiff-bristle hog or synthetic flat brushes, heavy-body acrylic paints, impasto gel or heavy gel medium, and a primed canvas or canvas panel rated for weight. Painting knives in three sizes give better control than brushes alone.
Thick impasto can take 24–72 hours to surface-dry and up to 2 weeks to fully cure throughout. Peaks over 1 cm may skin over while the core stays wet for a month. Never varnish until fully cured or the surface will crack as the interior finishes drying.
Cracking happens when the surface skins faster than the interior dries. Fix it with an impasto gel that retains moisture evenly, apply in layers rather than one thick pour, and dry in low-humidity airflow. Always cure fully before varnishing or sealing.
Yes — impasto is actually beginner-friendly. Thick paint forgives rough drawing, and the palette knife removes the stress of brush control. Start with a monochrome study: paint a moon or a single fruit using only white and one tone, and focus on texture, not precision.
The biggest drawback is curing time. Thick impasto layers can take 2–6 weeks to fully cure (acrylic) or 6–12 months (oil) before you can safely varnish or transport the painting. Other trade-offs: impasto uses 3–5× more paint than flat painting, so it costs more in materials; tall peaks are fragile and can chip if a finished painting is mishandled or shipped; and the surface holds dust, so framed impasto needs a deep glass-spacer frame. None of these are deal-breakers — they're just things to plan for from the start of the painting.
The cleanest method is mixing 1:1 with an impasto gel or heavy gel medium — both are transparent so they hold the paint colour while bulking up the body. For a thicker, more opaque texture use molding paste or texture paste (white) — great for white peaks, but it shifts the colour. Heavy-body acrylics from the tube already have impasto-ready consistency; if your paint is too soft, switch tube grade before adding gel. Avoid household thickeners (cornstarch, flour) — they're not archival and the painting will yellow within a year.
Impasto gel (sometimes labelled 'heavy gel medium') is the standard. It's transparent, holds peaks for weeks, dries without cracking, and accepts varnish once cured. Choose gloss for vibrant colour, matte for muted, semi-gloss as the middle ground. Light molding paste is a lighter alternative — looks identical but uses less paint per stroke (good for very large impasto canvases where weight matters). Avoid generic 'gloss medium' — it's a thinner, not a thickener.