
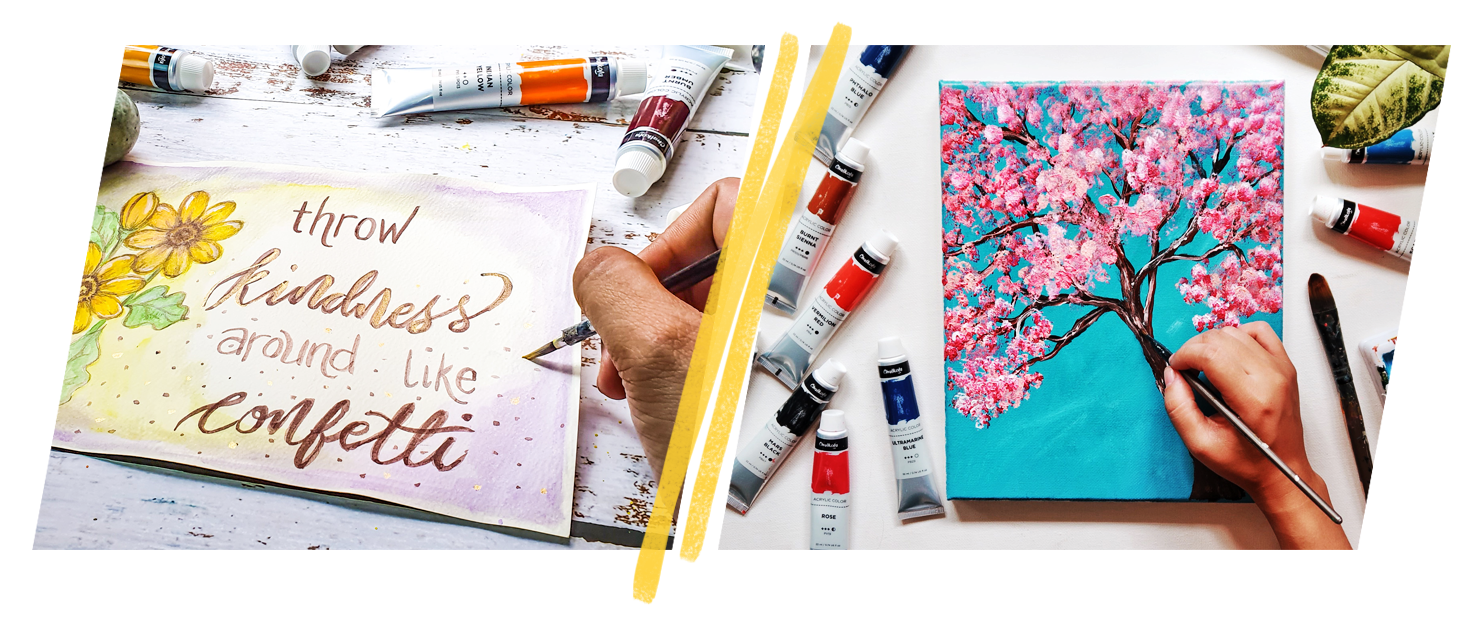
How to Paint with Acrylics
A beginner-friendly 7-step process from canvas prep to final varnish. Your first acrylic painting, demystified.
Prepare your workspace
Set up on a clean, flat surface with good lighting. You need:
- Canvas or panel on an easel (or flat on the table for beginners)
- A palette — wood, plastic, or disposable paper palette
- Two cups of water — one to clean brushes, one clean for diluting paint
- Paper towels or rags
- A plastic tablecloth or drop cloth under everything
Wear clothes you don't mind staining. Acrylic comes off skin with soap and water, but dried acrylic on clothes is permanent.
Sketch your composition
Lightly sketch your main shapes on the canvas with pencil or diluted paint. Keep it loose — pencil lines will be covered by paint. Focus on composition:
- Rule of thirds — place focal points where grid lines intersect
- Simple values — identify your darkest darks and lightest lights before adding color
- Keep it simple — for your first painting, 3–5 main shapes is plenty
Block in background to foreground
Paint the large, flat areas first. Background → middle ground → foreground. This approach lets you:
- Establish overall color mood quickly
- Avoid accidentally painting background behind fine foreground details
- Build a sense of space early (cool, muted for distance; warm, saturated for close-up)
Thin your paint with a small amount of water for the first layer — it adheres better and dries faster.
Add layers and detail
Let each layer dry (15–20 minutes) before painting over it. Work from:
- Thin to thick — start with diluted washes, build to thicker, more textured applications
- Dark to light — easier to paint light colors over dark than the other way around
- Large to small — big shapes first, fine details last
Blending and color mixing
Acrylics dry fast, which makes blending a learned skill. Three techniques:
- Wet-on-wet — work quickly, blend two wet colors together with a soft brush or sponge
- Mist with water — a spray bottle keeps paint on your palette and canvas workable longer
- Glazing medium — extends open time and lets you blend like oil paint
Finishing touches and signature
Step back. Spend 10 minutes looking at the painting from across the room. Add final accents only where needed:
- Highest lights (white, cream, light yellow) on edges catching light
- Deepest shadows (dioxazine purple or burnt umber — not black) in cast shadows
- Sharp details last — eyes, text, key geometric lines
Sign the painting once dry. Bottom corner, restrained size, in a color that doesn't compete with the composition.
Varnish for protection
Wait 24 hours for the final layer to fully cure, then apply a clear acrylic varnish. Varnishing:
- Evens out the sheen (acrylic dries unevenly — matte in some spots, glossy in others)
- Protects from UV, dust, and humidity
- Allows cleaning with a damp cloth in the future
Spray varnish or brush-on, matte or satin or gloss — painter's choice. Two thin coats are better than one thick coat.
Frequently asked questions
Do you wet your brush before using acrylic paint?
Yes — a barely-damp brush gives the smoothest application. Dip your clean brush in water, tap off excess on a paper towel until it's damp but not dripping, then load with paint. A fully dry brush drags paint and streaks; a soaking brush over-thins the first stroke and creates uneven coverage.
In what order should you paint acrylics?
Background to foreground, large to small, thin to thick, dark to light. Paint the sky or distant elements first, middle ground second, close objects last. Lay thin washes before opaque layers. Block in darker values before adding highlights. This order keeps foreground details crisp and prevents muddying.
How do you seal acrylic paint for outdoor use?
Wait 24 hours for full cure, then apply two thin coats of UV-rated exterior acrylic varnish (matte, satin, or gloss spray or brush-on). Let each coat dry 2–4 hours. For extreme outdoor conditions, add a clear polyurethane topcoat. Indoor-rated varnish alone is not enough for sustained sun, rain, or temperature swings.
What are common mistakes in acrylic painting?
Five common beginner mistakes: (1) painting too thick on a first layer (cracking), (2) overworking wet paint past its open time (streaky mud), (3) not waiting for layers to dry (colours blend accidentally), (4) using too much water and losing binder integrity, (5) ignoring the background before painting foreground detail. Slow down, let layers dry, plan before you paint.
What do I need to start painting with acrylics?
Canvas or panel, a 32-color (or starter) acrylic set, 5 basic brushes (1 round, 2 flat, 2 filbert in varying sizes), a palette, two water cups, and paper towels. Budget $50–60 for all of it. A bundle like Chalkola's 32-paint + 15-canvas set covers most of it at $33.95 with free shipping across the USA.
How long does an acrylic painting take?
A small beginner piece (8×10 inches) takes 2–4 hours for a first-timer. Larger work (16×20+) can stretch across multiple sessions. Because acrylic dries fast, you can pick up and put down a painting repeatedly without losing the wet canvas — great for people with limited time per session.
How do I clean my brushes after acrylic painting?
Rinse immediately in lukewarm water while the paint is still wet — never let acrylic dry on bristles. Swirl in a brush cup, wipe on paper towel, and reshape the bristles before storing flat or bristles-up. For dried-on paint, use rubbing alcohol or a dedicated brush cleaner; soak 10 minutes, then gently work paint out with your fingers. Letting acrylic harden in a brush ruins it permanently.
Can I leave acrylic paint on my palette overnight?
Standard acrylic skins over within 30–60 minutes and is unusable by morning. Two save options: (1) cover the palette with cling film pressed flat against the paint to block air, then refrigerate — buys 12–24 hours; (2) use a stay-wet palette with a damp sponge layer under parchment paper, which keeps acrylic workable for 3–7 days. For multi-day projects, a stay-wet palette is worth the $15.
How do I know when an acrylic layer is dry enough to paint over?
Touch a corner with the back of your finger — if it feels cool, there's still moisture; if it feels room-temperature and the surface is smooth (not tacky), it's dry. Most thin layers dry in 15–20 minutes; impasto can take 1–2 hours on the surface and days to fully cure underneath. Painting over half-dry acrylic lifts the previous layer and creates muddy patches.
What's the best way to set up an acrylic painting workspace at home?
Five-minute setup: a flat table or easel with good natural light, two water cups (one for rinsing, one clean), a palette, a stack of paper towels, and a drop cloth or old sheet under your work area. Keep brushes upright in a jar within arm's reach. Acrylic doesn't need ventilation, so any room works — a corner of a kitchen table is plenty for an 8×10 piece.
Tools for your next project
Chalkola favorites — ready to ship.


