
New snacks on sale now for a limited time! Use code NEW for 15% off.
Chalkola How-ToChalk Markers · Tutorial
Updated Sep 2026 · 7 min read · Beginner-friendly
DIY Fall-Themed Decoration Using Chalk Markers
TL;DR
Fall chalk marker ideas: Start with the tutorial's wooden-coaster pumpkin cluster, then branch out: no-carve painted pumpkins with faces, dots or a gratitude message; a Thanksgiving menu on a chalkboard; falling leaves and acorns on a window; place cards lettered on slate tiles or smooth stones; and mini pumpkins strung into a garland. Chalk markers wipe off glass, ceramic and chalkboards, and stay put.
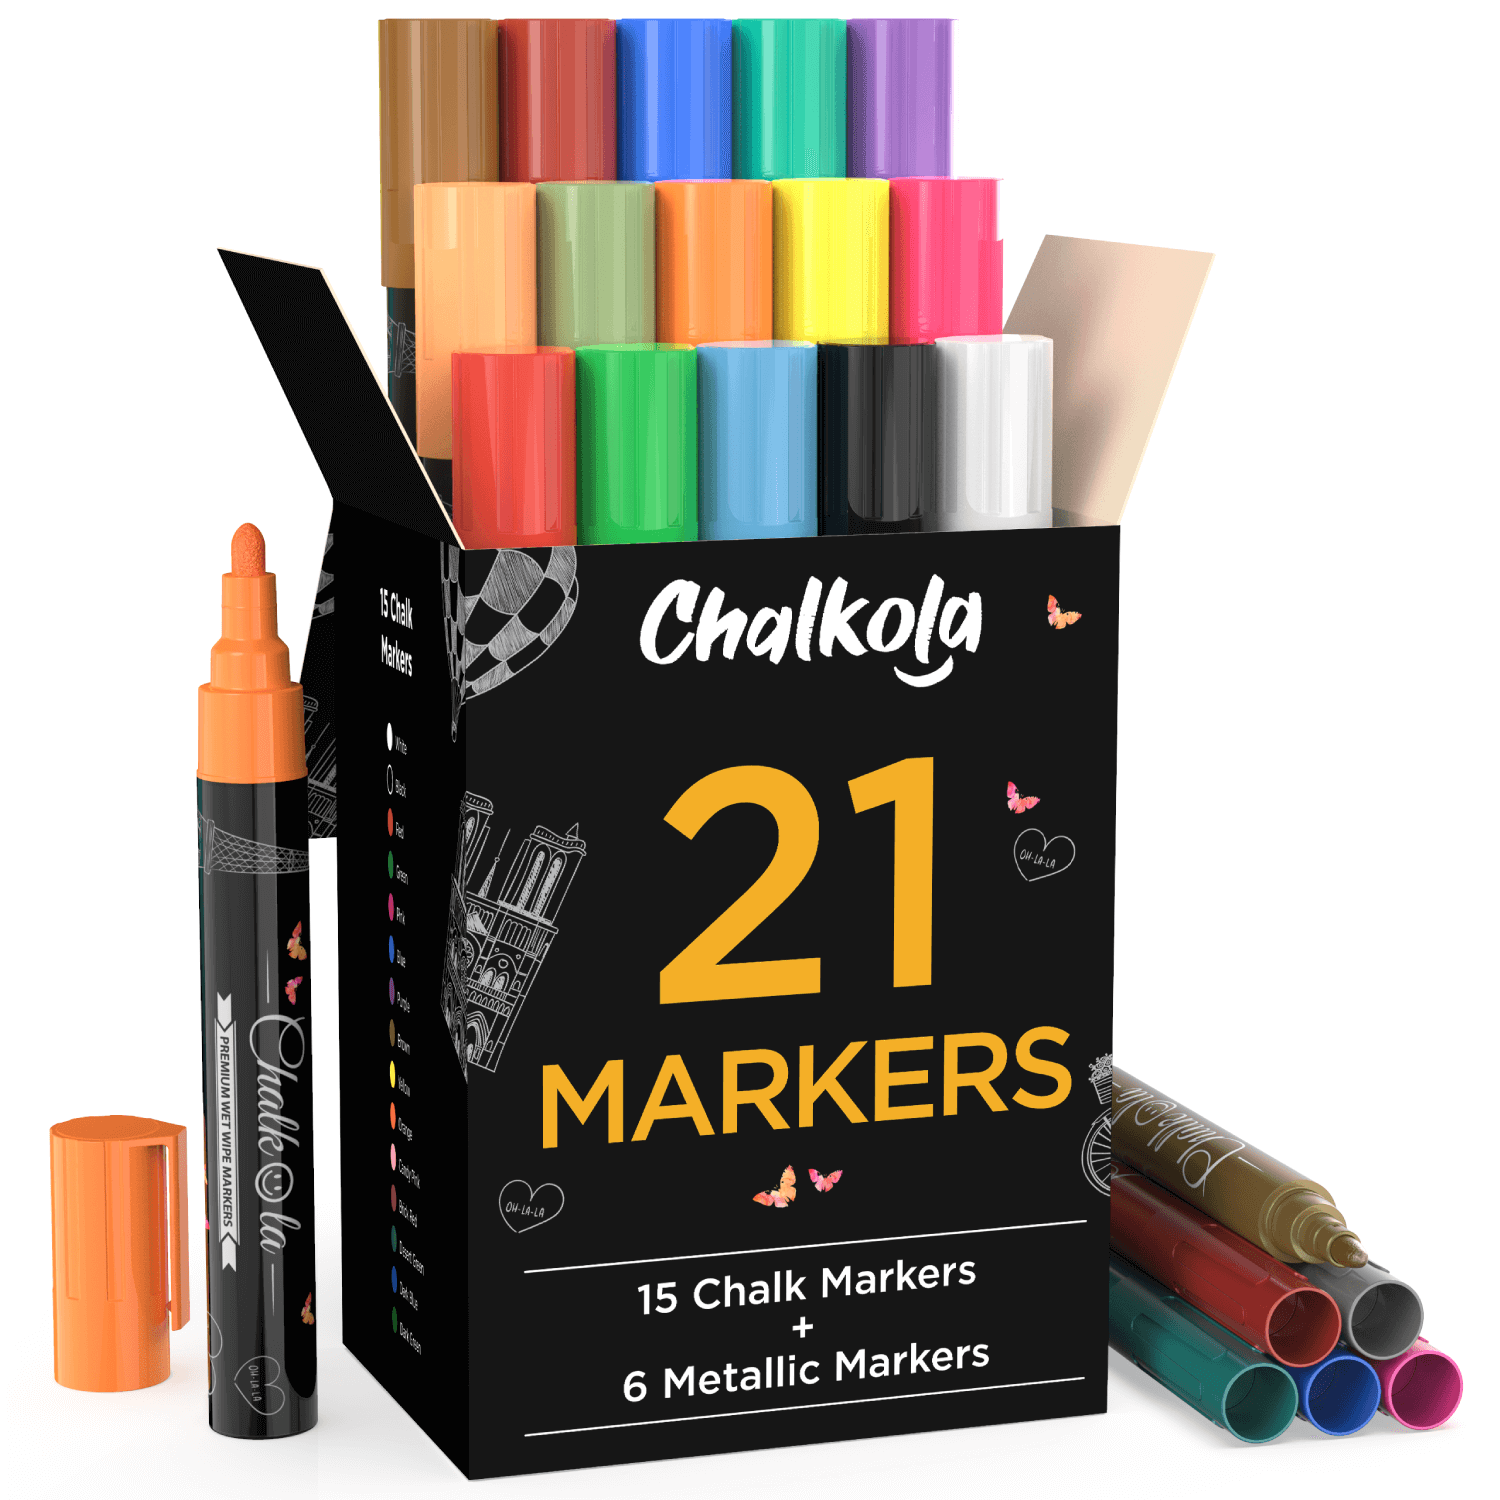
30 Colors — One pack containing all our Bright and Earth Chalk Markers. Use these Liquid chalk pens to decorate any Non-Porous surface including mirrors, shop storefront, whiteboard
Ultimate Freedom Of Expression — Chalkola’s liquid chalk markers are widely used for chalk lettering, to decorate wedding signs, milestone boards, menus, LED boards, contact paper, car mirrors, wine glasses and coffee mugs
Made for Everyone — Whether you're a Teacher, Mom, Student, Artist, Kid, Business, Office or Restaurant Owner our color markers make creating beautiful messages effortless.
Comes Off Easy — The chalkboard ink pen is washable and will work on almost any surface! Will erase off non-porous surfaces; such as blackboard (wet erase), glass (dry erase) and Permanent on porous surfaces
This Thanksgiving, we’re thankful for you, for family, and for art and the awesome tools we can create it with. For this art activity, let’s combine all the things you love and create a fall-themed decoration that’s perfect for a heart-warming Thanksgiving celebration at home. It’s also something you can start as a tradition with family and friends as you enjoy customizing and designing your decorations together. With easy-to-find materials and your trusty Chalkola chalk pens, this gourd-geous DIY rustic ornament piece will definitely make your celebration extra special, festive, and personal.
Ready to ‘Fall’ in love with the warm and rich colors of Autumn? Let’s watch the tutorial video below and learn a new DIY artwork that’s one for keeps! Steps:
Prepare your materials. To start, color the whole surface of your three wooden coasters with an orange chalk pen.
Take your popsicle stick and design it with vertical lines until the middle part using your brown chalk marker. It should resemble a tree bark or branch. Once done, snap it in the middle, up to where you’ve designed it with your brown lines.
Using your glue gun, apply glue on the middle part where you’ve snapped it (jagged edges). Then stick it on the back of one of your wooden coasters.
Apply glue on the other half of your second coaster, and stick your third coaster on top of it. They should still be showing their opposite halves.
Next, apply glue on the inner half part of your third coaster, and then stick your first coaster with the popsicle stick attached to it, on top of the third coaster. By now, the coasters should resemble a layered cluster of pumpkins.
As an option, you can use twine rope to tie a ribbon on the popsicle stick for an added rustic feel. You can create a few sets of this to place on top of your fireplace or as part of a table runner design, paired with fresh or dried eucalyptus or whatever type of greens you want to decorate with! Just have fun creating and coloring these eye-catching ornaments to add a personalized touch to your Thanksgiving celebration.
Make sure you get the best ink flow and colors from your Chalkola Chalk Markers by checking out this helpful guide below. Happy creating!
Why Choose Chalk Markers for Fall Decorating
Chalk markers have become the go-to tool for autumn crafters, and for good reason. The opaque, vibrant ink shows up beautifully on both light and dark surfaces—from white ceramic pumpkins to deep orange gourds and black chalkboard signs.
Erasable versatility: Unlike permanent paint markers, chalk markers wipe clean from non-porous surfaces with just a damp cloth. This means you can update your fall messages throughout the season, from "Happy Fall" in September to "Give Thanks" in November, all on the same decoration.
Safe for all ages: The water-based, non-toxic formula makes chalk markers perfect for family crafting sessions. Kids can help decorate pumpkins without the safety concerns of carving knives, and any accidental marks on tables or counters clean up instantly.
Professional-looking results: The 6mm reversible nib gives you control for both fine detail work and bold lettering. Whether you're hand-lettering inspirational quotes, drawing intricate leaf patterns, or filling in large design areas, chalk markers deliver smooth, consistent coverage without the mess of traditional chalk or the permanence of acrylic paint.
Creative Fall Chalk Marker Project Ideas
Once you've built the wooden-coaster pumpkin cluster from the tutorial, expand your autumn creativity with these chalk marker project ideas:
Thanksgiving chalkboard menus: Design a decorative menu board for your holiday feast. Use metallic gold and copper for elegant accents around traditional fall colors. The erasable nature lets you update the menu right up until dinner time.
Window clings and glass décor: Draw falling leaves, acorns, and seasonal phrases directly on windows. The chalk marker ink creates a frosted, hand-painted look that welcomes guests and celebrates the season. Clean removal means no sticky residue when it's time to transition to winter themes.
Place cards and table settings: Letter names on small chalkboard tiles, slate coasters, or even smooth river rocks for personalized place settings. Guests love the handmade touch, and you can reuse the same materials for every holiday gathering.
Decorative signs and quotes: Create inspirational fall quotes on reclaimed wood, acrylic boards, or framed chalkboards. Popular phrases like "Grateful," "Gather," and "Blessed" pair beautifully with hand-drawn autumn botanical elements.
Gourd garlands: Decorate mini pumpkins and gourds with patterns, dots, or monograms, then string them together for a unique mantel display or porch decoration that showcases your artistic style.
Pumpkin Painting Ideas with Chalk Markers (No Carving Needed)
The coaster cluster in the tutorial is a pumpkin you can keep for years, but the same markers work on the real thing. Painting a pumpkin instead of carving it keeps it intact for weeks, is safe for small hands, and lets you change the design whenever you like. Here's how to get clean results on a real pumpkin's skin.
Pick a smooth pumpkin. Chalk markers glide best on a smooth, evenly colored skin. Deep ribs and bumpy warts break up lines, so choose the smoothest pumpkin you can find — pale or white pumpkins give the most contrast with bold colors, and classic orange pumpkins look great with white, black and metallic designs.
Prep the surface. Wipe the pumpkin with a dry cloth to remove dust, then let it sit at room temperature so there's no condensation. Wash pumpkins that have been outside and dry them fully — chalk marker ink is water-based and won't lay down on a damp skin. Test a stroke on the underside first: pumpkin skin is not fully non-porous, so on some pumpkins the ink wipes off completely and on others it leaves a faint tint.
Ideas that work in a single sitting:
Gratitude pumpkin: Write "Thankful for…" in black or white on a pale pumpkin and let every guest add a word — the same idea as the tutorial's coaster lettering.
Polka dots and stripes: Use the broad side of the tip for even dots; alternate metallic gold and cream for a farmhouse look.
Leaf silhouettes: Draw maple and oak leaf outlines in brown and burgundy, then fill with orange and yellow, leaving a thin gap so each leaf stays crisp.
No-carve jack-o'-lantern: Draw the face in black instead of cutting it out — the pumpkin lasts far longer, and you can wipe and redraw a friendlier face for Thanksgiving.
Name place-pumpkins: Mini pumpkins with a guest's name in fine-tip lettering double as place cards and take-home favors.
Work light to dark, and let each color dry. Lay down the lightest colors first and give each area a minute before adding outlines on top, so black lines don't drag into the fill. A 1mm fine tip is best for lettering and outlines; a 6mm tip fills large shapes fast.
Display it right. A painted pumpkin belongs indoors or under a covered porch — rain will run the ink. Keep it away from direct heat and it will look fresh for as long as the pumpkin itself stays firm. When the season is over, the design wipes off most skins with a damp cloth, so a pumpkin painted for Halloween can be redrawn for Thanksgiving.
Tips for Long-Lasting Fall Chalk Marker Designs
Maximize the life and vibrancy of your autumn chalk marker decorations with these tips:
Hot glue is the grown-up's job: The coaster cluster is held together with a glue gun. Let kids do all the coloring and lettering, and keep the gluing step for an adult — the nozzle and fresh glue are hot enough to burn.
Surface preparation: Clean your decorating surface with a damp cloth and let it dry completely before applying chalk markers. Any dust, oils, or moisture can affect ink adhesion and color vibrancy.
Proper priming: Always shake your chalk marker for 30-40 seconds and prime the tip by pressing it on scrap paper until ink flows freely. This ensures consistent color from the first stroke and prevents streaking in your designs.
Layering technique: For the most opaque coverage, apply chalk marker ink in thin layers, allowing each to dry for 30 seconds before adding the next. This technique works especially well when using lighter colors over dark surfaces or creating dimensional effects.
Sealing for permanence: If you want your design to last beyond the season on a porous surface, spray a clear acrylic sealer over the finished artwork once the chalk marker ink is completely dry. This makes the design water-resistant and permanent.
Storage between uses: Store chalk markers horizontally with caps tightly sealed to maintain ink consistency. If a tip dries out, simply remove it, rinse under warm water, and re-prime on scratch paper.
Outdoor considerations: While chalk markers are primarily designed for indoor use, you can use them outdoors for special events. Be aware that rain and heavy moisture will affect water-based ink. For outdoor displays, consider placing decorated items under covered porches or bringing them inside during wet weather.
FOR THE LETTERING — 16 DUAL-TIP CHALK MARKERS (1MM + 5MM)
Chalkola Dual Tip Liquid Chalk Markers for Blackboard (16 Pack, 1mm+5mm Fine, Bold Tip) | Wet Erase, Chalk Pens for Chalkboard Signs, Car Windows, Glass, Calendar, Mirrors
★★★★★4.5 · 6,989 verified reviews
$15.95 USD
16 Dual Tip Chalk Markers Erasable — 10 vibrant neon chalk paint markers + 6 metallic glass markers (gold, silver, red, green, blue, pink). Thin 1mm extra fine tip for precise details, small text, and 5mm bold tip for filling backgrounds, large lettering, and broad coverage.
Erasable Chalk Board Marker Pens — These liquid chalk pens flow smoothly on any non-porous surface. Simply wipe clean with damp cloth on chalkboards, glass, ceramic, plastic and metal (dry & wet erase), becomes permanent on porous surfaces like wood.
Multi-Surface Versatility — Perfect as bistro chalk markers, LED board markers & wedding markers. Create beautiful designs on menu boards, shop windows, whiteboards & milestone boards. The erasable markers properties make updates easy.
Perfect for Business & Home — Ideal chalk board markers for teachers, artists & office use. Make eye-catching signs, window displays & classroom materials. These blackboard chalk markers create professional-looking displays effortlessly.
💰 Use code CHK10OFF at checkout · save 10% on this order
What customers say about Chalkola chalk markers
4.7★
Average rating
24K+
Verified reviews
96%
Would recommend
Wet-erase
on non-porous surfaces
★★★★★
"I letter wedding signage on chalkboards and glass — Chalkola is the only brand that stays opaque, wipes clean with a damp cloth, and never ghosts. Three years, same go-to."
Maya R. · Verified Amazon buyer
★★★★★
"Bright, fully opaque on black, and they don't dry out between uses like the last brand I tried. The fine tip is perfect for detailed lettering and small drawings."
Jenna L. · Verified Amazon buyer
★★★★★
"Used them on a glass front door for the holidays — wiped off in seconds with a wet paper towel, zero residue. My kids use them on their chalkboard wall every day."
Olivia T. · Verified Amazon buyer
★★★★★
"Tried four brands before this. Chalkola lays down smooth without skipping, the colors are vivid, and the reversible tip gives me both fine lines and bold fills."
Start with the tutorial's wooden-coaster pumpkin cluster, then branch out: no-carve painted pumpkins with faces, dots or a gratitude message; a Thanksgiving menu on a chalkboard; falling leaves and acorns on a window; place cards lettered on slate tiles or smooth stones; and mini pumpkins strung into a garland. Chalk markers wipe off glass, ceramic and chalkboards, and stay put on raw wood.
For wipe-clean fall décor, use non-porous surfaces: glass windows and jars, acrylic boards, metal signs, ceramic pumpkins and slate or chalkboard tiles. Raw wood — like the tutorial's coasters and popsicle sticks — is porous, so the ink is permanent there, which is exactly what you want for a keepsake.
Yes. Chalk markers draw straight onto a real pumpkin's skin, so you can decorate it without a knife — a good option when kids are helping. Test on the underside first: the design wipes off most skins with a damp cloth, though some hold a faint tint, and the ink will run if the pumpkin sits out in the rain.
Chalk markers are the simplest option: no brushes, no palette, the ink dries in minutes, and the design wipes off most skins so you can redraw it for Thanksgiving. Acrylic craft paint also sticks to pumpkins but is permanent, needs brushes and drying time between coats, and can't be changed once it's on.
Start with a clean, dry, room-temperature pumpkin — wipe off dust and any condensation, because water-based ink won't grip a damp skin. Shake and prime the marker, lay down light colors first, and let each area dry for a minute before adding outlines. Keep the finished pumpkin indoors or under cover; rain will run the ink.
Chalk markers offer vibrant, opaque colors that show up beautifully on dark autumn surfaces like black chalkboards or deep orange pumpkins. Unlike permanent markers, they're erasable from non-porous surfaces, letting you update seasonal decorations. The reversible 6mm nib allows both fine detail work and bold lettering for versatile fall designs.
Traditional fall palettes include warm oranges, deep reds, golden yellows, rich browns, and earthy greens. Metallic gold and copper add elegant accents to Thanksgiving table settings. For contrast on pumpkins or dark surfaces, white and cream create beautiful lettering. Pastel variations of autumn colors offer a softer, modern farmhouse aesthetic for home décor.
On non-porous surfaces indoors, chalk marker designs last for months without fading until you choose to wipe them clean. On real pumpkins, the decorations remain vibrant for several weeks as long as the pumpkin stays fresh. Outdoors, rain and dew will run the ink, so keep displays under cover and refresh designs as needed through the season.
Chalk markers are ideal for family fall crafting. The water-based, non-toxic ink is safe for children, and the no-carve approach to pumpkin decorating eliminates sharp tool hazards. The 6mm reversible tip is easy for small hands to control. Mistakes wipe away instantly from non-porous surfaces, encouraging creative experimentation without waste or frustration during holiday activities.
subscribe to receive special offers and new art ideas