
New snacks on sale now for a limited time! Use code NEW for 15% off.
Chalkola · Tutorial
How to Design Wooden Coasters with Chalk Markers
Updated Sep 2026
QUICK ANSWER
Coaster design: Chalk markers with 6mm reversible tips work exceptionally well on wooden coasters because they deliver opaque, vibrant coverage on porous wood surfaces. The reversible nib allows both fine details and bold fills. They're water-based, non-toxic, and create permanent designs on unsealed wood once dry.
THE CHALK MARKERS FOR THIS PROJECT
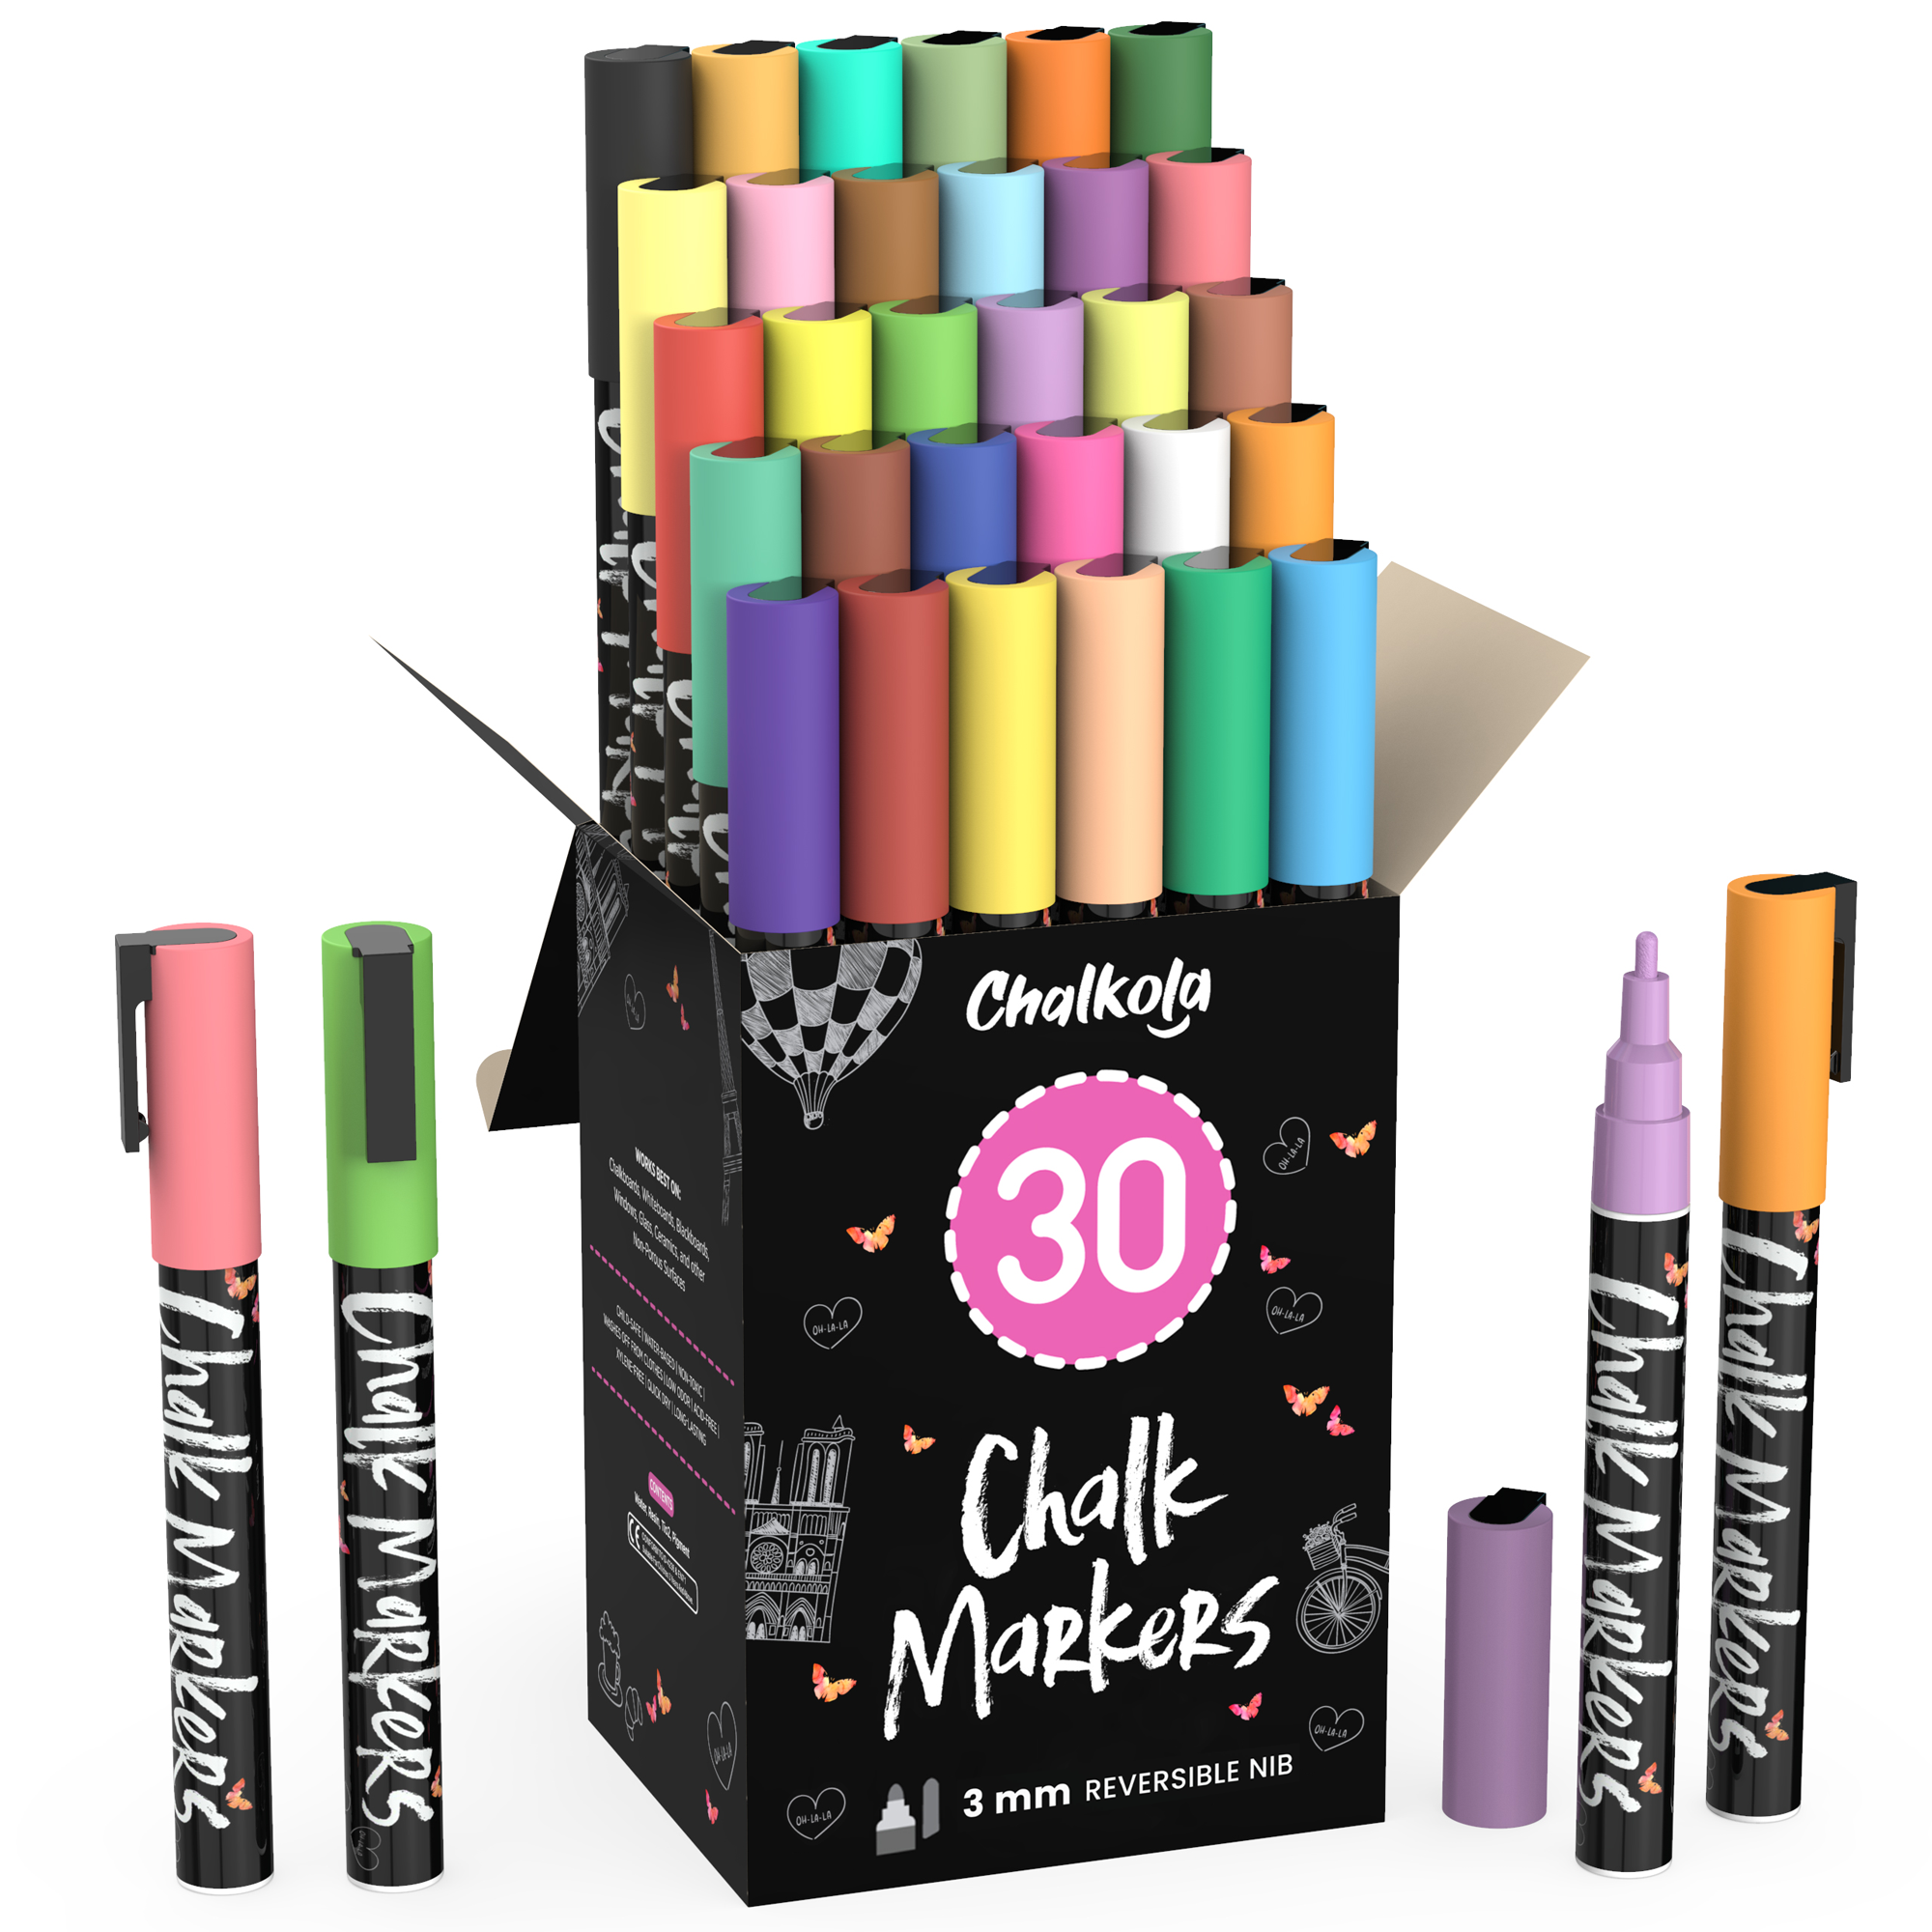
Extra Fine Tip Liquid Chalk Markers for Blackboard (30 Pack 1mm) Pastel + Neon Chalk Pens
★★★★★4.5 · 5,921 verified reviews
$29.94 USD · free shipping
30 Colors — One pack containing all our Bright and Earth Chalk Markers. Use these Liquid chalk pens to decorate any Non-Porous surface including mirrors, shop storefront, whiteboard
The Ultimate Freedom Of Expression — Chalkola’s liquid chalk markers erasable are widely used to decorate wedding signs, milestone boards, menus, LED boards, contact paper, car mirrors, wine glasses and coffee mug.
Made For Everyone — Whether you're a Teacher, Mom, Student, Artist, Kid, Business, Office or Restaurant Owner our markers make creating beautiful messages effortless.
Comes Off Easy — The chalkboard ink pen is washable and will work on almost any surface! Will erase off non-porous surfaces; such as blackboard (wet erase), glass & mirrors (dry erase) and Permanent on porous surfaces
Plain wooden coasters are versatile and can be used on any occasion. Whether you’re throwing a party or you just want to use them regularly, they’re timeless, all natural, and can make any table setup look rustic and styled. Wooden coasters are also a great canvas for art. You can easily refresh them with colors and designs, especially when you want to use them in themed parties or events.
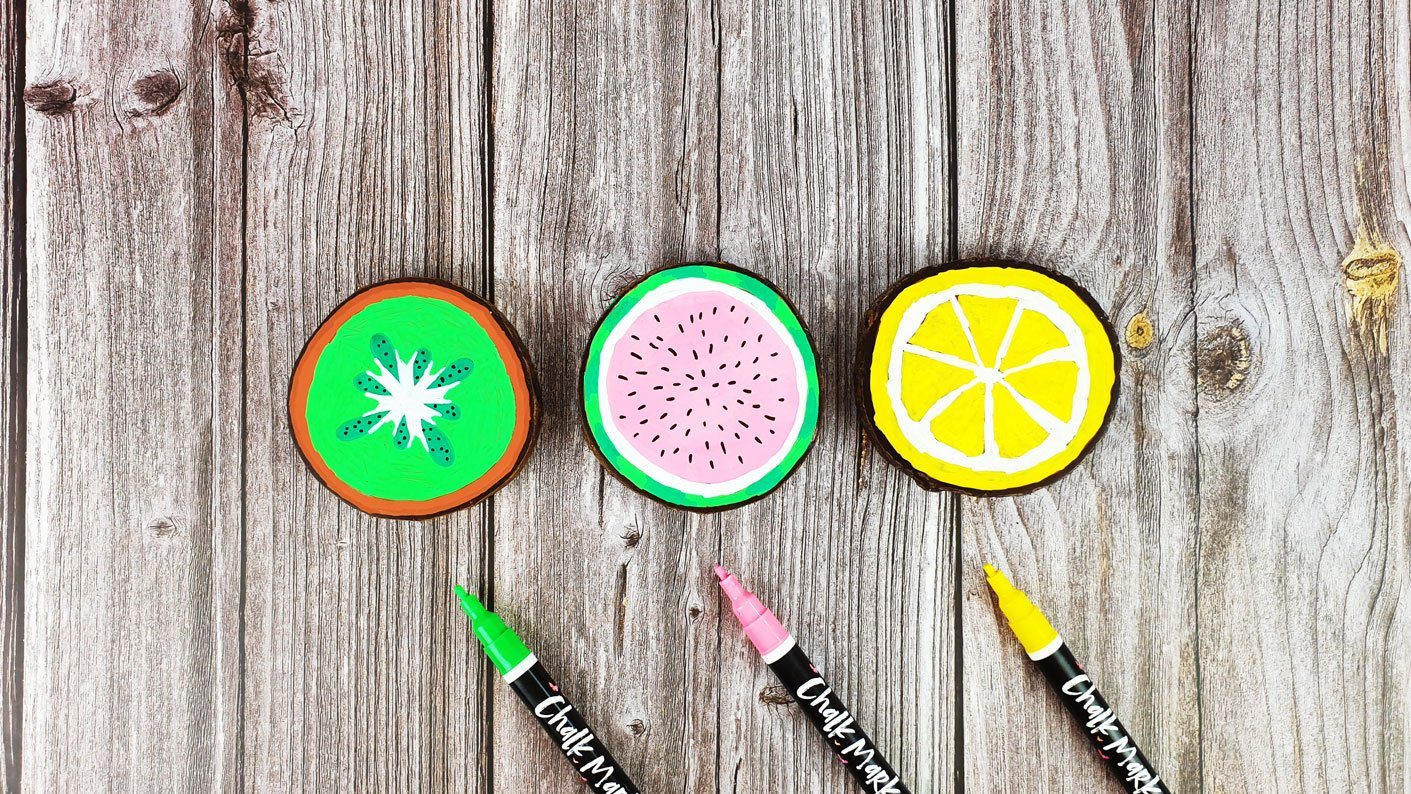
A perfect way to spruce up plain coasters for summer is to add pops of colors and cheery art–just like what we’re going to share with you in our less-than-a-minute tutorial video. Here, we’ll show you how to add bright citrus fruit designs on your coasters using our favorite Chalkola Chalk Markers. It’s fun, beginner-friendly, and something you can also enjoy as an activity with kids, friends, and family.
Ready to get seriously crafty and citrusy? Let’s watch the quick tutorial video below!
Steps:
Prepare your plain wooden coasters and chalk markers. If you want variety, you can design each coaster with a specific citrus fruit, but if you want a uniformed set, you can pick out one design and apply it on all your coasters.
For the kiwi design, start by outlining the coaster with brown, and work your way into filling in the next layers of colors. Make sure the outline is already dry before you proceed to coloring so the ink won’t smudge.
For the lemon design, outline the coaster with yellow. Draw and color the triangular details inside with a darker shade, and then immediately add a lighter yellow shade to blend. Fill in the outlines with white to make your yellows pop.
For the watermelon design, outline the coaster with light green, and then add darker green for detail. Work your way into filling in the layers of colors and designs, and don’t forget to include black dots for the seeds.
There you have it! Citrus-refreshed coasters that are perfect for a summer backyard party!
20+ Wooden Coaster Design Ideas Beyond Citrus
Once you've mastered the citrus slice technique, explore these popular coaster design themes that work beautifully with chalk markers:
Winter: Snowflakes, evergreen branches, ornaments, hot cocoa mugs
Geometric & Modern Patterns
Color-blocked quadrants with metallic dividing lines
Concentric circles in gradient colors
Chevron stripes or herringbone patterns
Triangle mosaics using neon and pastel combinations
Minimalist dot grids or constellation patterns
Nature & Botanical Themes
Succulent gardens with varying shades of green
Pressed flower illustrations
Wood grain patterns in contrasting colors
Ocean waves with metallic blue accents
Mountain silhouettes at sunset
Personalized & Gift-Worthy Ideas
Monogram letters with decorative borders
Family name with established date
Favorite quotes or song lyrics
Pet portraits or paw prints
Matching set with coordinating colors for each family member
Mix and match these concepts to create coaster sets with cohesive themes but unique individual designs.
Choosing the Right Wooden Coasters for Your Project
The foundation of great coaster design starts with selecting appropriate wooden blanks. Here's what to consider:
Wood Type & Grain
Basswood and birch are ideal choices because their tight, consistent grain accepts chalk markers smoothly without excessive ink absorption. Pine works but has more visible grain that can affect fine details. Bamboo offers a modern look with natural striping that can be incorporated into your design. Avoid heavily varnished or pre-sealed wood—markers won't adhere properly.
Size & Shape Options
Standard round coasters (3.5-4 inches diameter) are most common and easiest for beginners. Square coasters (4x4 inches) provide more design space and contemporary appeal. Hexagon shapes add geometric interest, while irregular live-edge wood creates rustic, one-of-a-kind pieces. Choose consistent sizes within a set for professional presentation.
Surface Preparation
Raw, unfinished wood is essential for permanent chalk marker adhesion. If your coasters arrive with any coating, sand it completely with 150-grit sandpaper followed by 220-grit for smoothness. Wipe thoroughly with a tack cloth to remove all dust particles before designing—dust creates bumps under marker strokes and prevents proper ink contact with the wood.
Thickness & Stability
Look for coasters at least ¼-inch thick to prevent warping from moisture. Thicker coasters (⅜ to ½ inch) feel more substantial and premium. Check that each coaster sits flat on your work surface—any wobble will make precise marker work frustrating.
Sealing & Caring for Your Decorated Coasters
Proper sealing transforms your artistic wooden coasters from decorative pieces into functional, long-lasting drinkware accessories.
When to Seal
Allow chalk marker designs to cure completely for 24 hours before applying any sealant. This prevents smudging and ensures maximum color vibrancy. Test one coaster first to confirm the sealer doesn't cause bleeding or color shifts.
Best Sealers for Chalk Marker Designs
Water-based polyurethane (2-3 thin coats) provides excellent moisture protection without yellowing. Clear acrylic spray sealer offers convenience and even coverage—apply multiple light coats rather than one heavy coat to avoid drips. For coasters used with food and beverages, choose food-safe sealers specifically rated for contact with consumables.
Application Technique
Work in a well-ventilated area on a protected surface. Apply sealer in smooth, even strokes moving in one direction. Let each coat dry completely (follow manufacturer times, typically 2-4 hours) before applying the next. Sand lightly between coats with 320-grit sandpaper for professional smoothness. Three coats minimum ensure waterproof protection.
Maintenance Tips
Once sealed, wipe coasters clean with a damp cloth—avoid soaking or dishwasher cleaning. Reapply sealer annually if coasters show wear or water spots start penetrating. Store coasters flat in a dry location when not in use to prevent warping.
READY TO CREATE? GRAB YOUR CHALK MARKERS
Chalkola Dual Tip Liquid Chalk Markers for Blackboard (16 Pack, 1mm+5mm Fine, Bold Tip) | Wet Erase, Chalk Pens for Chalkboard Signs, Car Windows, Glass, Calendar, Mirrors
★★★★★4.5 · 6,989 verified reviews
$15.95 USD · free shipping
16 Dual Tip Chalk Markers Erasable — 10 vibrant neon chalk paint markers + 6 metallic glass markers (gold, silver, red, green, blue, pink). Thin 1mm extra fine tip for precise details, small text, and 5mm bold tip for filling backgrounds, large lettering, and broad coverage.
Erasable Chalk Board Marker Pens — These liquid chalk pens flow smoothly on any non-porous surface. Simply wipe clean with damp cloth on chalkboards, glass, ceramic, plastic and metal (dry & wet erase), becomes permanent on porous surfaces like wood.
Multi-Surface Versatility — Perfect as bistro chalk markers, LED board markers & wedding markers. Create beautiful designs on menu boards, shop windows, whiteboards & milestone boards. The erasable markers properties make updates easy.
Perfect for Business & Home — Ideal chalk board markers for teachers, artists & office use. Make eye-catching signs, window displays & classroom materials. These blackboard chalk markers create professional-looking displays effortlessly.
💰 Use code CHK10OFF at checkout · save 10% on this order
What customers say about Chalkola chalk markers
4.7★
Average rating
24K+
Verified reviews
96%
Would recommend
Wet-erase
on non-porous surfaces
★★★★★
"I letter wedding signage on chalkboards and glass — Chalkola is the only brand that stays opaque, wipes clean with a damp cloth, and never ghosts. Three years, same go-to."
Maya R. · Verified Amazon buyer
★★★★★
"Bright, fully opaque on black, and they don't dry out between uses like the last brand I tried. The fine tip is perfect for detailed lettering and small drawings."
Jenna L. · Verified Amazon buyer
★★★★★
"Used them on a glass front door for the holidays — wiped off in seconds with a wet paper towel, zero residue. My kids use them on their chalkboard wall every day."
Olivia T. · Verified Amazon buyer
★★★★★
"Tried four brands before this. Chalkola lays down smooth without skipping, the colors are vivid, and the reversible tip gives me both fine lines and bold fills."
Chalk markers with 6mm reversible tips work exceptionally well on wooden coasters because they deliver opaque, vibrant coverage on porous wood surfaces. The reversible nib allows both fine details and bold fills. They're water-based, non-toxic, and create permanent designs on unsealed wood once dry.
Sealing is recommended if your coasters will contact moisture regularly. Apply a clear acrylic sealer or food-safe polyurethane after your chalk marker design fully dries (24 hours). This protects the artwork from water rings and condensation while maintaining the vibrant colors and making coasters easier to clean.
Absolutely. Chalk markers are non-toxic, odorless, and require no special ventilation, making them ideal for family craft activities. The 6mm tip is easy for children to control, and the forgiving nature of wood means mistakes can be sanded off before sealing. Supervision helps younger children with cap removal and nib priming.
Start with bold geometric patterns like stripes, polka dots, or chevrons that don't require precision. Citrus fruit slices, simple florals, and monogram letters are beginner-friendly. Use contrasting colors for impact and trace stencils if needed. Practice on scrap wood first to build confidence before working on your final coasters.
Lightly sand the coaster surface with 220-grit sandpaper to smooth any rough spots and improve marker adhesion. Wipe away dust with a slightly damp cloth and let dry completely. Unsealed, raw wood accepts chalk markers best. If coasters have existing finish, sand thoroughly to remove it or the markers won't adhere properly.
Yes, layering creates depth and visual interest. Apply your base color first and let it dry for 10-15 minutes before adding details. Chalk markers layer beautifully without bleeding when each layer dries properly. Try a pastel background with neon accents, or metallic outlines over bold colors for sophisticated multi-dimensional coaster designs.
subscribe to receive special offers and new art ideas