


Before computers and laptops, there was the typewriter. With its classic and intricate design and the almost melodic sound it makes whenever you use it–type-bell-ding-slide-click–it never fails to bring about feelings of nostalgia for the good ol’ days. This article will transport you back to those simpler times and take you through the easy steps of recreating this beautiful and brilliant finger-operated machine on paper using watercolor paint. Watercolor is a vibrant, smooth, and blendable paint that allows you to adjust its opacity depending on the amount of water you add to the paint. It’s a versatile and quick-drying medium that comes in so many incredible colors. And because you can seamlessly mix the colors, you get to create unique shades each time you combine, too.
The best paper to use for this art activity is paper made especially for water mediums. A thick sheet that can withstand getting wet without wrinkling or warping. To sprinkle more charm to your artwork, we can use letter stamps (if you have them) to add words to your design.
Let’s get started!
Materials needed:
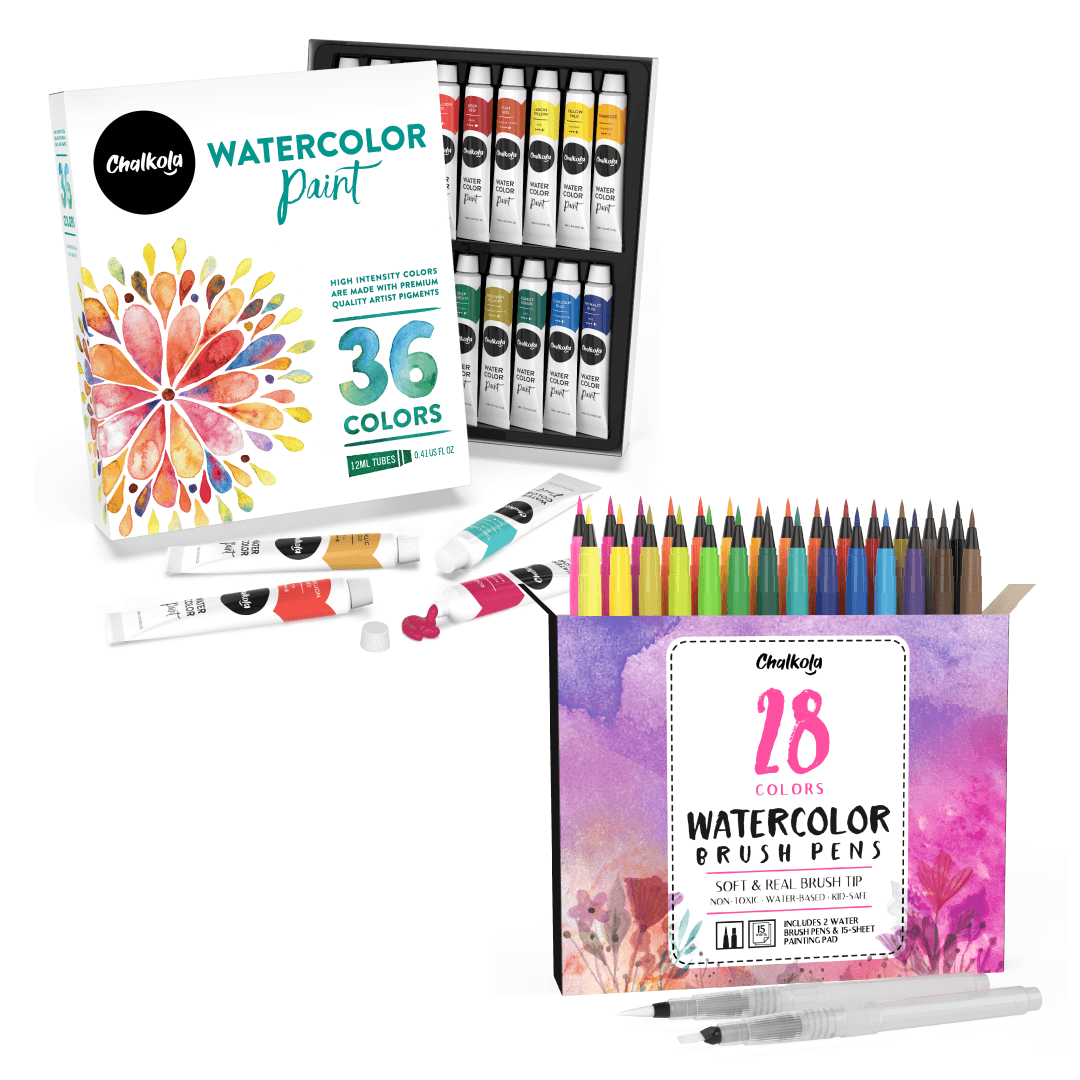
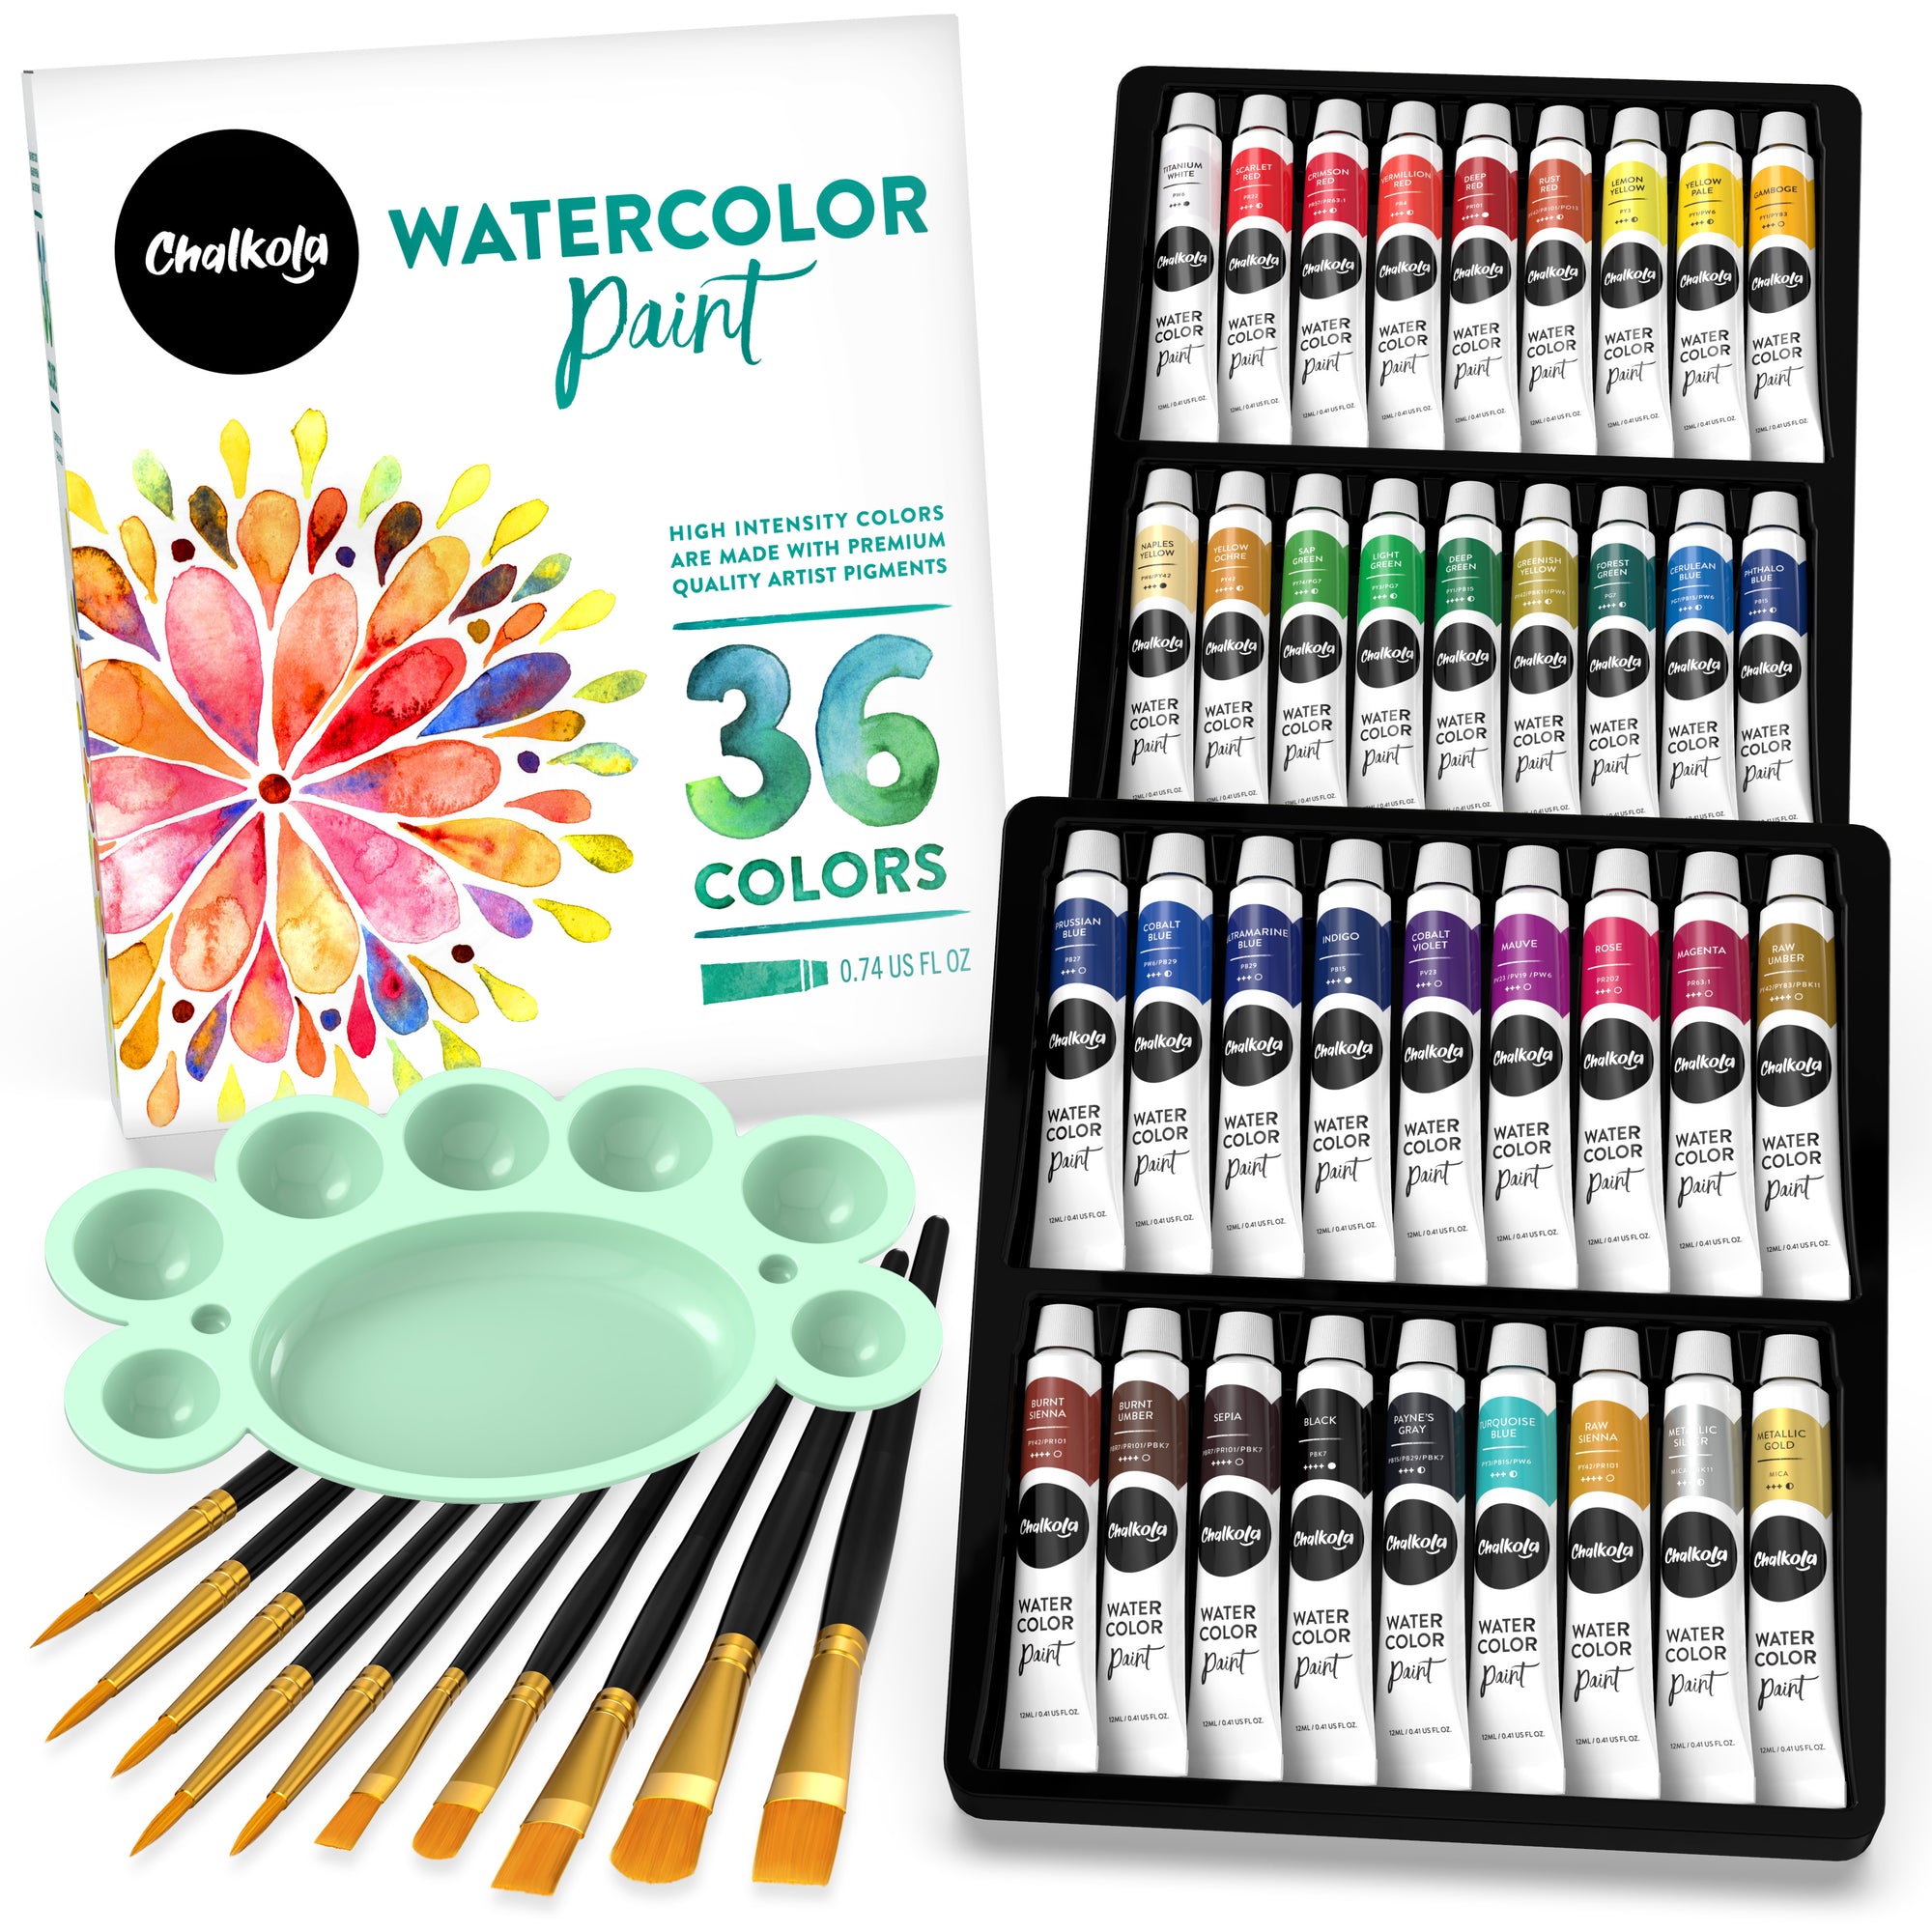
- Chalkola Watercolor Paint
- Watercolor paper
- Small paintbrush
- Palette
- Bowl of water
- Letter stamps (optional)
Steps:
- To start this beautiful painting of a typewriter, you can draw an outline using a pencil first, preferably one with a hard lead like HB so you don’t see the lines once they’re painted over. But if you’re feeling art-venturous, you can go straight to using watercolor in case that sparks your creativity more.
- Once you’re ready to fill your typewriter with colors, decide on the shades that you want for each part. For the keytop and spool parts, we decided to mix deep greens and blues to achieve that vibrant and steely look, and yellows and lighter shades of green for the typebar and body parts. You can add designs on your typewriter like flowers or even inscriptions.
- Here’s the fun part, draw a sheet of paper on the paper table part of the typewriter as this is where we’ll be adding words or messages.
- If you have letter stamps that you want to use, you can paint on the letters and gently stamp them onto the paper, forming names or words. But, you can also just write your messages using your paintbrush in case you don’t have stamps or your stamps may be too big for the paper part in your artwork.
- Make your artwork extra eye-catching by adding finishing touches in bright reds and oranges, creating a striking contrast with the blues, greens, and yellows that we used on most of the machine’s parts.
Congratulations, dear reader! You’ve just finished your first typewriter painting!
Tip: A little bit goes a long way for watercolor. So try testing out a small amount of paint with water first to determine the consistency that works best for your artwork. For a thick and opaque texture, there should be more paint and less water in your mixture. But if you’re going for almost transparent, add more water to your mixture.
Want to brush up on your painting skills? This article on How to Paint a Carnation Using Watercolor can help you practice with color blending and achieving a gradient effect in 5 easy steps. Enjoy!