New snacks on sale now for a limited time! Use code NEW for 15% off.
Chalkola · Tutorial
How to Draw the Solar System with Chalk Markers
Updated Sep 2026
QUICK ANSWER
How to draw a solar system: You need chalk markers (metallic work best for planets), a chalkboard or non-porous surface, and optional reference images. The metallic chalk markers create vibrant planet colors while the chalkboard provides an authentic dark-space backdrop. This combination makes solar system drawings pop with realistic contrast.
THE CHALK MARKERS FOR THIS PROJECT
Extra Fine Tip Liquid Chalk Markers for Blackboard (30 Pack 1mm) Pastel + Neon Chalk Pens
★★★★★4.5 · 5,921 verified reviews
$29.94 USD · free shipping
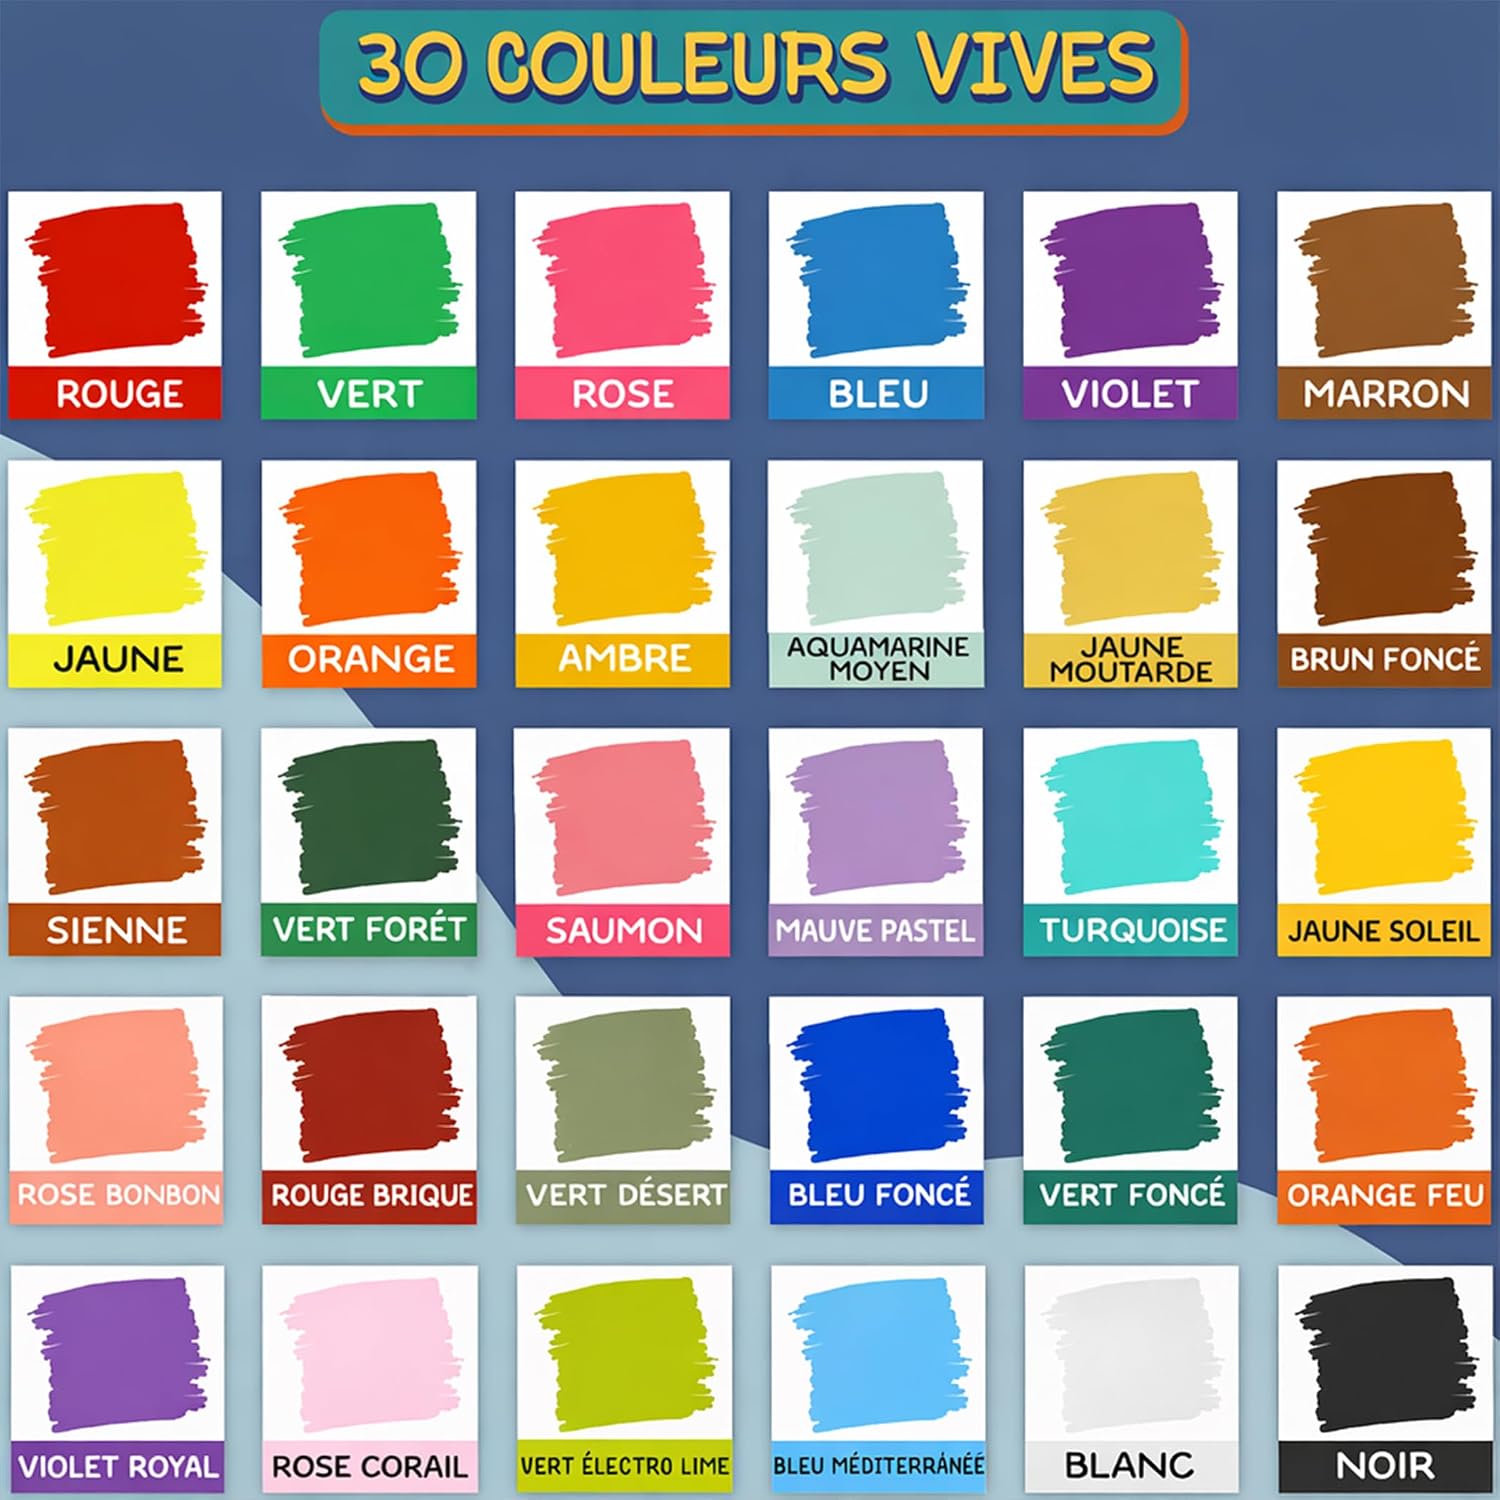
30 Colors — One pack containing all our Bright and Earth Chalk Markers. Use these Liquid chalk pens to decorate any Non-Porous surface including mirrors, shop storefront, whiteboard
The Ultimate Freedom Of Expression — Chalkola’s liquid chalk markers erasable are widely used to decorate wedding signs, milestone boards, menus, LED boards, contact paper, car mirrors, wine glasses and coffee mug.
Made For Everyone — Whether you're a Teacher, Mom, Student, Artist, Kid, Business, Office or Restaurant Owner our markers make creating beautiful messages effortless.
Comes Off Easy — The chalkboard ink pen is washable and will work on almost any surface! Will erase off non-porous surfaces; such as blackboard (wet erase), glass & mirrors (dry erase) and Permanent on porous surfaces
The solar system has always been a fascinating subject for kids and adults alike. Having formed 4.6 billion years ago (or so) from the gravitational collapse of a massive interstellar molecular cloud, there’s still so much to be explored and discovered in outer space.
For now, we can only marvel and learn more about the wonders of the sun and the planets around it. To start, let’s put some art into it, and draw the solar system in all its marvelous colors and glory. You don’t need to be a pro artist to do this either. In fact, chalk markers and a chalkboard are all you need to create an impressive illustration of the solar system, and if you have kids joining you, this can be a wonderful learning tool for them, too!
An updated copy of the solar system (remember, Pluto isn’t considered the ninth planet anymore!)
Ready to make a stellar drawing of our planetary system? Let’s watch the video below to find out how easy it can be!
Steps:
Prepare your materials. On your chalkboard, create an outline of the solar system using a white chalk pen, so you won’t have to second-guess the spacing, shapes, and sizes of the planets in your solar system as you draw and color.
It’s great to start with the sun at the bottom left part of your chalkboard so it can serve as your base for all the other planets (literally!).
From there, start coloring the other planets. To make them pop, use two colors for each planet, or even use a third one for details so they won’t look like flat circles. Metallic markers are highly recommended for this artwork because they have a shimmery effect that can make the planets look truly galactic!
Once you’re done coloring the planets, draw a broken line of their axis using a white chalk pen, and then label each planet as a simple and easy learning technique for kids!
It’s out-of-this-world easy, right? With chalk markers and a chalkboard, you can really reach for the stars when creating artworks or easy and colorful learning tools for toddlers.
Want to make sure you're getting the most colors and fun out of your chalk pens? Here's a great video filled with tips on how to get your colors flowing smoothly and other creative chalk art ideas that you can draw inspiration from!
Why Chalk Markers Are Perfect for Drawing the Solar System
Chalk markers offer unique advantages for space-themed art projects that traditional markers and paints can't match. The vibrant, opaque ink creates bold planet colors that pop against dark backgrounds, mimicking the contrast of real planets against space. Metallic chalk markers add an authentic shimmer to celestial bodies, making the sun, Saturn's rings, and gas giant storms look dimensional and realistic.
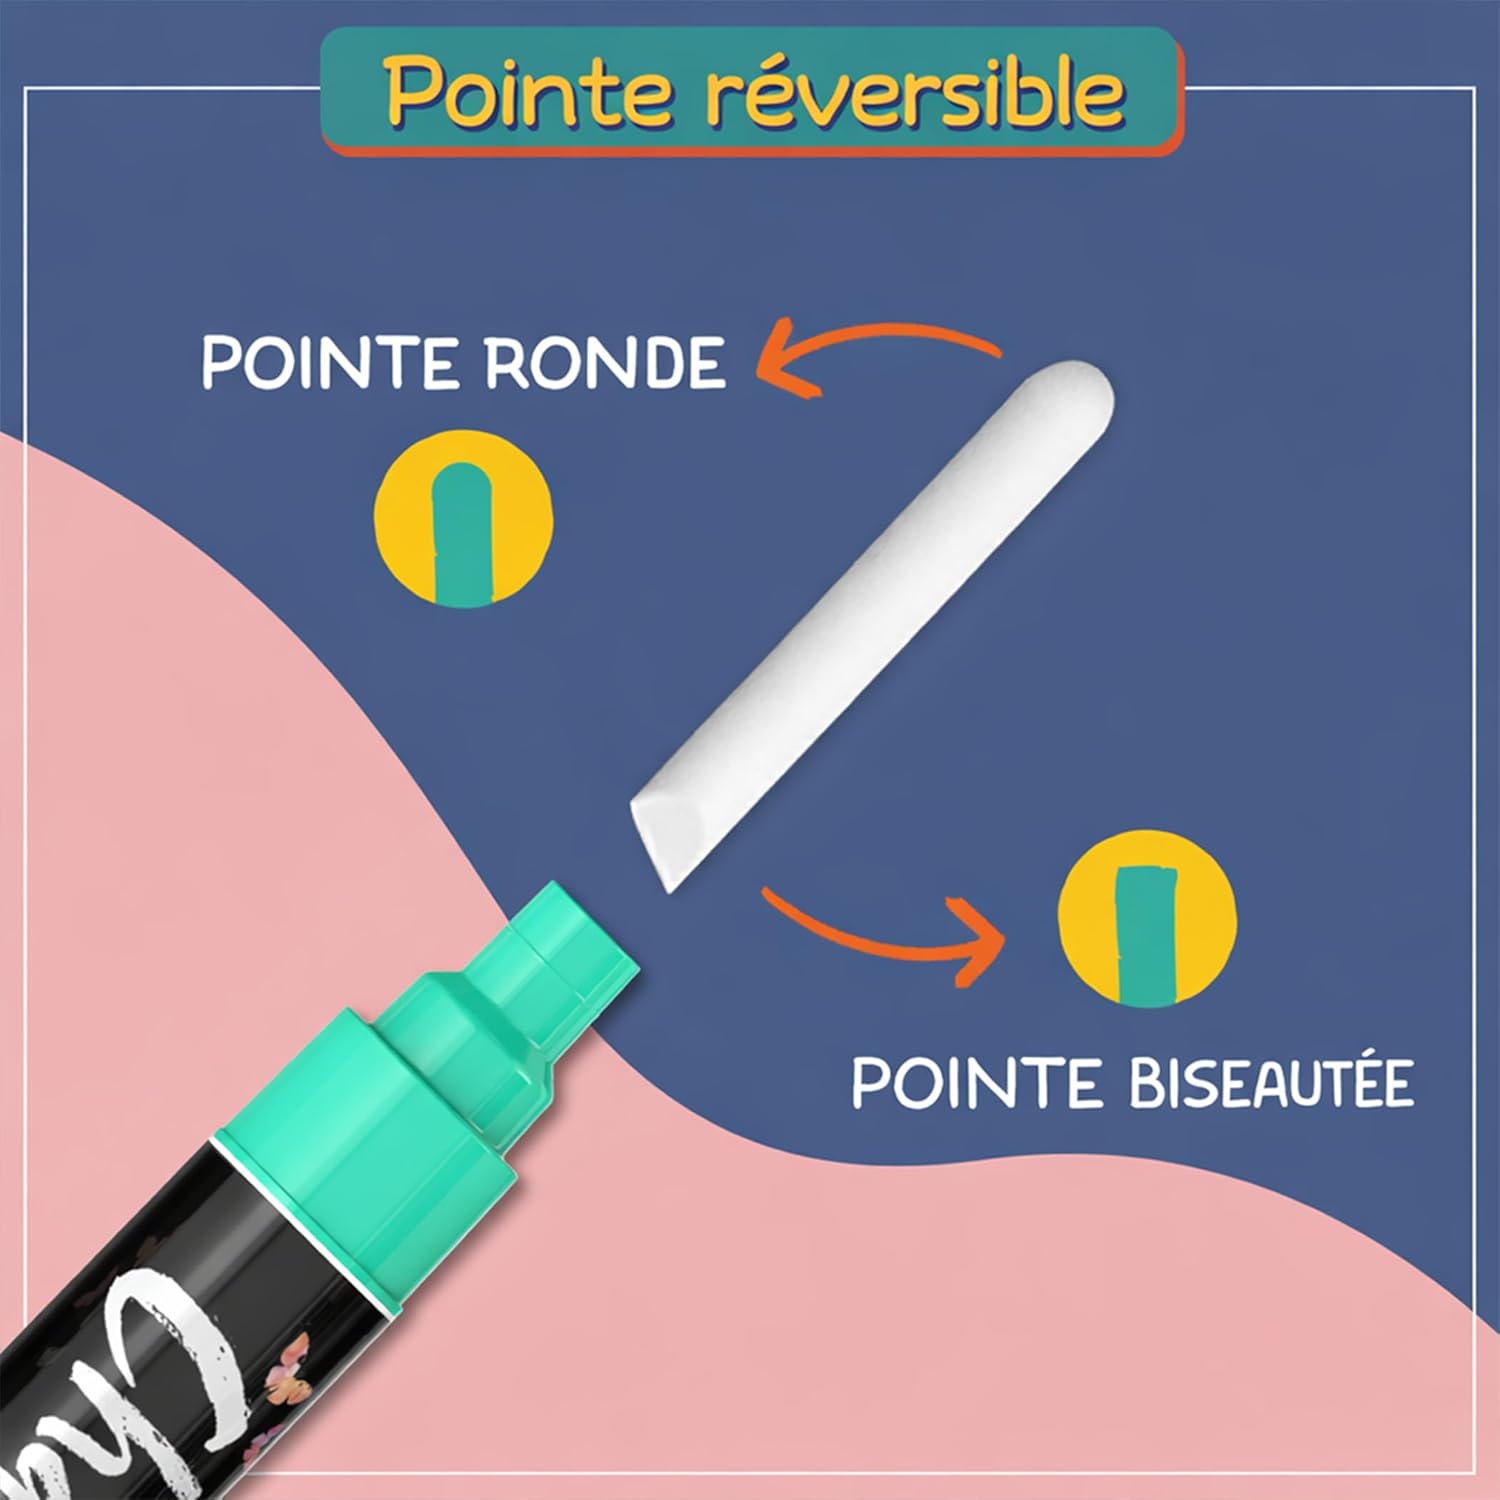
Unlike permanent markers, chalk markers erase completely from non-porous surfaces, letting you adjust planet positions, refine orbital paths, and fix mistakes without starting over. This makes them ideal for school projects where accuracy matters or for teaching moments when kids are learning planet order and relative sizes. The 6mm reversible nib gives you control for both large planet bodies and fine details like Saturn's rings or Jupiter's Great Red Spot.
Chalk markers also dry quickly and won't smudge once set, so your solar system drawing stays crisp whether it's displayed for a day or a month. For classrooms and family art sessions, the water-based formula is non-toxic and easy to clean, making solar system projects stress-free and enjoyable for all ages.
Step-by-Step: How to Draw the Solar System Easy
Step 1: Prepare your surface Start with a clean, non-porous chalkboard. A black surface works best as it mimics the darkness of space and makes planet colors stand out. Wipe down the board to remove any dust or residue.
Step 2: Sketch the sun On the left side of your board, draw a large circle (or partial circle if space is limited) using metallic gold or yellow chalk marker. The sun should be the largest object in your drawing. Add radiating lines or a subtle glow effect around the edges.
Step 3: Map orbital paths Lightly sketch curved lines extending from the sun to represent planetary orbits. These don't need to be perfect circles—elliptical paths look more authentic. Space them to leave room for eight planets plus any moons or asteroid belts you want to include.
Step 4: Add planets in order Working left to right, draw each planet along its orbital path: Mercury (small, gray), Venus (yellow-white), Earth (blue and green), Mars (orange-red), Jupiter (large, with orange and brown bands), Saturn (pale gold with rings), Uranus (light blue-green), and Neptune (deep blue). Use reference images for relative size accuracy.
Step 5: Add details and labels Enhance your planets with surface features—Earth's continents, Jupiter's storms, Saturn's rings. Use white chalk marker to add stars in the background. Label each planet with clean lettering, especially for school projects where educational value matters.
Step 6: Final touches Add the asteroid belt between Mars and Jupiter using small dots or clusters. Include moons around larger planets like Jupiter and Saturn. Step back and adjust colors or add shading for depth.
Creative Solar System Drawing Ideas
Once you've mastered the basic solar system layout, try these creative variations to make your chalk art truly unique:
Scale model approach: Draw planets to accurate relative sizes, showing just how massive Jupiter is compared to Mercury. This makes a powerful educational display for science fairs and classroom presentations.
Cross-section planets: Instead of solid spheres, draw planets cut in half to reveal interior layers—Earth's crust, mantle, and core, or Jupiter's gaseous composition. This adds scientific depth to your artwork.
Zodiac-themed solar system: Incorporate constellation patterns around your planets, connecting astronomy with astrology for decorative seasonal displays or café chalkboards.
Time-lapse orbital positions: Show multiple positions of each planet along its orbit with dotted trails, illustrating how planets move at different speeds. Venus and Mercury orbit faster than outer planets, creating dynamic visual storytelling.
Themed backgrounds: Instead of plain black space, add nebula clouds using blended purple, pink, and blue chalk markers, or include famous formations like the Milky Way band across your composition.
These creative approaches transform a simple solar system drawing into conversation-starting art while reinforcing astronomical concepts through visual learning.
Tips for Solar System School Projects
Solar system drawings are among the most popular science project topics, and chalk markers give students a professional-looking result with minimal art skills required. Here's how to make your project stand out:
Research before you draw: Look up current planet facts—number of moons, atmospheric composition, recent discoveries. Adding this information as annotations around your drawing shows depth of knowledge beyond the visual.
Use accurate colors: Recent telescope images reveal true planet colors. Neptune is deeper blue than Uranus, Mars has polar ice caps, and Jupiter's Great Red Spot is actually more salmon-colored now. Accuracy impresses teachers and judges.
Include scale references: Add a small text box explaining relative distances or sizes. For example, note that 1,300 Earths could fit inside Jupiter, or that light takes 8 minutes to reach Earth from the Sun.
Make it interactive: On a chalkboard, you can update your solar system drawing as you learn new facts, or erase and redraw to show different concepts like rotation vs. revolution, or how planets looked billions of years ago.
Practice before the final version: The beauty of chalk markers on non-porous boards is that you can wipe away practice attempts. Sketch your layout in pencil first, or do a full draft and photograph it before erasing for the final presentation piece.
For group projects, assign each team member a planet to research and draw, then combine all pieces onto one large display board for a collaborative solar system masterpiece.
30 Colors — One pack containing all our Bright and Earth Chalk Markers. Use these Liquid chalk pens to decorate any Non-Porous surface including mirrors, shop storefront, whiteboard
Ultimate Freedom Of Expression — Chalkola’s liquid chalk markers are widely used for chalk lettering, to decorate wedding signs, milestone boards, menus, LED boards, contact paper, car mirrors, wine glasses and coffee mugs
Made for Everyone — Whether you're a Teacher, Mom, Student, Artist, Kid, Business, Office or Restaurant Owner our color markers make creating beautiful messages effortless.
Comes Off Easy — The chalkboard ink pen is washable and will work on almost any surface! Will erase off non-porous surfaces; such as blackboard (wet erase), glass (dry erase) and Permanent on porous surfaces
💰 Use code CHK10OFF at checkout · save 10% on this order
What customers say about Chalkola chalk markers
4.7★
Average rating
24K+
Verified reviews
96%
Would recommend
Wet-erase
on non-porous surfaces
★★★★★
"I letter wedding signage on chalkboards and glass — Chalkola is the only brand that stays opaque, wipes clean with a damp cloth, and never ghosts. Three years, same go-to."
Maya R. · Verified Amazon buyer
★★★★★
"Bright, fully opaque on black, and they don't dry out between uses like the last brand I tried. The fine tip is perfect for detailed lettering and small drawings."
Jenna L. · Verified Amazon buyer
★★★★★
"Used them on a glass front door for the holidays — wiped off in seconds with a wet paper towel, zero residue. My kids use them on their chalkboard wall every day."
Olivia T. · Verified Amazon buyer
★★★★★
"Tried four brands before this. Chalkola lays down smooth without skipping, the colors are vivid, and the reversible tip gives me both fine lines and bold fills."
You need chalk markers (metallic work best for planets), a chalkboard or non-porous surface, and optional reference images. The metallic chalk markers create vibrant planet colors while the chalkboard provides an authentic dark-space backdrop. This combination makes solar system drawings pop with realistic contrast.
Start by sketching the sun on the left side, then map out orbital paths using light chalk. Add planets in order (Mercury through Neptune) with accurate relative sizes. Use metallic gold for the sun, orange-red for Mars, blue for Earth, and blended colors for gas giants. Label each planet clearly for educational impact.
Mercury: gray; Venus: yellow-white; Earth: blue and green; Mars: orange-red; Jupiter: orange, brown, and white swirls; Saturn: pale gold with rings; Uranus: light blue-green; Neptune: deep blue. Metallic chalk markers provide the shimmer and depth needed to recreate each planet's unique surface appearance realistically.
Yes, chalk markers are perfect for kids because they're easy to control, erase cleanly on non-porous surfaces, and produce bold colors. Children can practice circles, learn planet order, and experiment with color mixing. The forgiving nature of chalk markers allows mistakes to be wiped away and redrawn without frustration.
A simple solar system takes 30-45 minutes, while detailed versions with shading, moons, and asteroid belts can take 1-2 hours. Beginners should start with basic circles and gradually add complexity. Working on a chalkboard lets you build the drawing over multiple sessions since chalk markers dry and stay vibrant.
Non-porous chalkboards, glass, or mirrors work best because chalk markers erase cleanly and colors stay vibrant. Avoid porous surfaces like traditional slate chalkboards where markers may stain. A black chalkboard provides the most dramatic space backdrop, making metallic planet colors stand out beautifully.
subscribe to receive special offers and new art ideas