New snacks on sale now for a limited time! Use code NEW for 15% off.
my maker's workbook ✦ Chalk Markers · Tutorial
DIY Halloween Candy Decoration
Updated Sep 2026 · 7 min read · Beginner-friendly
TRY · MAKE · KEEP
note to self →
Halloween candy decorations diy: Chalk markers work best for decorating candy jars because they write smoothly on glass and plastic, wipe off after Halloween, and lay down opaque color even on dark containers. Decorate the outside only and keep the ink off the rim.
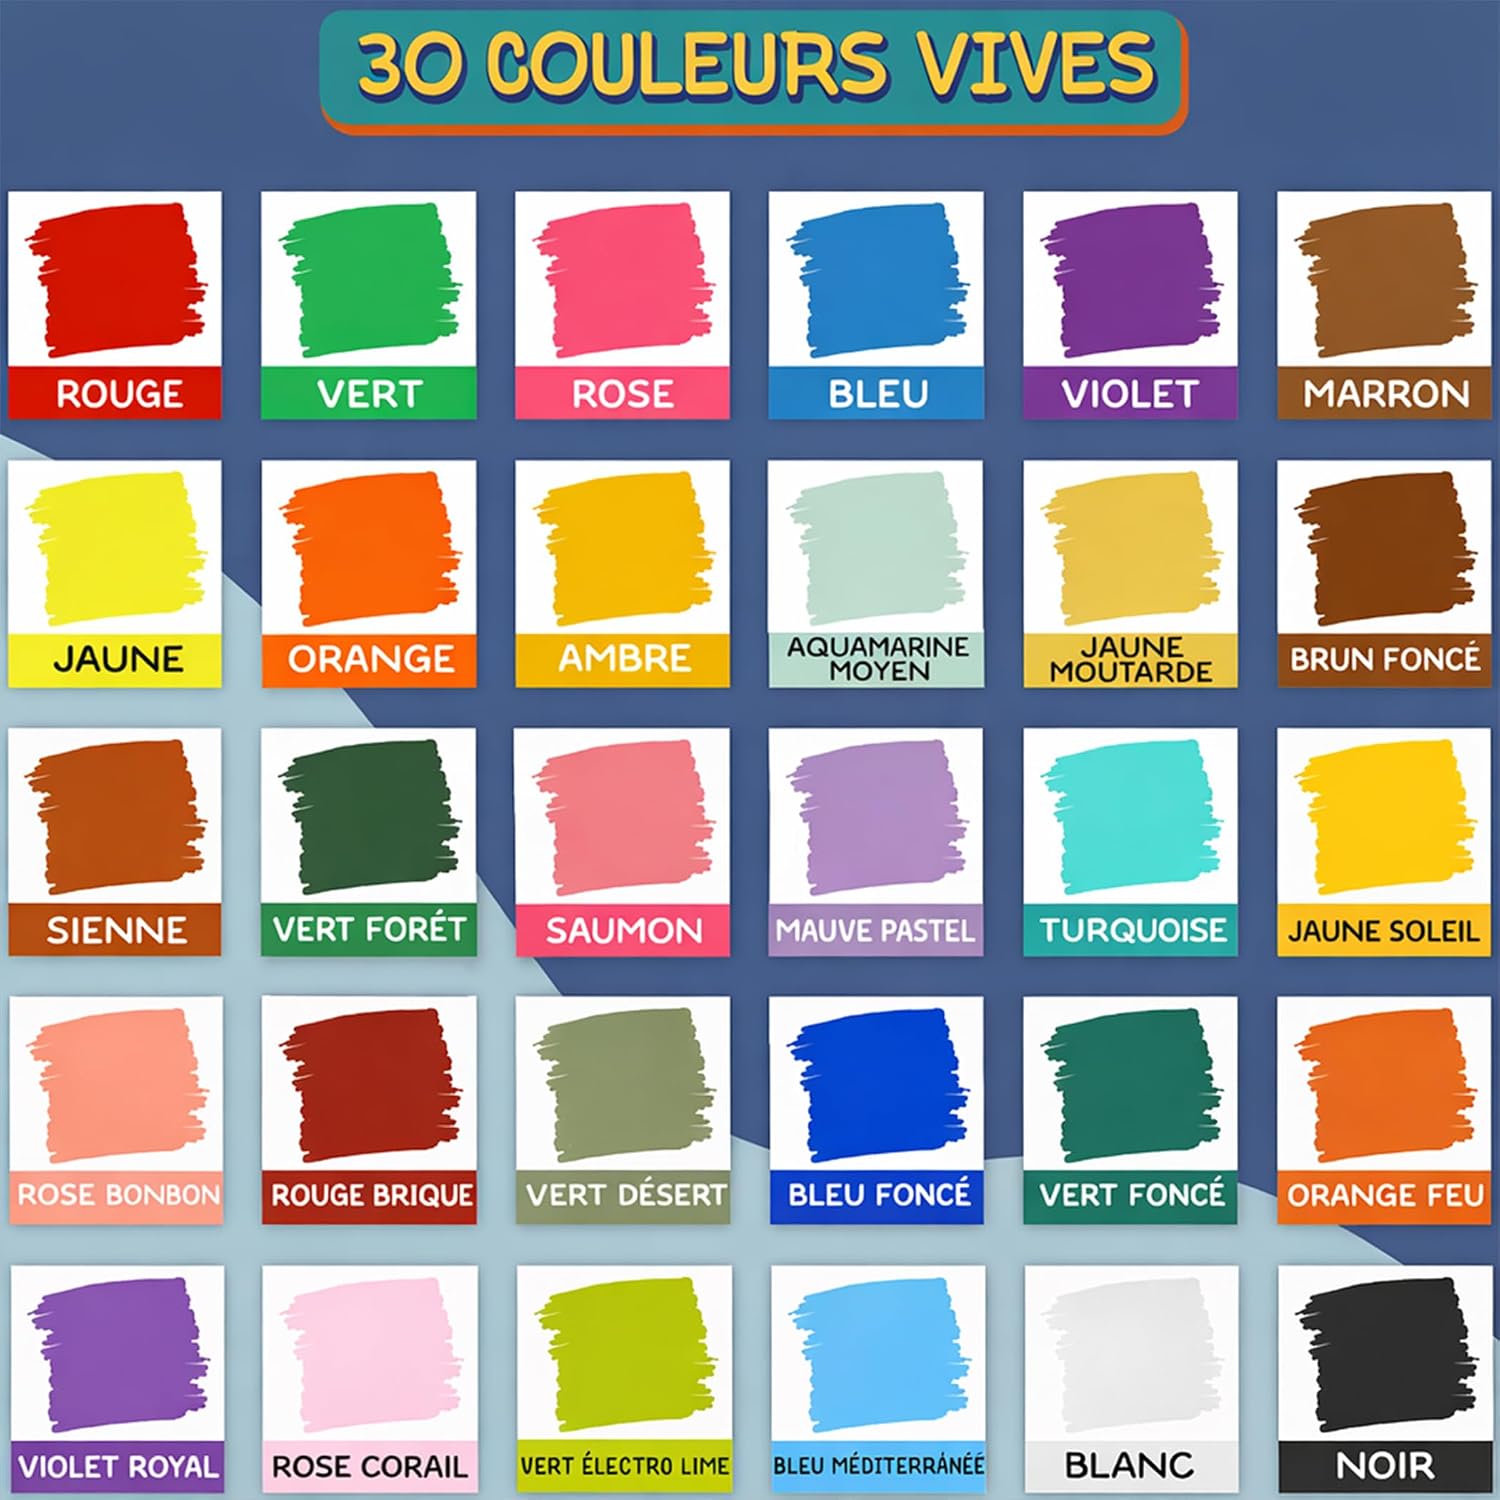
30 Colors — One pack containing all our Bright and Earth Chalk Markers. Use these Liquid chalk pens to decorate any Non-Porous surface including mirrors, shop storefront, whiteboard
Ultimate Freedom Of Expression — Chalkola’s liquid chalk markers are widely used for chalk lettering, to decorate wedding signs, milestone boards, menus, LED boards, contact paper, car mirrors, wine glasses and coffee mugs
Made for Everyone — Whether you're a Teacher, Mom, Student, Artist, Kid, Business, Office or Restaurant Owner our color markers make creating beautiful messages effortless.
Comes Off Easy — The chalkboard ink pen is washable and will work on almost any surface! Will erase off non-porous surfaces; such as blackboard (wet erase), glass (dry erase) and Permanent on porous surfaces
Halloween is just around the corner so it's time to decorate your candy boxes or jars with this easy technique nicely done with chalk markers.
1. Simply paint your plain container with any chalk marker color of your choice. You may design it any way you want too. We used simple stripes with pumpkin colors.
2. White chalk marker can break dark colors so it's best to still keep it light.
3. Decorate the top cover and make it spooky by drawing sharp teeth or fangs.
4. Color the bottom part as well.
5. Decorate the surroundings with other Halloween DIYs and fill your container with lots of candies!
Experiment with different designs and colors. Hope you liked this tutorial.
Why Chalk Markers Are Perfect for Halloween Candy Decorations
Chalk markers offer unique advantages for seasonal candy jar decorating. Unlike permanent markers or paint, the water-based pigment wipes off completely from non-porous surfaces, letting you reuse the same jars for Thanksgiving, Christmas, or next year's Halloween. The opaque, vibrant colors show up beautifully on both clear glass and colored plastic containers.
Decorate the outside of the container only and keep the ink away from the rim and the inside, so nothing touches the candy. The liquid chalk dries to a matte finish that won't smudge once dry, even when guests grab a handful. Chalk markers write smoothly without the mess of traditional chalk sticks, and you can create fine details like teeth, eyes, and spiderweb patterns with precision.
For this Halloween candy jar project, orange, black, white, and green markers create classic pumpkin and monster themes, but you can experiment with purple, red, or metallics for different spooky effects.
Tips for Best Results When Decorating Candy Jars
Start with clean, dry containers. Wipe glass or plastic jars with rubbing alcohol to remove oils and fingerprints that might prevent smooth marker application. Shake chalk markers vigorously for 30 seconds before first use, then prime the tip by pressing down on scrap paper until ink flows evenly.
Build designs in layers, allowing each color to dry 30-60 seconds before adding the next. As shown in step 2 of the tutorial, white chalk marker can disrupt darker base colors if applied too heavily while still wet, so work with a light touch when adding highlights or details over colored backgrounds.
For the monster fang design on jar lids, draw the basic tooth shapes first, then go back to fill them in. Clean mistakes immediately with a damp cloth before they dry. Once your Halloween candy decoration is complete, let it cure for 2-3 minutes before handling to prevent smudging.
More Halloween Decoration Ideas with Chalk Markers
Once you've mastered decorating candy jars, expand your Halloween chalk marker projects to windows, mirrors, and chalkboard signs. Draw full-sized monsters, ghosts, and pumpkins on front windows to greet trick-or-treaters, or letter spooky messages on bathroom mirrors for party guests.
Create matching sets by decorating multiple candy containers with coordinating designs—one with fangs, another with pumpkin faces, and a third with spider webs. Use the same orange-and-black color scheme across all jars for cohesive Halloween party decor.
Chalk markers also work beautifully on ceramic plates (for serving Halloween treats), glass candle holders, and even smooth pumpkins if you want temporary designs that wipe away. The versatility makes them a staple supply for all your seasonal decorating projects beyond just candy containers.
Come off Easy — The chalkboard pen will work on almost any surface! These chalk board markers are washable & will erase off on non-porous surfaces such as glass & mirrors (dry & wet erase) & permanent on porous surfaces (like wood).
Can Be Used On Many Surfaces — Use these erasable chalk paint markers to write on calendars, wedding signs, shop storefronts, milestone boards, classroom displays, LED boards, vinyl surfaces. Use as car window markers, bistro chalk markers.
Perfect For Every Creator — Whether you're a teacher, artist, restaurant owner or parent, these dry erase chalk markers for blackboard create beautiful displays effortlessly in classrooms, menus, signs and home activities
Mess-Free Performance — Unlike regular chalk that creates dust and stains, these non-toxic dry erase markers for kids are washable, dustless and completely safe. No more dirty hands or chalk residue - simply wipe clean with a damp cloth
💰 Use code CHK10OFF at checkout · save 10% on this order
What customers say about Chalkola chalk markers
4.7★
Average rating
24K+
Verified reviews
96%
Would recommend
Wet-erase
on non-porous surfaces
★★★★★
"I letter wedding signage on chalkboards and glass — Chalkola is the only brand that stays opaque, wipes clean with a damp cloth, and never ghosts. Three years, same go-to."
Maya R. · Verified Amazon buyer
★★★★★
"Bright, fully opaque on black, and they don't dry out between uses like the last brand I tried. The fine tip is perfect for detailed lettering and small drawings."
Jenna L. · Verified Amazon buyer
★★★★★
"Used them on a glass front door for the holidays — wiped off in seconds with a wet paper towel, zero residue. My kids use them on their chalkboard wall every day."
Olivia T. · Verified Amazon buyer
★★★★★
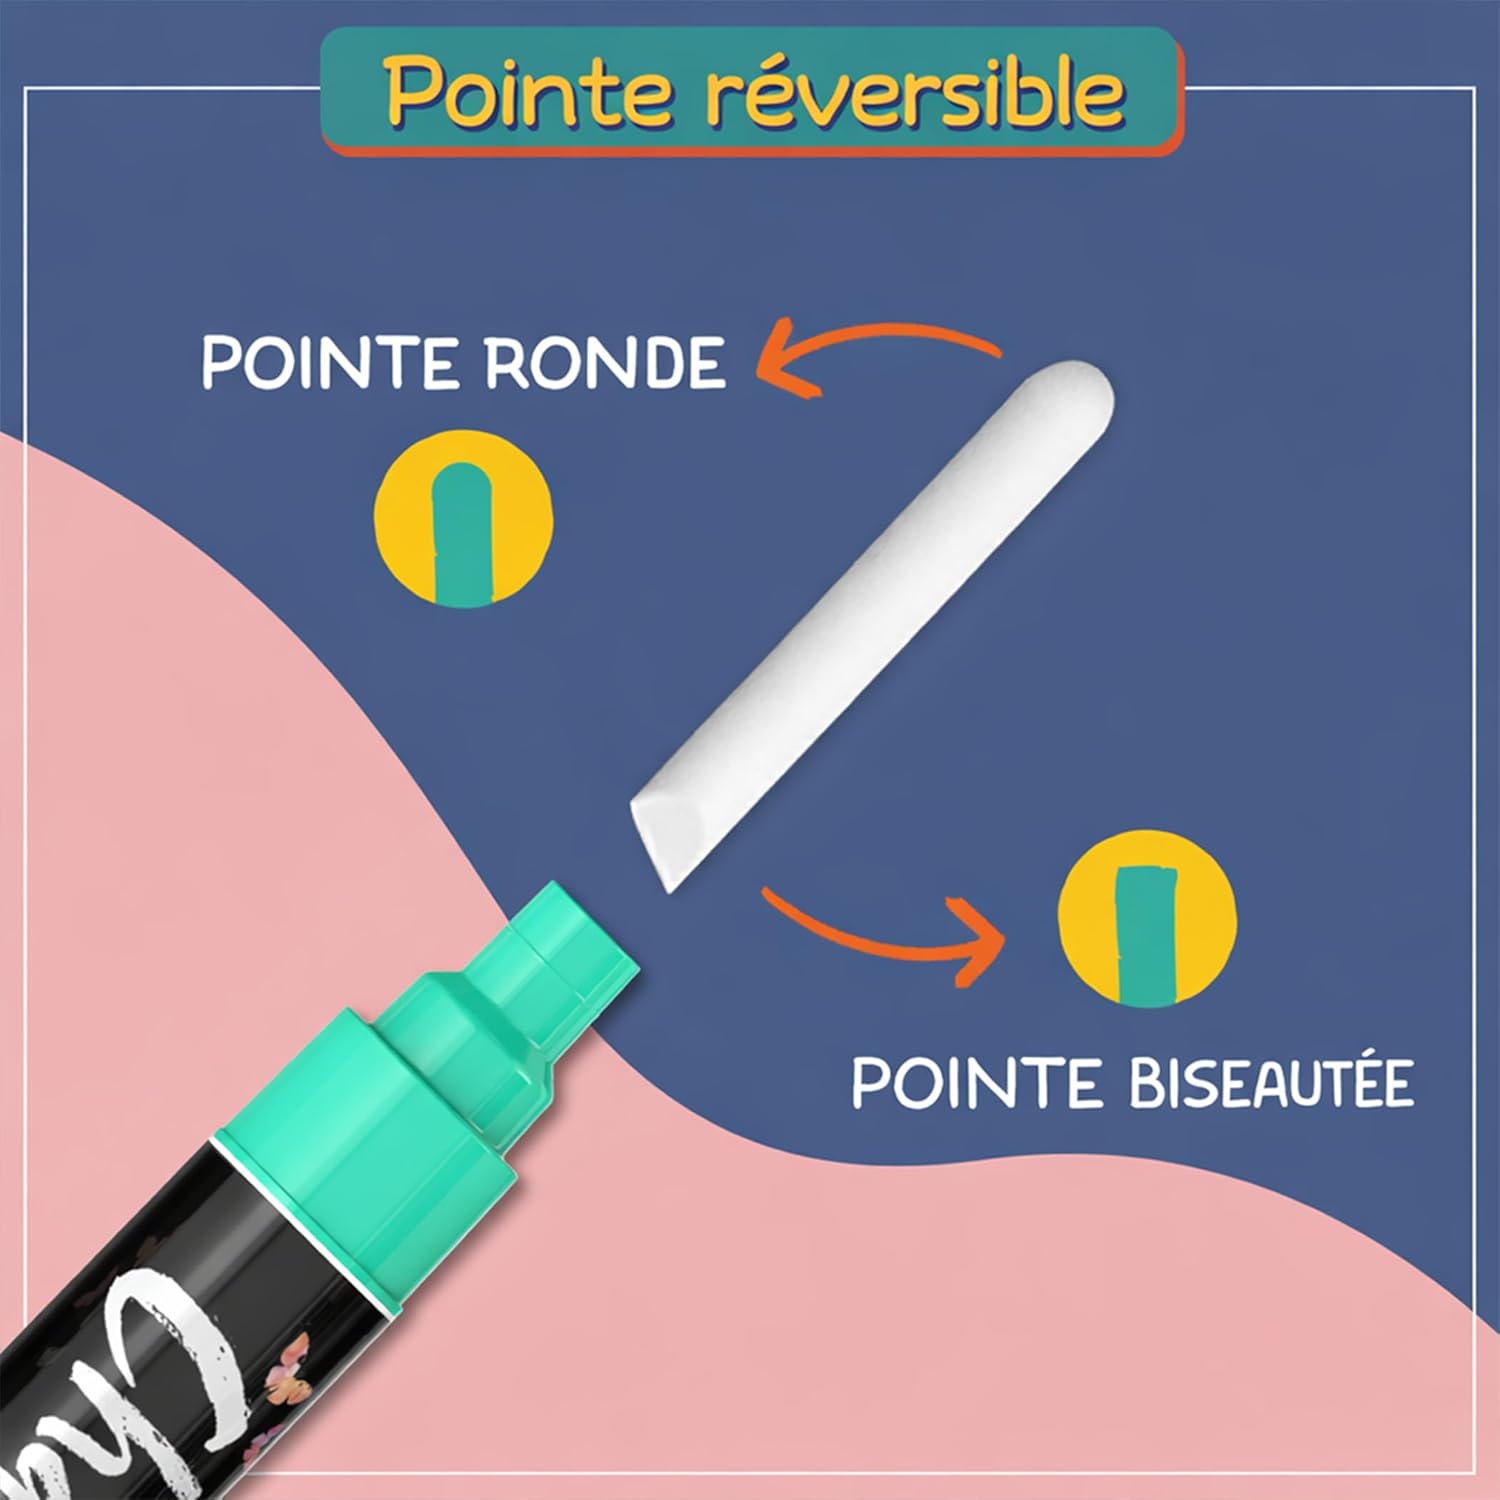
"Tried four brands before this. Chalkola lays down smooth without skipping, the colors are vivid, and the reversible tip gives me both fine lines and bold fills."
Chalk markers work best for decorating candy jars because they write smoothly on glass and plastic, wipe off after Halloween, and lay down opaque color even on dark containers. Decorate the outside only and keep the ink off the rim.
Yes, white chalk markers work over dark colors, but keep layers light. As shown in the tutorial, white can break through darker base colors if applied too heavily, so build up opacity gradually for clean Halloween designs on your candy containers.
Chalk markers wipe off non-porous surfaces like glass and plastic candy jars with a damp cloth. For stubborn designs, use a little glass cleaner or rubbing alcohol. This makes candy jar decorations reusable year after year for different holidays.
Decorate the outside of a closed container and keep the ink off the rim, the inside of the lid and anywhere candy touches. The water-based ink stays on the exterior surface; let it dry completely before handling or filling the jar.
Simple Halloween designs like pumpkin-colored stripes, spooky fangs on lids, monster faces, spider webs, and bats work beautifully on candy jars. Start with broad stripes or solid color blocks, then add details like teeth, eyes, or stitches for character.
subscribe to receive special offers and new art ideas