Paper dolls, pop-up books, stickers, and cutouts are just a few of the many fun at-home art projects that you can do with just a pencil, paper, colored markers, and scissors at hand.
For most DIY crafts, you really don’t need much to create something incredible and unique. With the right art tool, any material or surface can help you unlock and unleash your art skills, first-time artist or not.
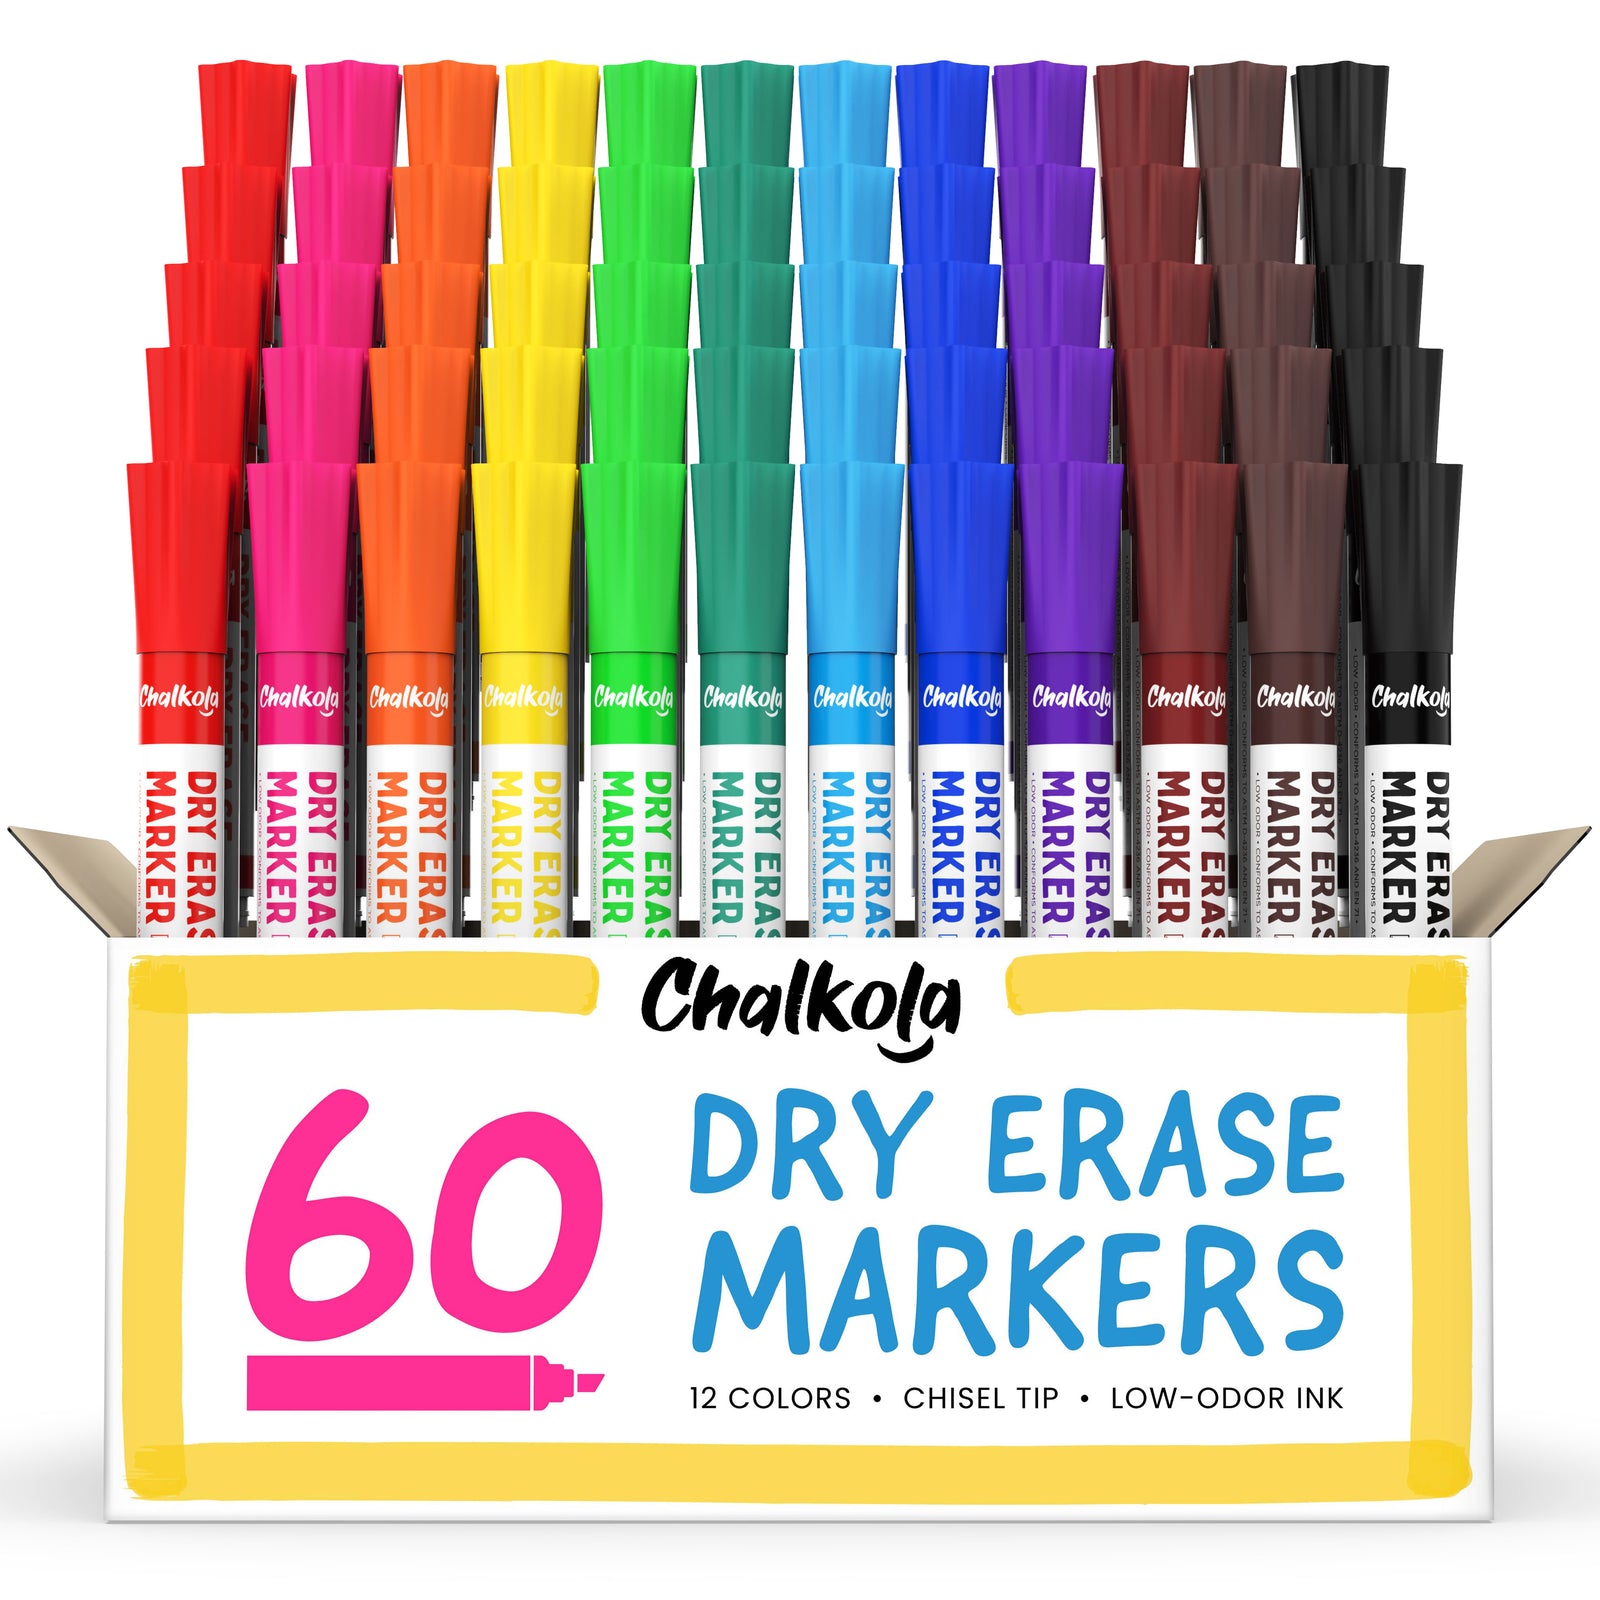
For today’s art-ivity, with just basic materials that you can find at home, we’re going to show you how to do animal cutouts using our favorite Chalkola Dry Erase Markers. Not to be mistaken as just whiteboard pens, these versatile and vibrant markers can be used on any non-porous surface if you want your illustration or creation to be erasable, and on any porous surface if your goal is to create permanent art.
Kids and kids-at-heart are going to have a blast working on these delightful cutouts, so without further ado, let’s go into the wild and get crafty with this paw-some artivity!
Materials needed:
- Chalkola Dry Erase Markers
- Thick paper
- Scissors
- Scalpel or cutter knife
- Cutting board
- Glue or tape
- Colored or printed paper
Here's a video of the step-by-step guide so you don't get lost in the jungle!
Steps:
- Lay out your paper. Start drawing your first animal of choice (ours is a bird). As this will become a cutout art, it’s best to use a black marker to draw the outline of your animal so it will be easy to see and cut.
- Draw your second animal. We’ve decided on an elephant, which is easier to draw, especially for younger kids.
- Our third animal is a tiger, which is also easier to illustrate for kids (and tigers are always a crowd favorite!)
- Once you’re done and satisfied with your animal drawings, it’s time to work on some leafy greens to complete the jungle look! Use Yellow, Green, and Apple Green for your leaves to make the colors pop once they're combined. You can also include some Copper and Brown details for added layers.
- Start tracing your illustrations with a scalpel or cutter knife (best to have a cutting board or a protective layer underneath your paper so you don’t damage or scratch the surface you’re working on).
- Once you’re done with all your animals and leaves, start cutting three circles on one sheet of paper (you can trace around a small soup bowl so it’s easier to cut).
- Add a background by gluing or taping a colored or printed paper under the sheet with the three circle cutouts.
- Lastly, arrange your cutout animals and leaves in each circle so it looks like they’ve popped out of the holes.
Wild how fun and easy that was–and this is just one of the many, many art-ventures you can embark on using your favorite Chalkola art supply! We’d love to see what you come up with, so please tag us on Instagram @chalkola and use the hashtag #ChalkolaArt for a chance to be spotted and featured. We can’t wait to work on another art-ivity with you. Stay tuned for more next week!


