Christina Griffiths started making greeting cards in 2008 in her spare time. She began to sell them and became a guest designer for an online card site. She later started her own website that’s existed for 8 years now and she has a very successful business. She films tutorials for aspiring card makers and had a lot of fun with Chalkola Premium Wet Wipe Markers.
Step 2
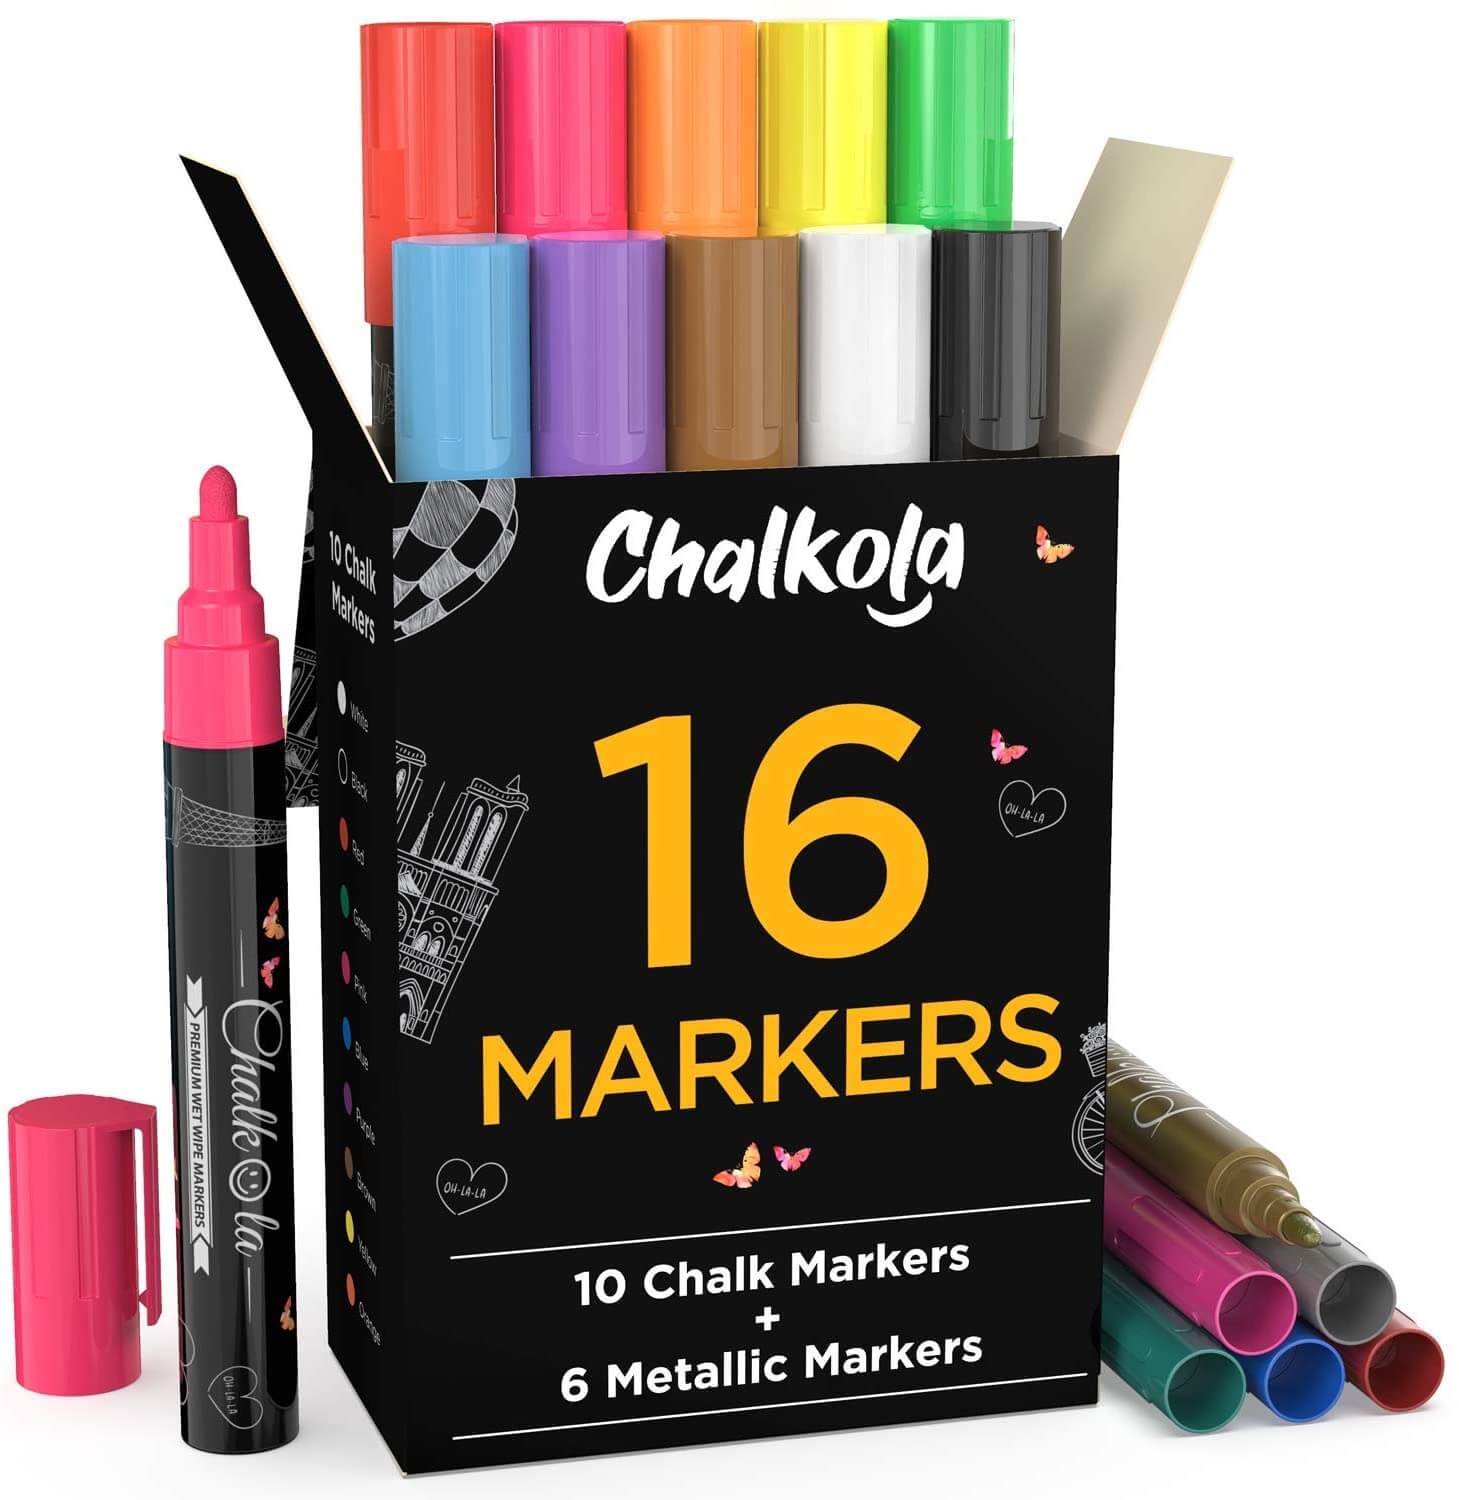
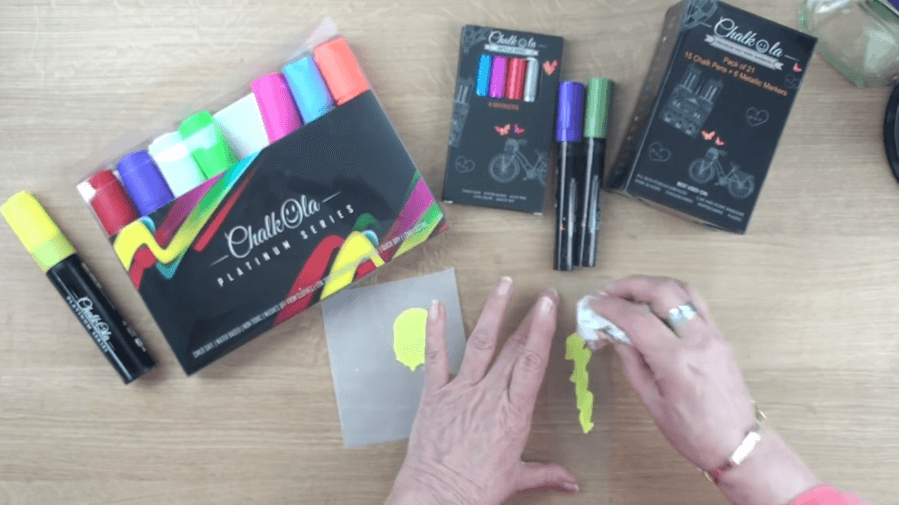
Christina decided to try Chalkola chalk markers and was surprised at all the colors she has to choose from. She can use jumbo sized markers, any of the 15regular markers, or get jazzy with the 6 metallic chalk markers.
Step 3
Choosing a jumbo yellow marker, she shakes it vigorously and depresses the tip several times to saturate the nib.
Step 4
You can see how brilliant the color is as she uses the marker on a piece of card stock. It is just as vivid on clear plastic.
Step 5
Curious about claims of easy clean up, Christina prepares a damp cloth to wipe off the chalk markings
Step 6
Sure enough, all the color wipes off easily, leaving the surface clean and free of residue.
Step 7
She picks up a jar to see how easy it is to use the markers on glass.
Step 8
Next she labels an old CD box that she has re-purposed into a trinket box.
Step 9
Christina is pleased with how fun and easy it is to use Chalkola chalk markers to label her receptacles.
Step 10
Now to begin work on a card for Valentine’s Day. Christina is has some ideas and starts with two wooden hearts.
Step 11
The jumbo red marker is great for coloring the heart
Step 12
A can of spray adhesive will help, too.
Step 13
After spraying adhesive on the wooden heart, she puts it in a container of glitter.
Step 14
Removing the heart from the glitter, she gently shakes off the excess.
Step 15
Now Christina has two glittery hearts for her card.
Step 16
Christina starts with a 5x7 piece of cardstock as a foundation and overlays it with a slightly smaller black piece.
Step 17
She then lays a smaller white piece atop the black, creating a frame and matte effect for her card.
Step 18
On the smallest white paper she traces a heart.
Step 19
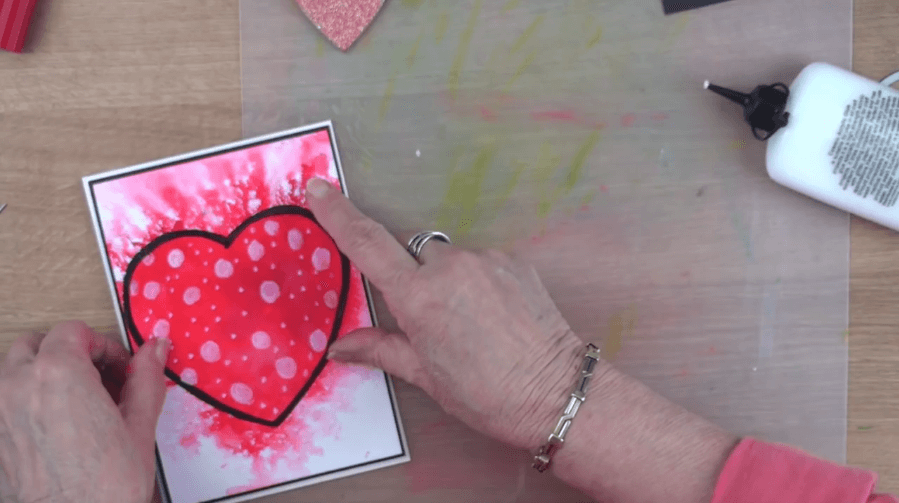
She outlines the traced heart with the regular sized red Chalkola chalk marker.
Step 20
As you can see, she has colored in the heart. She used the jumbo marker for faster coverage.
Step 21
Christina spritzes the heart with water.
Step 22
The water makes the color run and creates a beautiful effect.
Step 23
When the card dries she outlines the heart in black chalk marker.
Step 24
A white chalk marker is used to make big and small dots inside the heart.
Step 25
Christina uses common household glue on the back of the paper with the heart to secure it to the black matte.
Step 26
She does the same to the black matte to make it stick to the base of the card.
Step 27
She carefully lines up the matte to the larger white card stock.
Step 28
You don’t need a lot of glue to construct the card. Too much glue will make the paper soggy and leave ugly bumps on your card.
Step 29
Christina applies gentle but consistent pressure to make all the layers of the card adhere.
Step 30
She takes the two wooden hearts (remember those?) she made first and affixes them to the front of the card over the heart.
Step 31
She adds some words to the front of the card near the heart. You can see how simple it is to make a card that a loved one will always treasure with Chalkola Chalk markers and a few minutes of your time. Also read – How to Make Your Own Portable Whiteboard


 Also read – How to Make Your Own Portable Whiteboard