Lina Eckstrand is an artist and interior designer who loves to refinish old furniture. She has a vintage goods store named WackyGoose in Gothenburg, Sweden. Lina creates a lot of art using chalk paint that she sells in her shop and over the internet. She was very impressed with Chalkola Premium Wet Wipe Markers.
Step 2
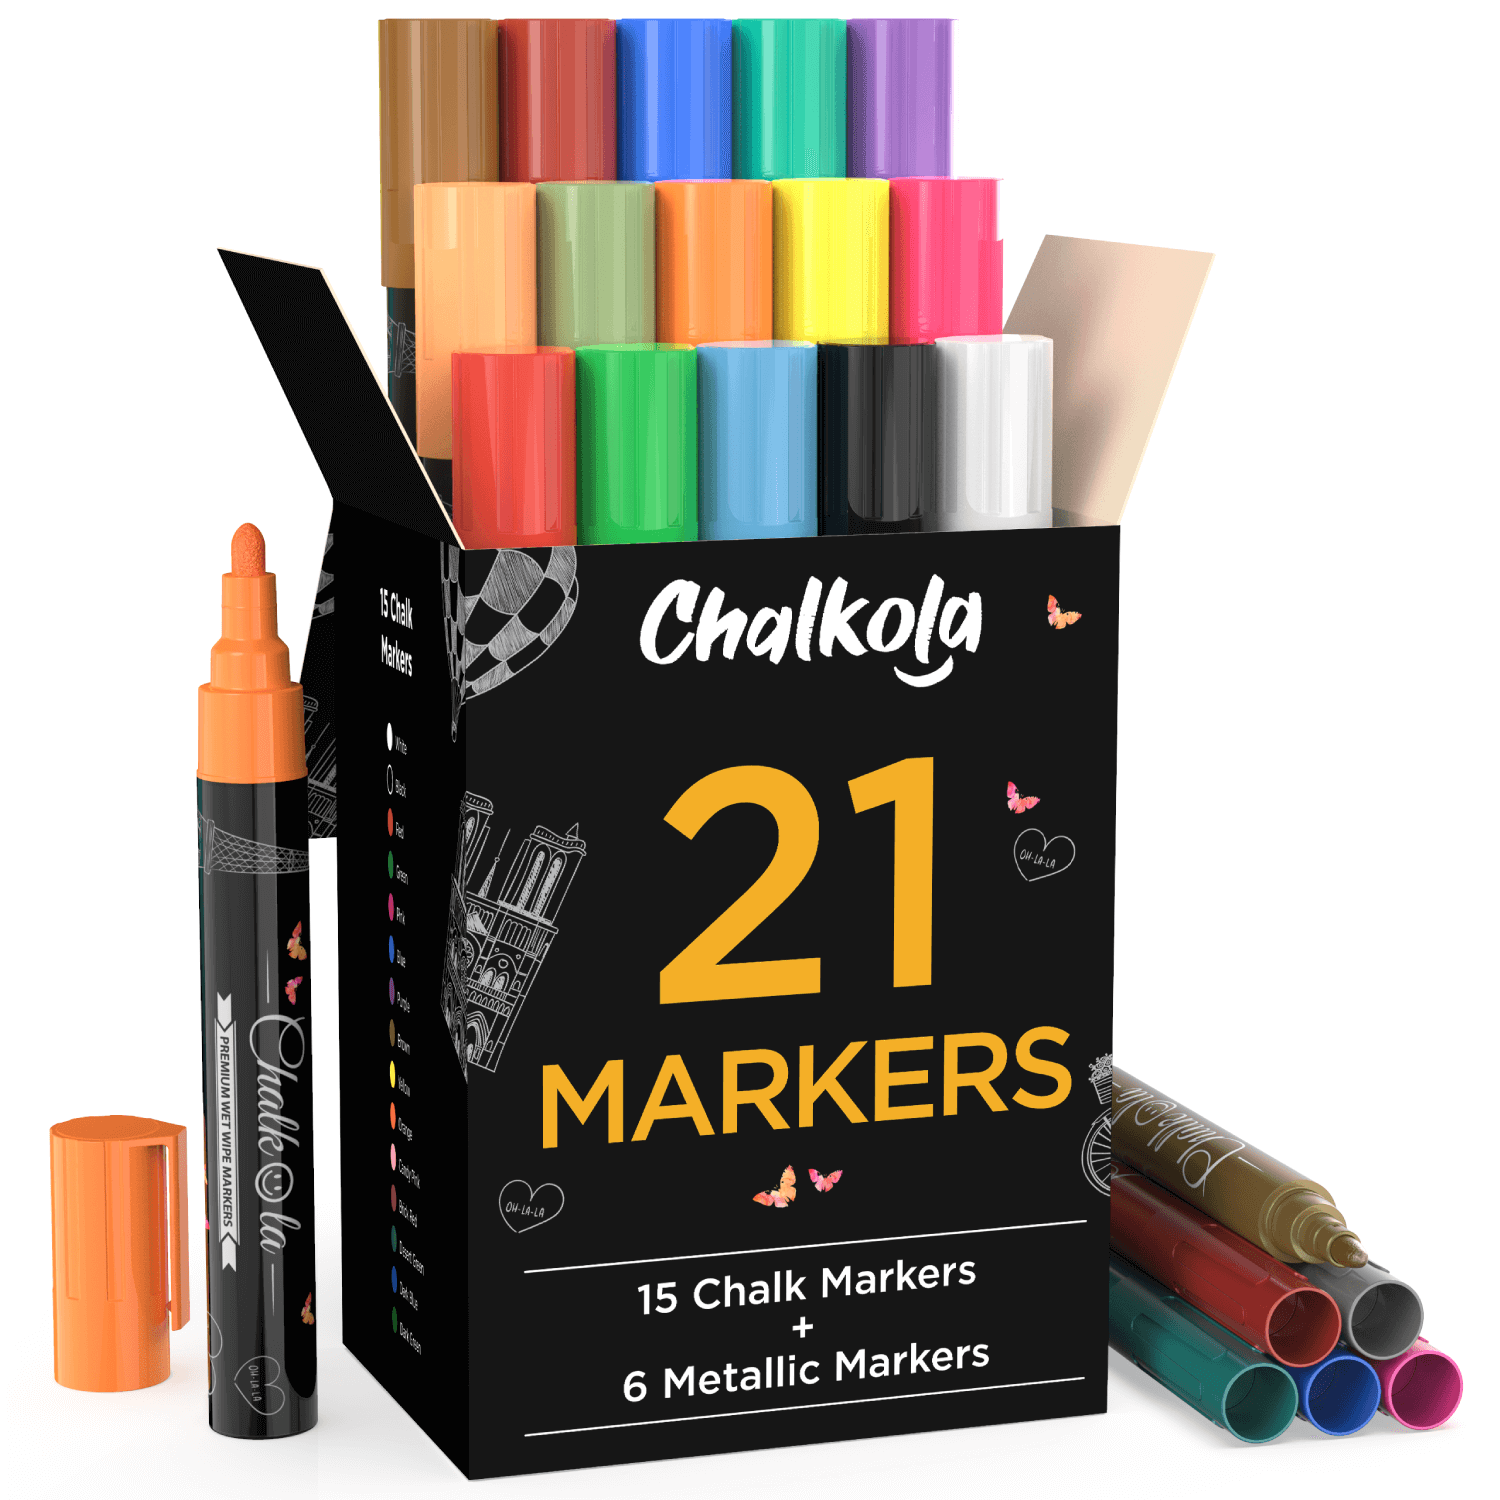
Lina opens the mailer containing the Chalkola chalk markers. She is very interested in trying out the jumbo window markers with the 3 in 1 nib.
Step 3
After vigorously shaking the blue marker, Lina presses the tip down firmly on the plastic. She watches as the ink begins to saturate the nib.
Step 4
The closest non porous surface at hand is the plastic package of Chalkola markers so that’s what Lina uses for her first experiment. She prints big, bold letters in Swedish with a heart to punctuate it. Lina is pleased with the bright color and with how smoothly the ink flows.
Step 5
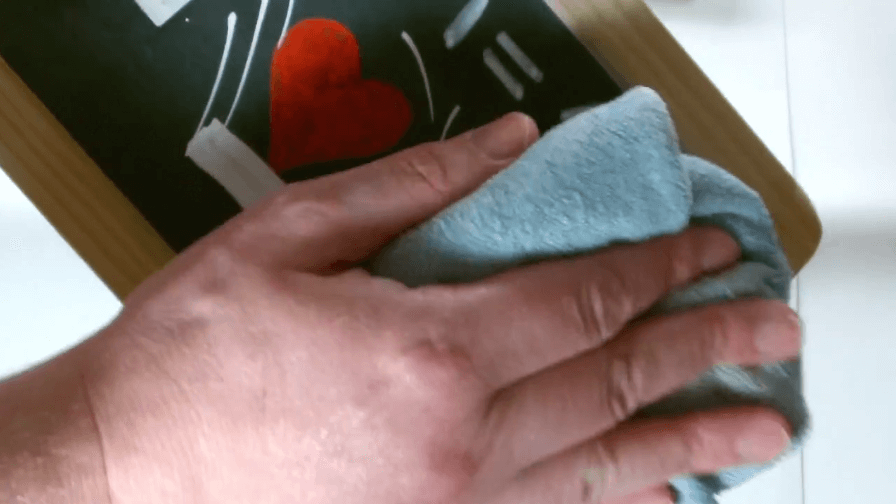
Now she is seeing if clean up is really as simple as the box says. She uses a damp cloth to wipe away the color, noting that it does smear at first but it is simple to wipe away.
Step 6
Lina is impressed with how all the color is gone, leaving no residue or smears on the surface.
Step 7
She plans to make a whiteboard out of a picture frame she recently bought at a flea market. Then she will have an ideal surface with which to have some fun with the Chalkola markers.
Step 8
She intends to use a piece of white paper in place of a photo for the frame.
Step 9
She removes the back of the frame and reaches for the white paper.
Step 10
She then places the paper in the frame on top of the glass and replaces the back.
Step 11
Lina now has a portable whiteboard!
Step 12
She starts by printing some letters.
Step 13
She erases the letters, pleased with how the whiteboard is working.
Step 14
Lina looks through all the Chalkola markers to choose some colors. There are so many beautiful colors!
Step 15
Lina adds a smile to the face of the sun in her whimsical drawing. Once Chalkola ink dries it’s easy to add extra details.
Step 16
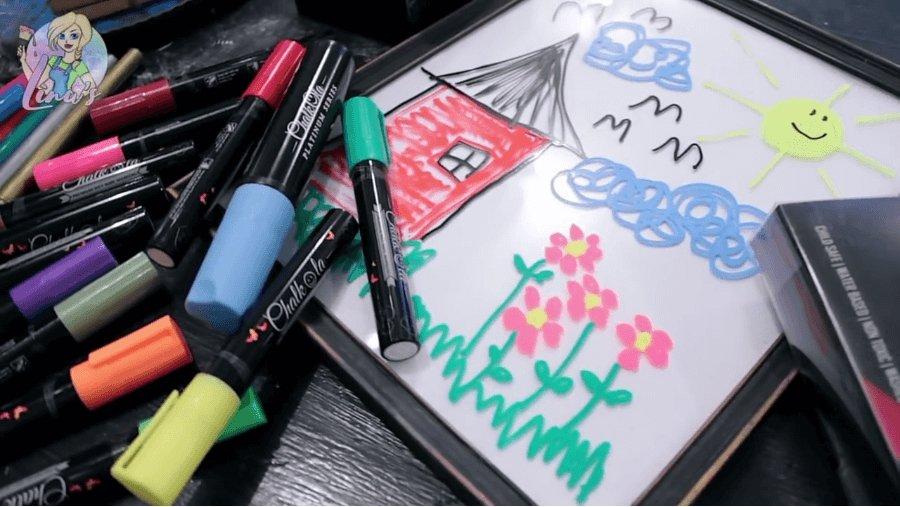
She shows off her portable whiteboard drawing.
Step 17
In this close up of Lina’s whiteboard drawing you can see how brilliant the colors are and how well her portable chalkboard worked. Lina was please with how easy it is to wipe away and clean up Chalkola markers. She loved the vivid colors, how smoothly the markers worked, and how quickly the ink dried. As an artist who uses chalk markers as a common medium, Lina was very impressed with the quality and beauty of Chalkola Premium Wet Wipe Markers. Also read – Chalkboards Love Chalkola Chalk Markers


 Lina was please with how easy it is to wipe away and clean up Chalkola markers. She loved the vivid colors, how smoothly the markers worked, and how quickly the ink dried. As an artist who uses chalk markers as a common medium, Lina was very impressed with the quality and beauty of Chalkola Premium Wet Wipe Markers. Also read – Chalkboards Love Chalkola Chalk Markers