

With Easter drawing near, we thought it would be an awesome idea to share how you can paint Easter eggs using liquid chalk markers. Most of us are used to craft paint, watercolor, or acrylics to add splashes of color on our eggs whenever Easter comes around, but this time, we’re making this creative tradition extra art-venturous by using chalk markers instead. What’s so great about this art activity is that it only requires a few basic materials. You’ll enjoy mixing and matching different chalk marker colors to create vibrant and unique splatter designs on your eggs...so much so that you might paint more than a dozen!
Can you paint with chalk markers? Absolutely! For those who haven’t used chalkboard markers before, don’t be surprised to see the tips blank before first use. These pens hold a reservoir of vibrant ink that you can easily activate by shaking the marker and then pressing the nib a few times on paper or a palette to prompt the ink to flow. Once you’ve activated your markers, you’re all set to use them any way you want – paint, draw, doodle, or write!
Are chalk markers erasable? Yes, they’re easily and completely erasable with a wet cloth or a board cleaner as long as you use them on any non-porous surface, such as glass, plastic, ceramics, non-porous chalkboards, and other smooth surfaces. If you want your artworks to be permanent, use porous canvases like paper and wood.
Aside from their versatility, Chalkola Chalk Markers are 100% non-toxic, so you don’t have to worry about using them on eggs or having their ink all over your or your kids’ hands – they can be washed off with soap and water.
Now that you know your chalk markers better, you can start having fun with them!
Materials needed:
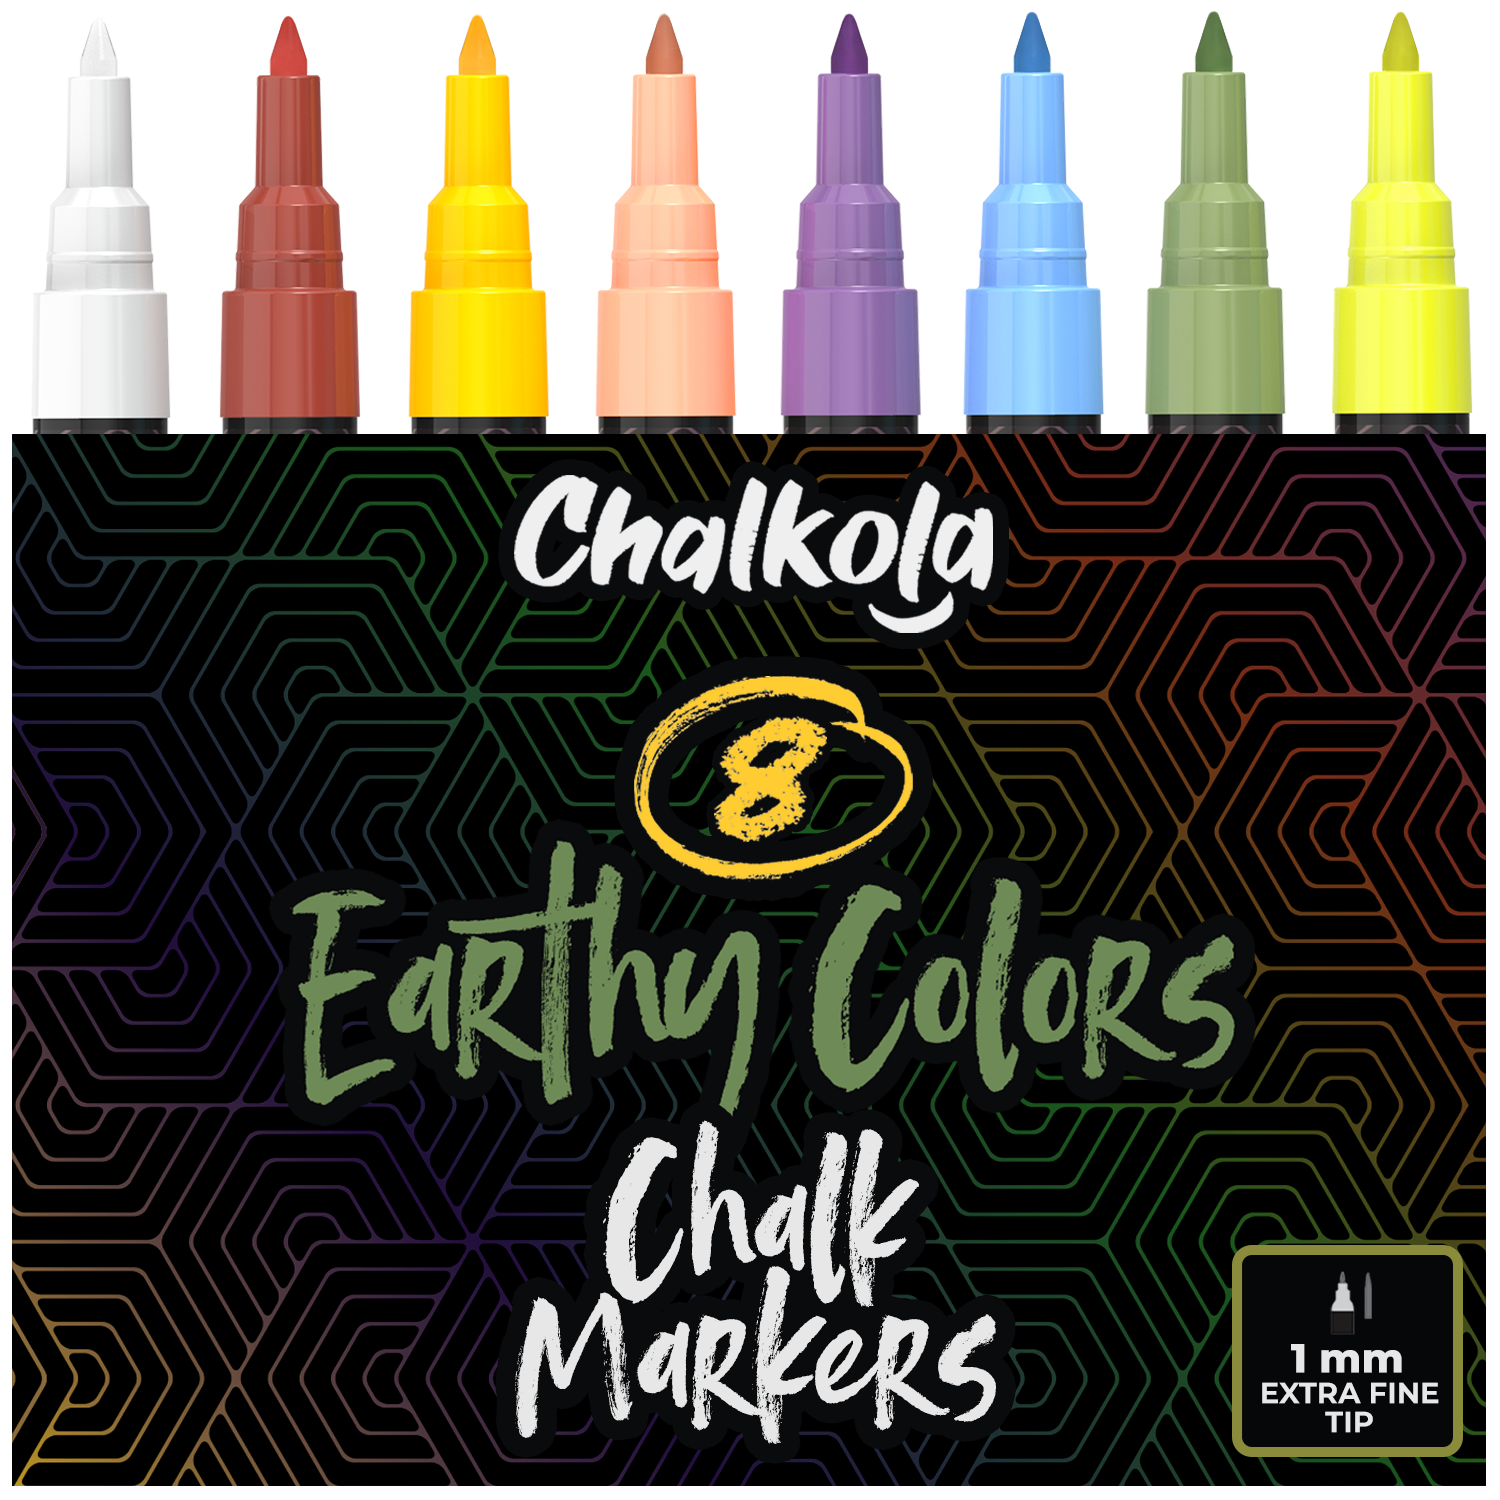
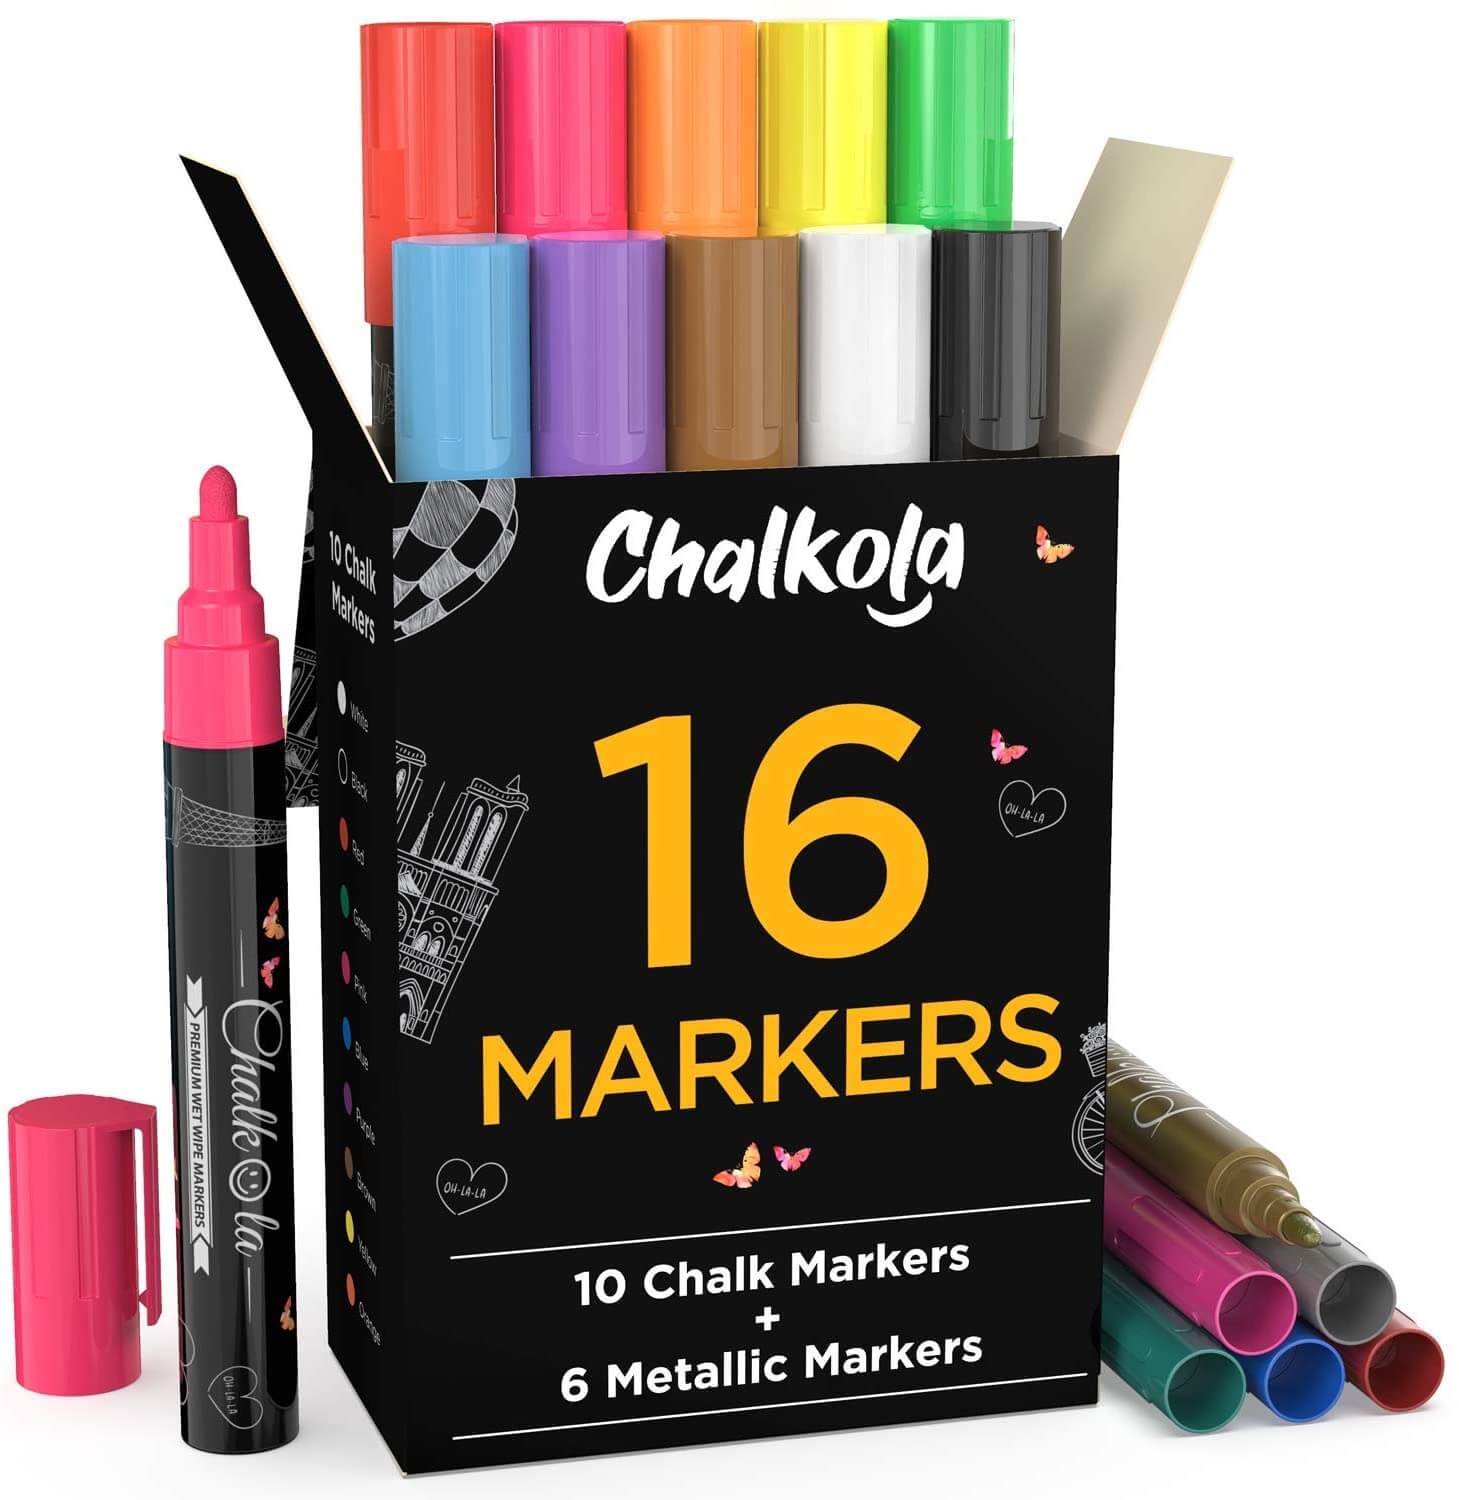
- Chalkola Chalk Markers
- Eggs
- Clear plastic
- Rubber band
Before we begin, make sure to lay out old newspapers or any kind of cover to protect the surface you’ll be working on. Egg-cited to get colorful and creative? Then hit play on the video below and let’s get cracking on these eggs!
Steps:
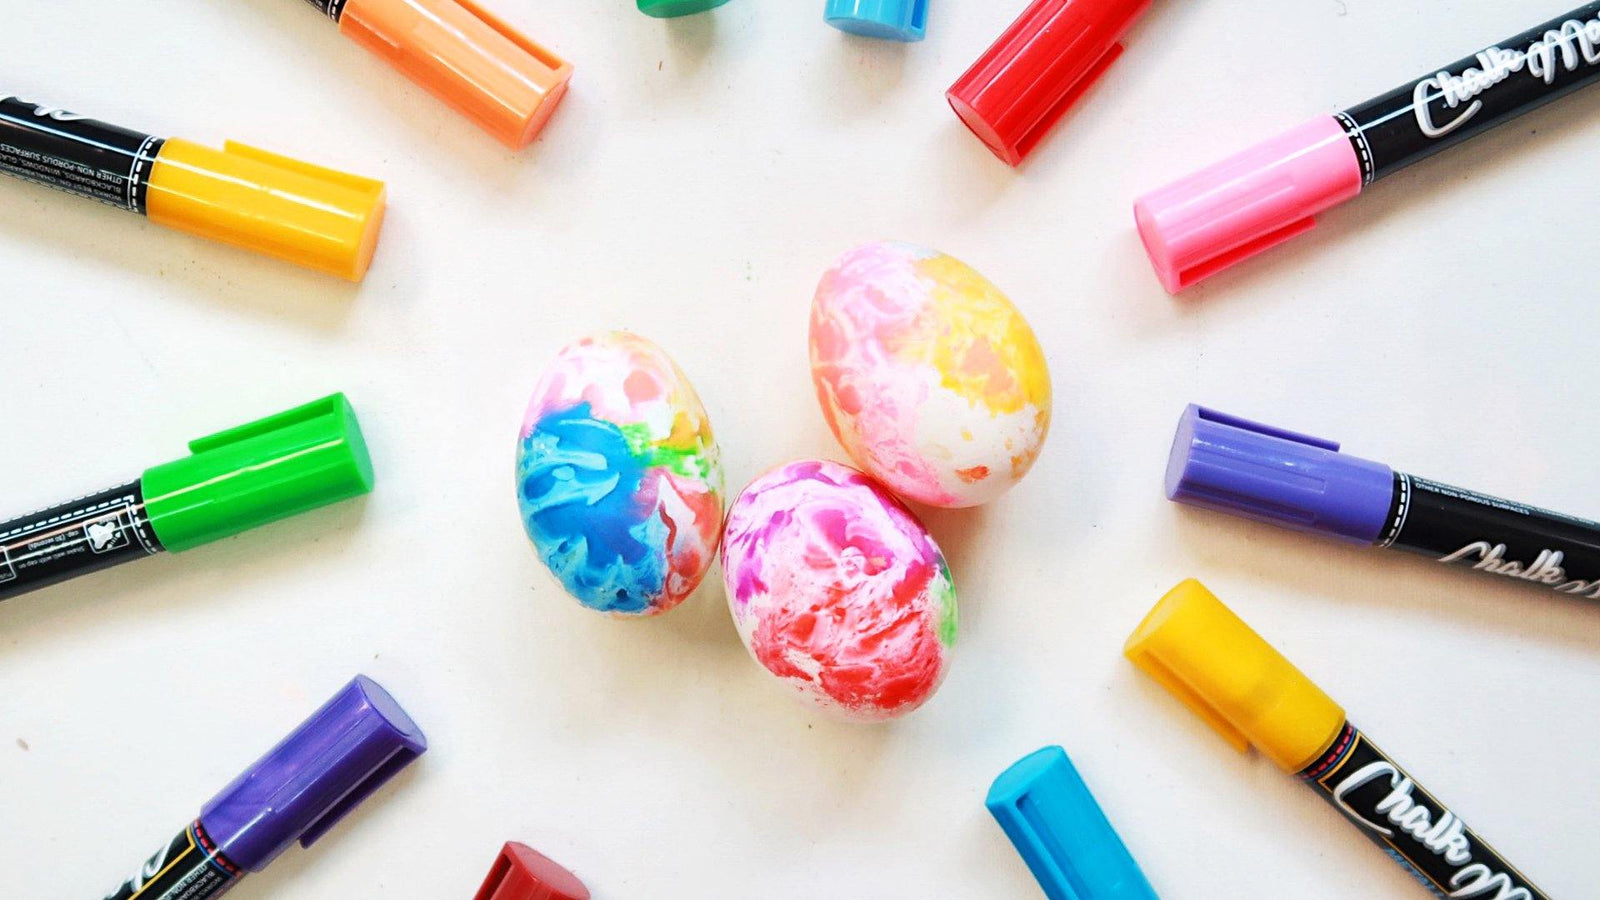
- Lay down the clear plastic.
- Choose 2 to 4 chalk marker colors, then scribble on your clear plastic using each one. Make sure you give your markers a good shake before using them to get the ink flowing smoothly.
- Once you’re satisfied with the amount of colors on your plastic sheet, pick up an egg and wrap it with your plastic. Use a rubber band to secure the plastic around the egg.
- Blend the colors on the plastic by gently pressing and rubbing it around the egg. The goal is to cover the entire egg with ink.
- Remove the rubber band and allow the egg to dry for 2 to 3 minutes. Avoid placing it back in the egg tray to prevent the colors from getting rubbed off. Repeat this process using the same colors or different color combinations on as many eggs as you want.
TIP: You don’t need a lot of plastic sheets for this art project. You can just wash off the chalk marker ink whenever you want to change up the colors. Or use a water spray and a clean cloth to rub it off.
That was easy and fun, right? If you want to make your Easter celebration egg-stra special and festive, refresh your wooden coasters (in case you have some) to add more zest to your table presentation, whether as centerpieces or as personalized coasters for everyone. Check out How to Redesign Wooden Coasters Using Chalk Markers for the full tutorial. Happy creating and a vibrant Easter to all!