New snacks on sale now for a limited time! Use code NEW for 15% off.
Chalkola · Tutorial
How to Draw an Owl Using Dry Erase Markers with Free Tutorial Sheet
Updated Oct 2026
QUICK ANSWER
Simple marker drawings: Dry erase markers are excellent for simple drawings because they're erasable on non-porous surfaces like glass, whiteboards, and non-porous chalkboards. Look for markers with vibrant colors, non-toxic ink, and medium tips that allow both thick and thin lines for versatile drawing techniques.
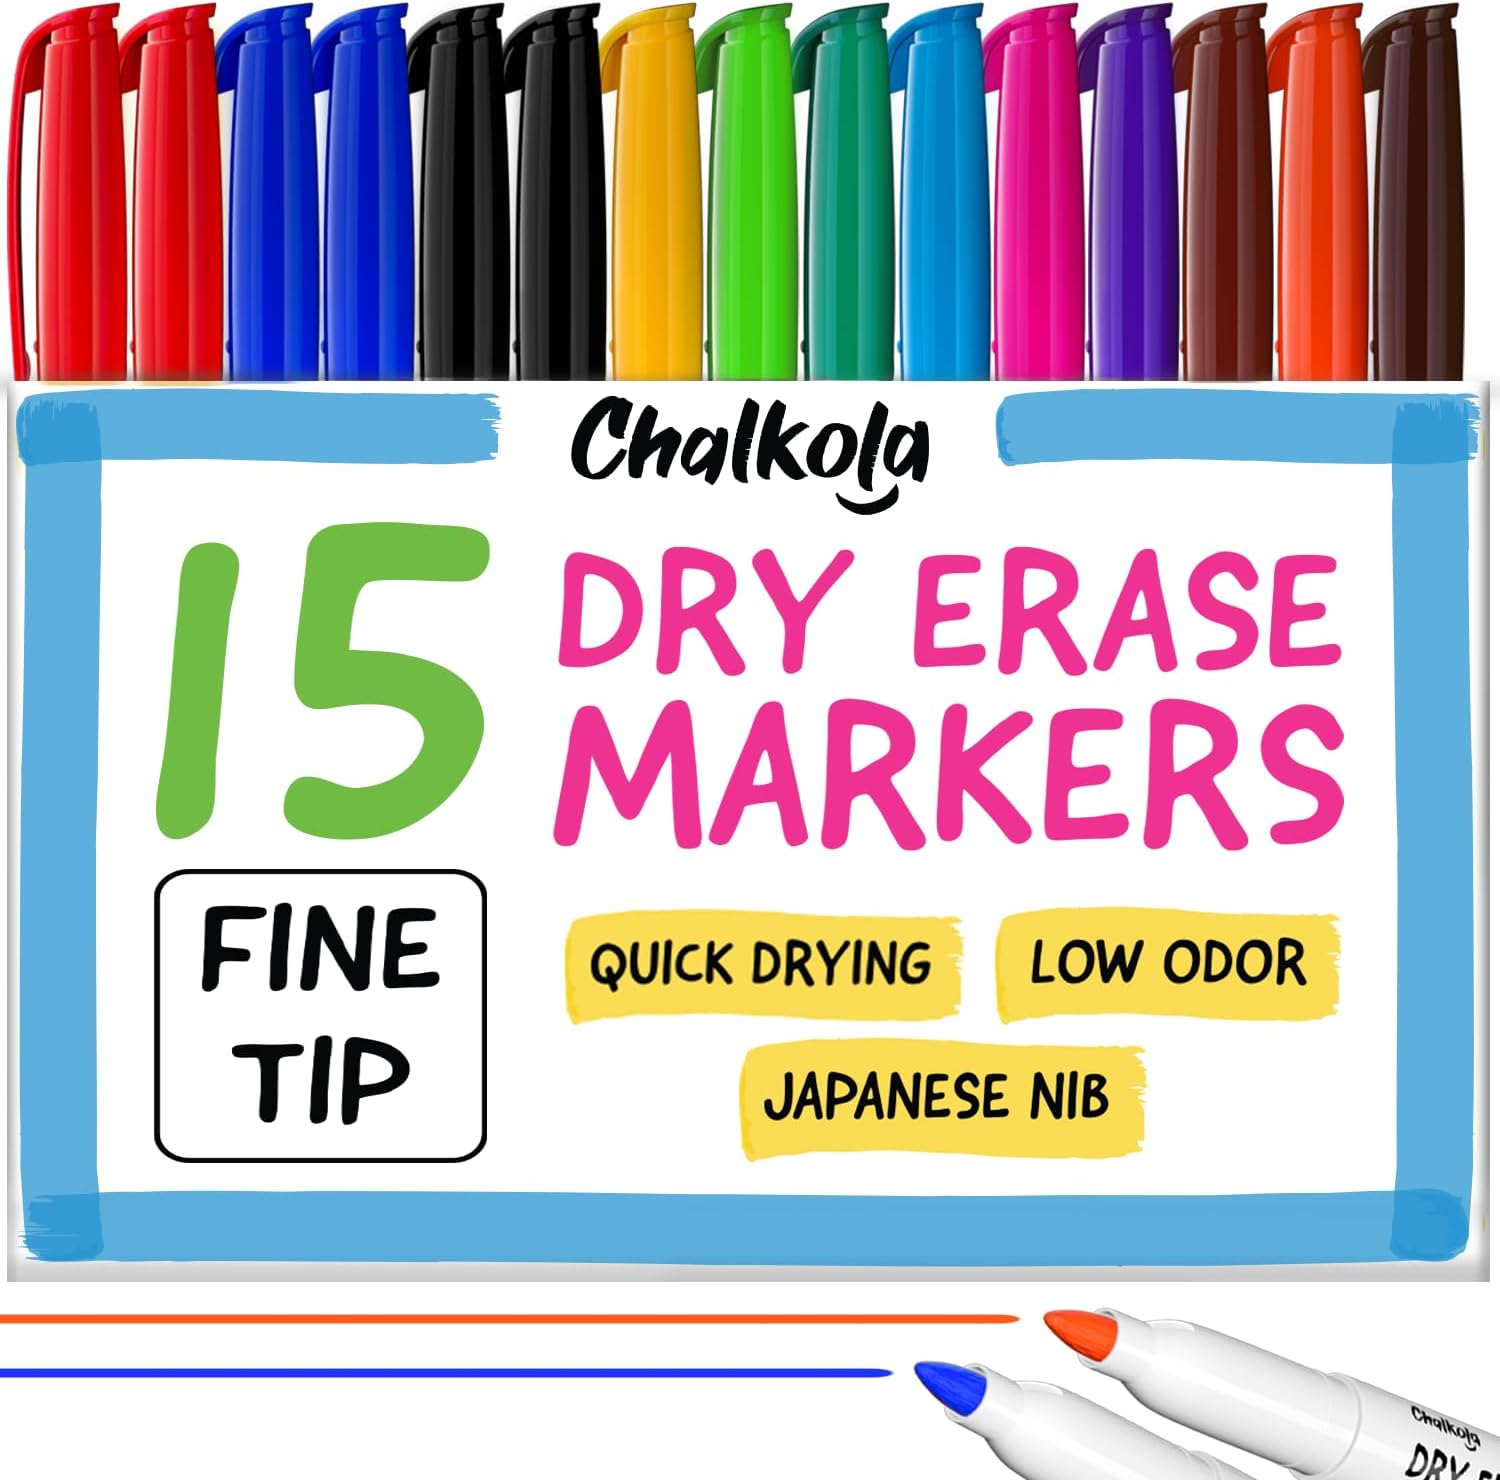
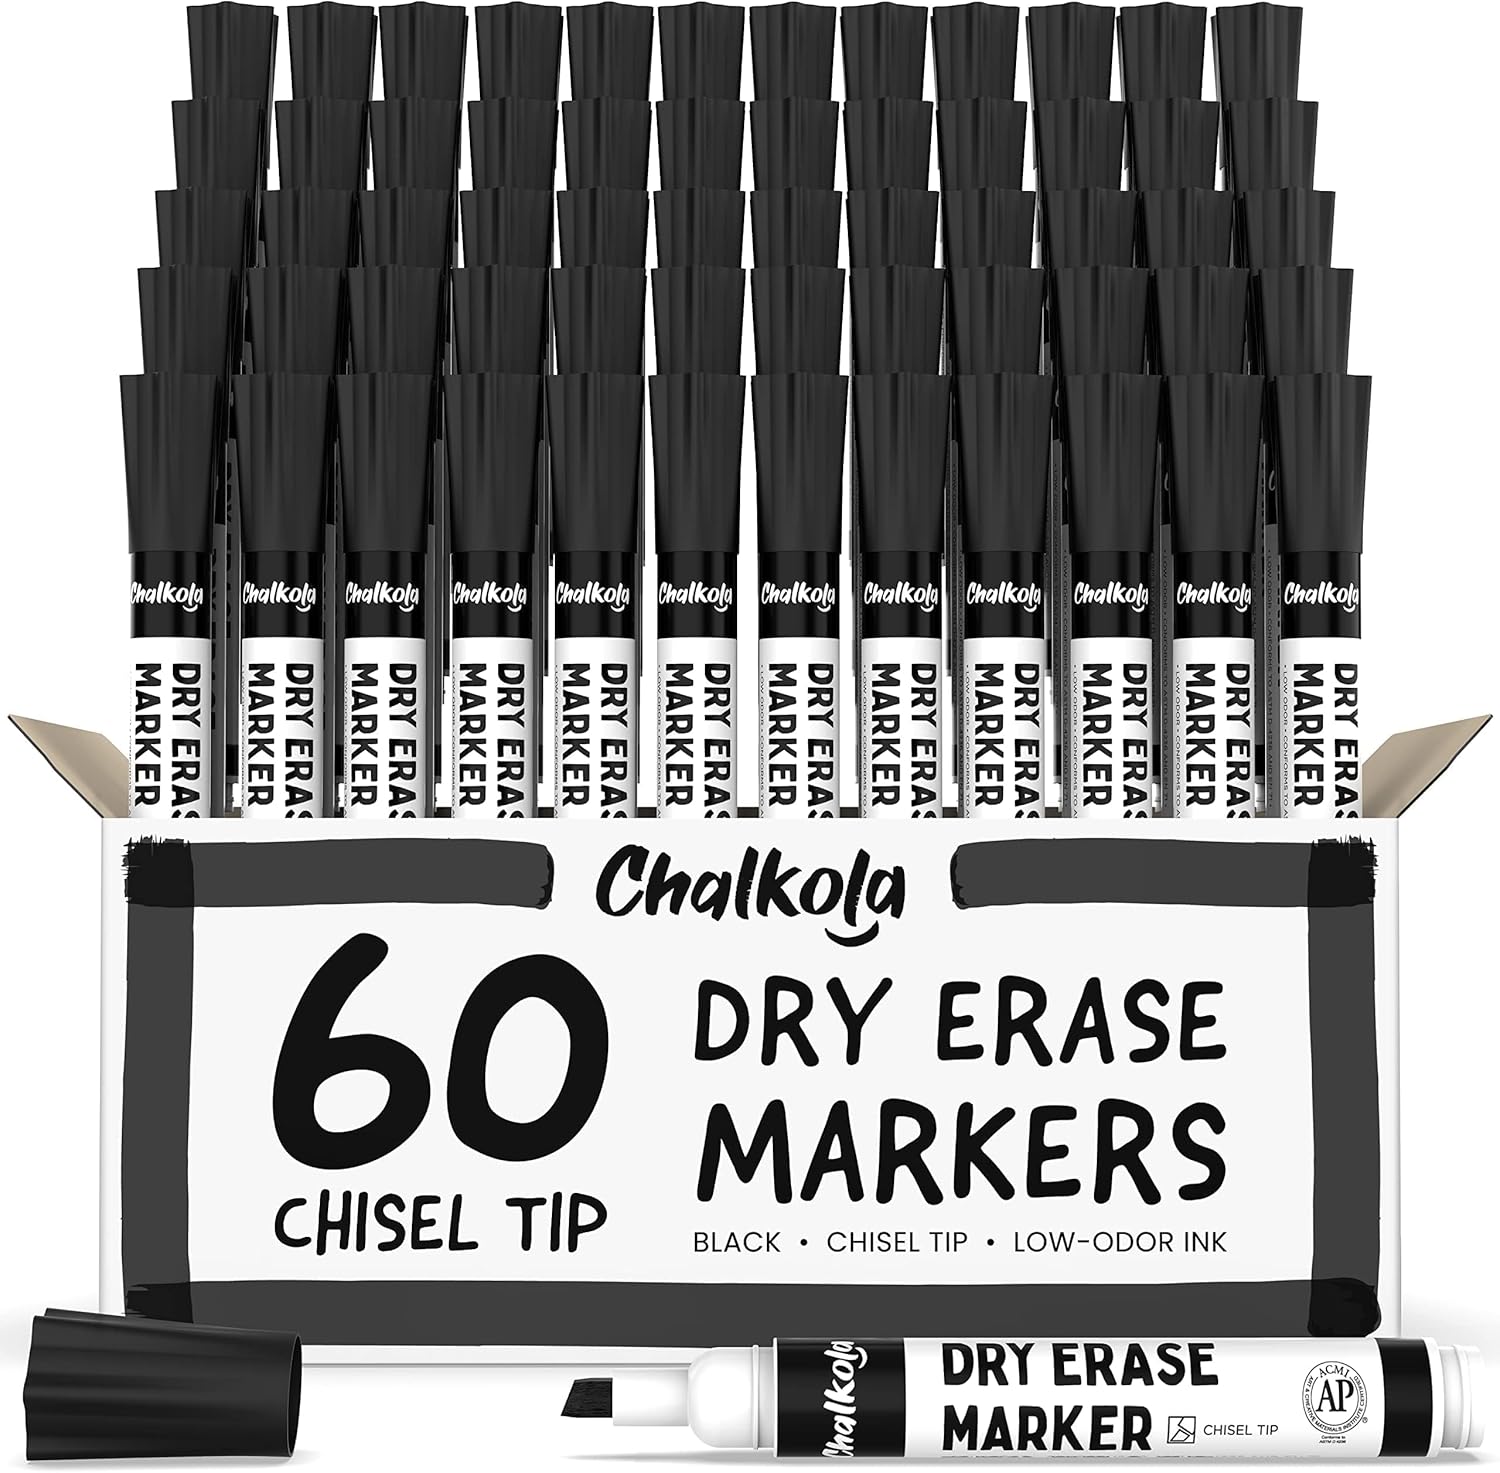
60 Colored Dry Erase Markers — Comes in 12 rich colors (Neon & Pastel) 5 pens each of Black, Blue, Red, Green, Pink, Purple, Yellow, Orange, Light Blue, Light Green, Copper brown & Dark Brown
Low Odor Dry Erase Markers Non Toxic for Kids — Chalkola whiteboard marker conform to ASTM and EN71 regulations & are AP Certified. Our dry erase pen are safe to use for kids
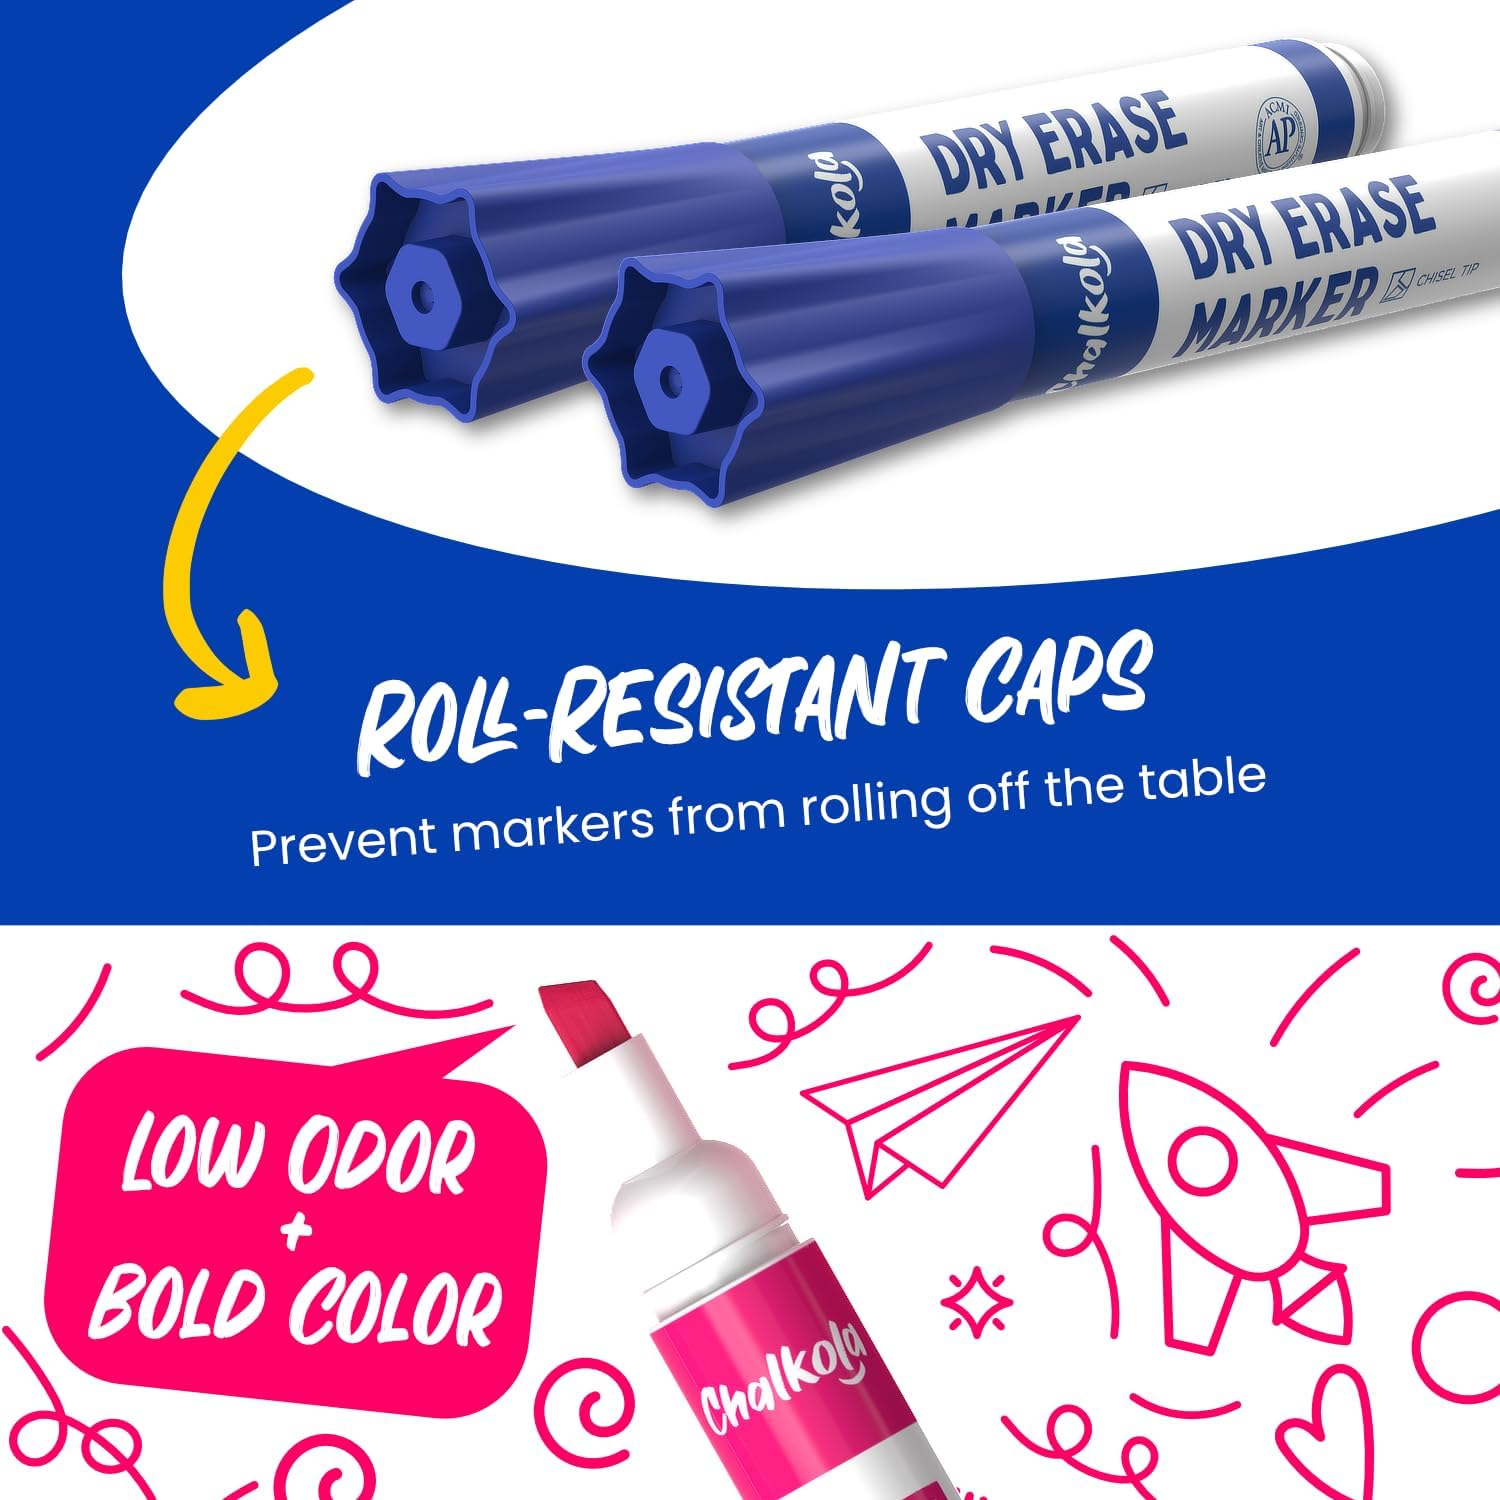
Erasable Markers for Whiteboard — Dry Erase Marker set that dry quickly, erase quickly with any cloth or dry eraser. Dry erase markers chisel tip allows to produce thin or thick lines without any breaks, making them perfect for classrooms or conference rooms.
These white board marker work on any non-porous surface — like blackboard, glass board, plastic boards, ceramic. They can be used as fine tip dry erase markers or thick point, in different angles
So many people are fascinated by owls. Whether it’s because they symbolize wisdom and endurance, or because they have huge, mysterious eyes that most find captivating, owls have always been considered as one of the most interesting and magical birds in the fictional realm and in real life. In Tokyo, there are owl cafes where you can enjoy meals or drinks with owls -- but at a safe distance, of course. Many owls have also appeared in the Harry Potter films -- one of which had been Hedwig, Harry’s two-foot tall Snowy Owl.
Having said all that, today, we’re doing an owl appreciation post and showing you how to draw one in simple steps that beginners can easily follow. We’re also including a step-by-step guide sheet here so you can practice illustrating offline and take it with you anywhere you wish.
We’ve chosen to use Chalkola Dry Erase Markers for this art-venture for awesome reasons. One, their colors are super vibrant and dry to a bright and matte finish. Two, the ink is non-toxic, odorless, and erasable on non-porous surfaces, so if you decide to use these markers on glass or a non-porous chalkboard or a whiteboard, you can just wipe off your drawing whenever you want to start all over again. Lastly, you get 60 markers in 12 vivid colors, which means you won’t be running out of markers anytime soon!
Ready to draw your hoot-iful owl? Just watch the video below and check out the step-by-step guide that you can also use as a practice sheet offline.
Note: You can choose to sketch your owl outline using a pencil first if you’re not yet comfortable drawing with a marker right away.
If you enjoyed learning how to draw an owl, you might want to explore How to Paint an Eagle Using Acrylicsfor your next artivity. Happy creating!
Why Dry Erase Markers Are Perfect for Simple Drawings
Dry erase markers offer unique advantages for artists learning simple marker drawings. Unlike permanent markers, dry erase ink sits on top of non-porous surfaces, allowing you to wipe away mistakes instantly and try again. This erasable quality removes the fear of errors that often holds beginners back.
The vibrant, quick-drying formula creates bold lines without smudging, making it easy to add layers and details. Because they're non-toxic and odorless, dry erase markers are safe for children and classroom environments. You can practice the same drawing dozens of times on a whiteboard or glass surface, building muscle memory and confidence without wasting paper.
For this owl tutorial, the erasable feature means you can adjust eye placement, refine feather textures, and experiment with different color combinations until you achieve the look you want. The forgiving nature of dry erase markers makes them ideal for simple marker drawings where the learning process matters as much as the final result.
Tips for Creating Easy Marker Drawings for Kids
When teaching kids simple marker drawings, start with subjects built from basic geometric shapes. Owls, cats, and fish are excellent first projects because they break down into circles, triangles, and ovals that young artists already recognize.
Use a whiteboard or glass surface so children can erase and restart without frustration. Encourage them to draw large—bigger shapes are easier to control and build confidence. Demonstrate each step slowly, allowing kids to complete one stage before moving to the next.
Focus on fun over perfection. Let kids choose their own color combinations and add personal touches like patterns, extra details, or silly expressions. The owl in this tutorial can become a rainbow owl, a spotted owl, or even a fantasy owl with creative embellishments.
Keep marker sets organized with all caps secured to prevent drying. With 60 markers available, kids can work in groups or have backup colors ready. The erasable nature of dry erase markers means they can practice the same drawing multiple times, watching their skills improve with each attempt.
Simple Shapes Method: Breaking Down Your Owl Drawing
The secret to simple marker drawings is understanding that complex subjects are just combinations of basic shapes. This owl tutorial uses the simple shapes method to make drawing accessible to absolute beginners.
Step 1: The Body – Start with a teardrop or rounded triangle shape. This forms the owl's body and immediately establishes the bird's proportions.
Step 2: The Head and Eyes – Draw a circle overlapping the top of the body. Add two large circles for eyes—owls are known for their prominent, forward-facing eyes that give them their wise appearance.
Step 3: Facial Features – Place a small triangle between the eyes for the beak. Add smaller circles inside the eyes for pupils, and consider adding a highlight dot to make the eyes sparkle.
Step 4: Wings and Details – Draw curved lines along the sides for wings. Use short, curved strokes to suggest feather texture without overwhelming detail.
Step 5: Color and Personality – Fill your owl with vibrant colors. Try realistic browns and grays, or experiment with imaginative color schemes. Add feet with simple claw shapes at the bottom.
This shapes-first approach works for any subject. Once you master the owl, apply the same method to other animals by identifying their core geometric forms.
NEED MORE COLORS? THE 120-PACK FOR CLASSROOMS
Chalkola Bulk Dry Erase Markers for Classroom (120 Pack, 12 Vibrant Colors) | Erasable, Low Odor, Chisel Tip WhiteBoard Markers, Dry Erase Pens for Kids, Teachers
★★★★★4.4 · 1,155 Amazon ratings
$49.95 USD · free shipping
120 Bulk Dry Erase Markers — Low odor white board dry erase markers classroom pack. Comes in 12 rich colors (Neon & Pastel) - 10 pens each of: Black, Blue, Red, Green, Pink, Purple, Yellow, Orange, Light Blue, Light Green, Copper brown & Dark Brown
Easy to Use and Erase — Our whiteboard markers bulk can be erased easily by a cloth or eraser, so you can write or mark again.Our dry erase markers classroom set can be used as fine tip dry erase markers or chisel tip, in different angles.
Widely Applicable — you can use our bulk whiteboard markers in classroom, office or even at home! As perfect pack of dry erase markers can be easily used on whiteboards for teaching kids
Low Odor Dry Erase Markers Non Toxic for Kids — Chalkola dry erase marker bulk conform to ASTM and EN71 regulations & are AP Certified. Our bulk dry erase markers for classroom are safe to use for kids
💰 Use code CHK10OFF at checkout · save 10% on this order
What customers say about Chalkola dry erase markers
4.4★
Amazon rating
1,155
Amazon ratings
86%
rate it 4★ or 5★
74%
5★ ratings
★★★★★
"I'm a teacher, and whenever I need a new supply of dry-erase markers for my classroom, these are the ones that I order. I love the color options; they write well and erase easily from any board I've used them on. These are my go-to choice!"
M. R. · Verified Purchase · Amazon review, Jul 2026
Ratings: Chalkola 60 Dry Erase Markers on Amazon.com, September 2026. Quotes are verified Amazon reviews, shown as written.
Dry erase markers are excellent for simple drawings because they're erasable on non-porous surfaces like glass, whiteboards, and non-porous chalkboards. Look for markers with vibrant colors, non-toxic ink, and medium tips that allow both thick and thin lines for versatile drawing techniques.
Yes, dry erase markers are perfect for kids because mistakes can be wiped away instantly, encouraging experimentation without fear. Non-toxic, odorless formulas ensure safety, and the erasable nature means children can practice the same drawing repeatedly on a whiteboard or glass surface until they master the technique.
Dry erase markers work best on non-porous surfaces where the ink sits on top and can be wiped clean. On paper, the ink will absorb and become permanent. For erasable paper drawing, use markers specifically designed for porous surfaces, or practice on whiteboards and laminated tutorial sheets instead.
Start with basic shapes like circles and ovals for the body and head. Add triangles or curved lines for ears, beaks, or wings. Build details gradually by layering simple geometric forms. The owl tutorial demonstrates this technique: begin with a teardrop body, add circular eyes, and finish with feather textures using short strokes.
Dry erase markers erase cleanly from any non-porous surface including whiteboards, glass windows and mirrors, laminated paper, non-porous chalkboards, and glossy tiles. The ink dries to a matte finish that wipes away with a dry cloth or eraser, making these surfaces ideal for practice drawings and temporary art.
Beginners can create effective simple drawings with 8-12 basic colors including primary colors, black, brown, and a few earth tones. However, having a larger set like 60 markers in 12 vivid colors provides backup markers, ensures you won't run out mid-project, and offers flexibility for experimenting with shading and color blending techniques.
subscribe to receive special offers and new art ideas