

Don’t you just love drawing snacks as much as you enjoy eating them?! That’s why we’re dedicating this post to all the cupcake fans out there who would like to learn how to draw these delightful mini cakes. This easy-to-follow tutorial will show you the basics of how to outline a cupcake and fill it up with colors. For added satisfaction, why not munch on a cupcake while learning to draw one!
Materials needed:
- Chalkola Chalk Markers
- Paper
Ready to snack and draw? Let's watch the one-minute video below for a sweet, sweet art treat!
Steps:
- Prepare your materials. Start drawing the outline of your cupcake with a pencil (if you prefer), or directly with a black marker (don’t forget to give it a good shake before using it).
- Start with the cherry on top (literally!), and then work your way into drawing the rest of the layers.
- Add ridges to the ‘cup’ and details on the cherry before you move on to coloring.
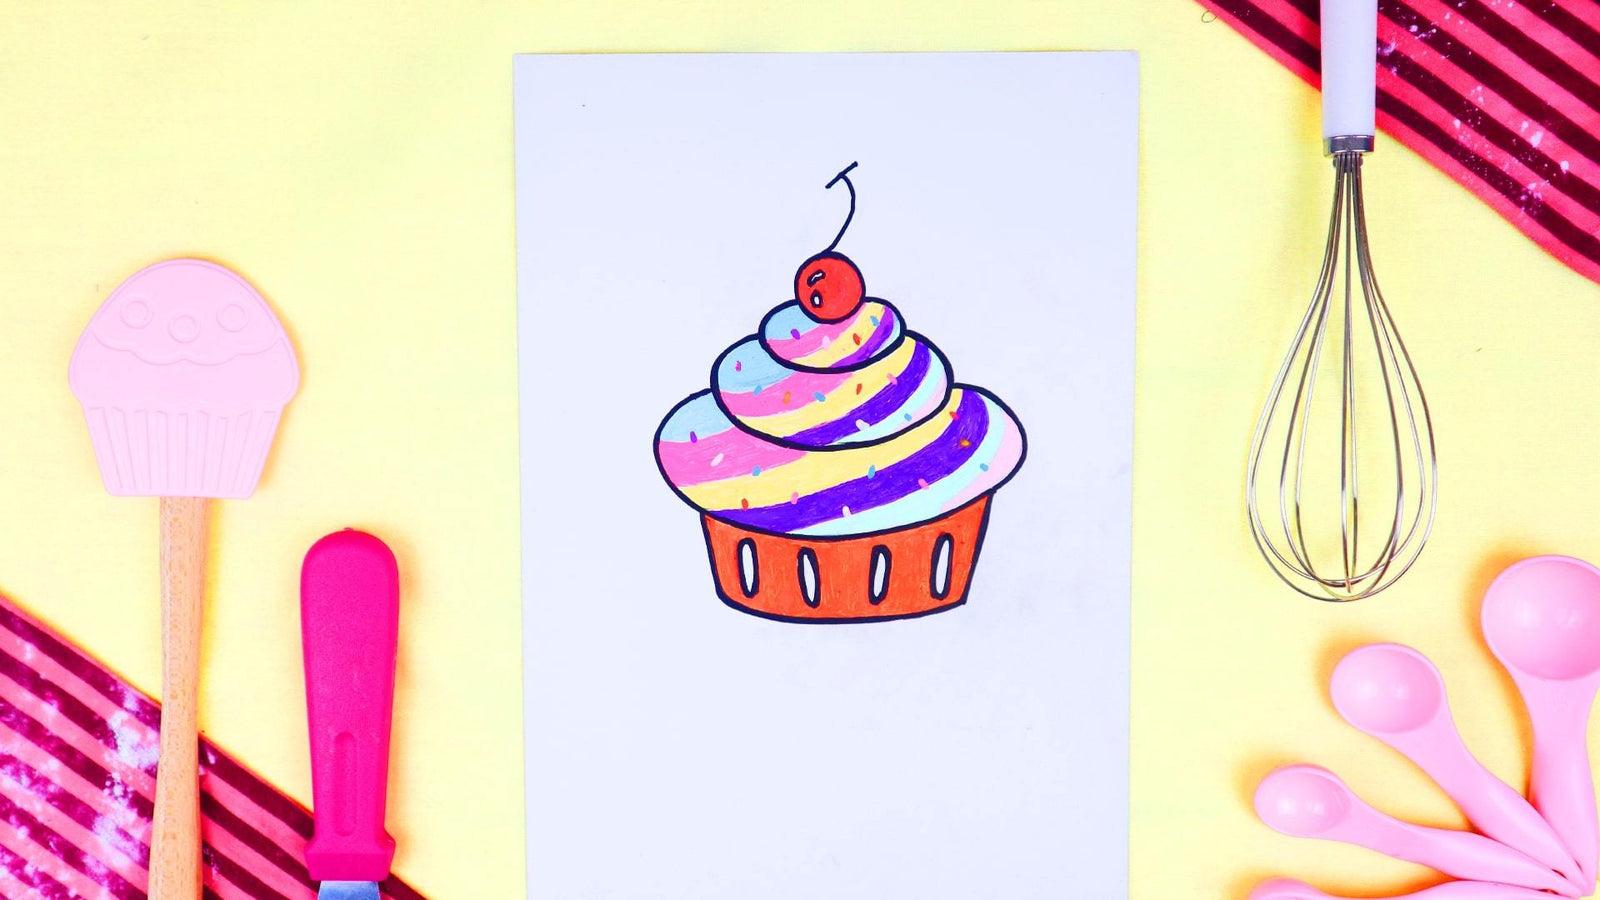
- Think of your favorite cupcake flavor, pick out its colors, and start filling in your cupcake outline. If you want a colorific cupcake, add pops of neons (the brighter the icing, the better for snacking–don’t you think?)
- You can have fun with the color sections of your cupcake–color diagonally, per layer, or any way you please.
- If you’ve colored outside the lines, it’s not a problem. You can always retrace your outline with black marker.
- And on to the last and most fun part–sprinkles and toppings! Once you’re done coloring everything, including the cherry, you can add sprinkles and toppings in different colors (and flavors!)
This is a fun and easy art activity that you can do with little ones, while enjoying sweet and satisfying cupcakes as you draw!