New snacks on sale now for a limited time! Use code NEW for 15% off.
Chalkola · Tutorial
How to Do the One Stroke Technique Using Acrylic Paint
Updated Jul 2026
QUICK ANSWER
One stroke painting is a decorative-painting technique developed by Donna Dewberry in the 1990s where a flat brush is 'double-loaded' with two colours — one on each side of the bristles — so a single confident stroke produces a built-in gradient. The result: a complete petal, leaf, or ribbon in one motion, no blending, no mixing on canvas.
BEST STARTER KIT FOR ONE-STROKE
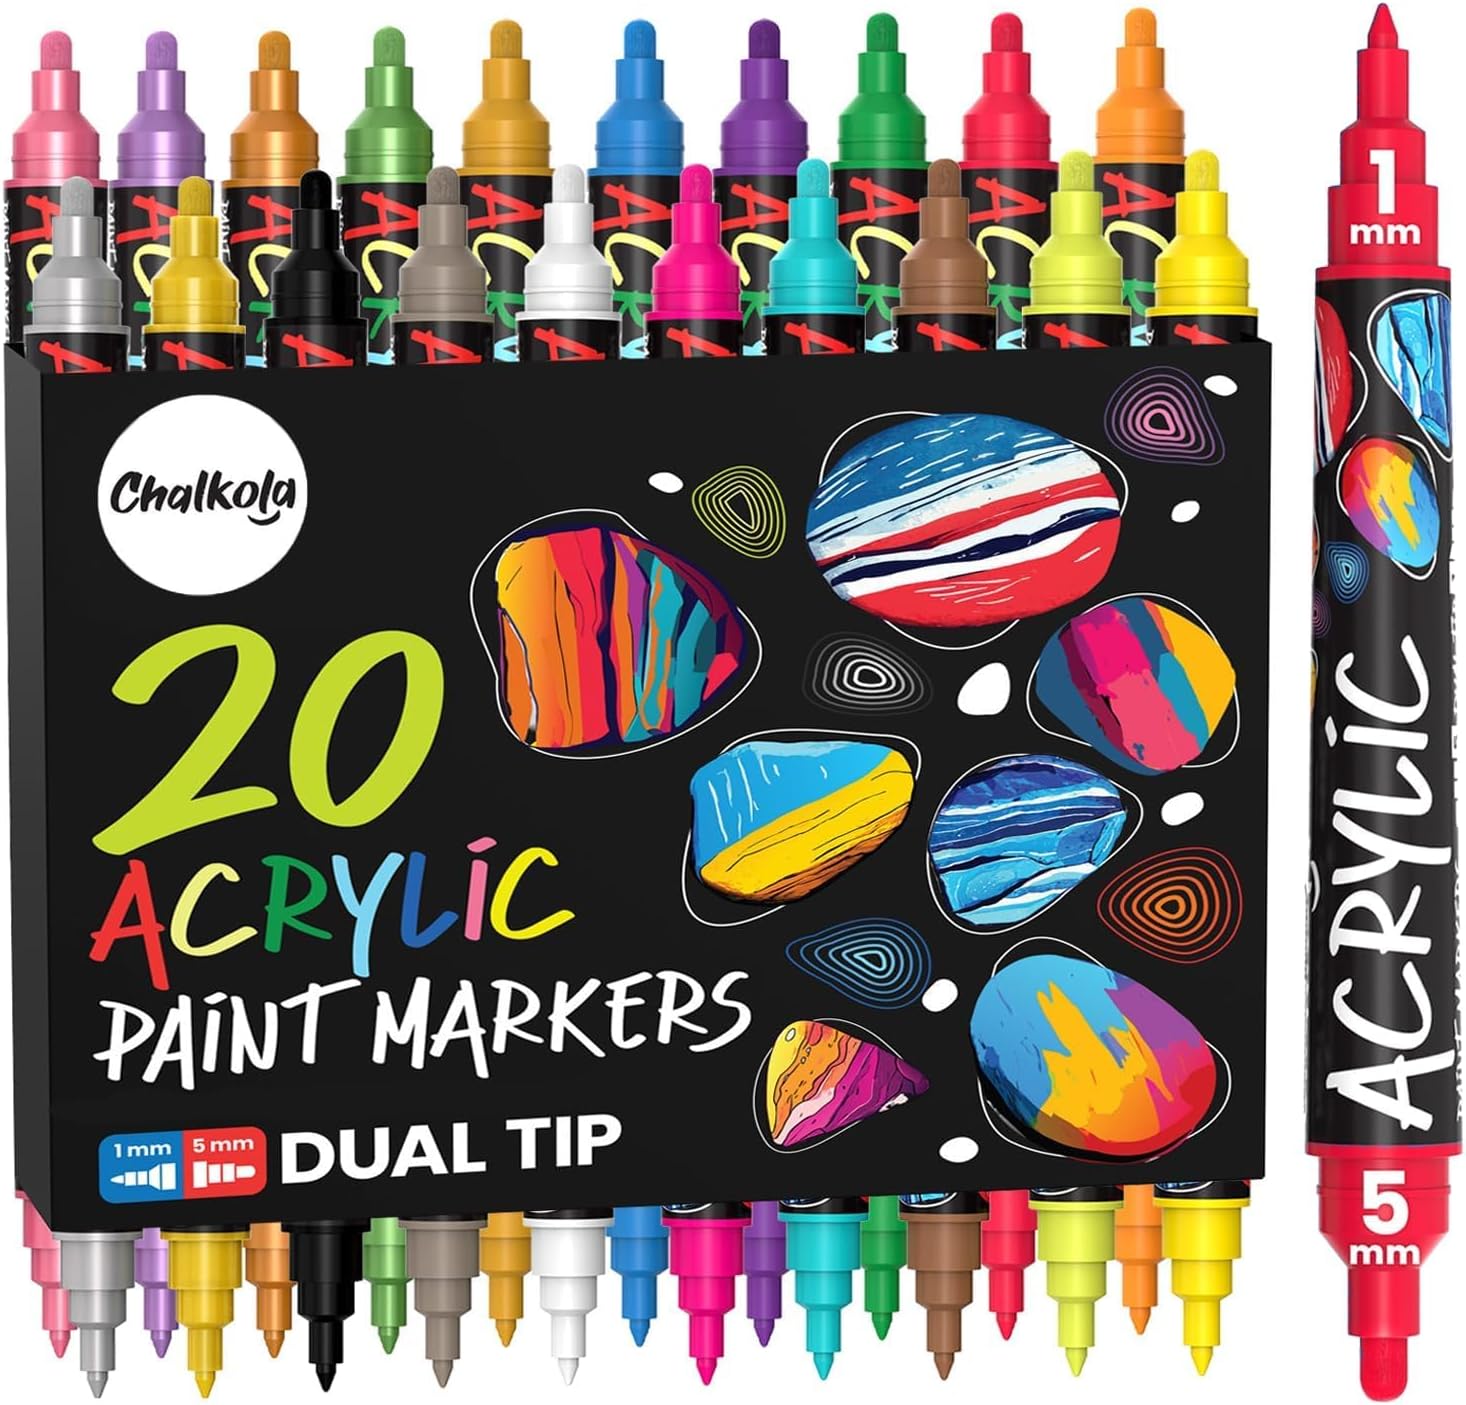
Chalkola 56-Piece Acrylic Paint Set (Adults & Kids)
★★★★★4.7 · 735 verified reviews
$39.95 USD · free shipping
32 Acrylic Paints, 22ml — vivid, blendable, heavy-body for layering and impasto
10 Brushes + 10 Canvases — complete starter kit — no extra purchases needed
Tabletop Easel + Palette Knife — studio setup in one box
Water-Based + Non-Toxic — safe for ages 8+ and beginner-friendly
You don’t need years and years of experience to paint like a pro. This easy peasy tutorial on the one stroke technique will show you how to create a detailed and layered artwork using Chalkola Acrylic Paints. With one brush load and one stroke, you can paint with two colors at the same time and come up with a masterpiece like a true pro painter!
Learn this incredible one stroke technique by practicing on painting beautiful roses. Let’s watch the mesmerizing video below, and start creating masterpieces together!
Steps:
Prepare your colors on your palette. Make sure they’re adjacent to each other for easier blending and brush loading.
Load your colors on your brush and blend them until you get a gradient effect.
Hold your brush perpendicular to the surface so you can smoothly apply your colors in one stroke.
Apply gentle pressure and wiggle your brush slowly as you paint so you achieve a nice layered effect. Make sure you start painting the outer layer of the petals first.
Paint the second layer of petals with careful wiggly strokes.
For the rose bud, start by painting an inverted “U” and then create a “U” stroke on top of it.
Repeat these steps until you complete your first rose artwork using the one stroke technique.
Tip: Dip your brush into the water every once in a while to keep your paint from drying up.
One-stroke painting is a decorative style where two paint colours are loaded side-by-side on one flat brush, then drawn across the surface in a single stroke. The brush deposits both colours at once, creating instant shading, highlights, and depth in flowers, leaves, and ribbons.
One-stroke painting was popularised by American decorative-painting teacher Donna Dewberry in the 1990s. She built the technique into a full instructional system around double-loaded flat brushes, branded it One Stroke, and trained thousands of certified instructors worldwide. The underlying double-loading idea has earlier roots in folk-art traditions like Norwegian rosemaling and Russian Zhostovo painting, but Dewberry codified the modern step-by-step method.
Double-loading is loading two paint colours onto a flat brush — one colour on each side of the bristle bed — so a single stroke produces a built-in gradient. Squeeze two puddles 2 inches apart, dip one corner of the brush in colour A, flip and dip the other corner in colour B, then walk the brush on a clean palette area 3-4 times to blend the seam. You should see three zones: pure A, pure B, smooth transition in the middle.
A flat or filbert brush size 8–16 works best. The wide chisel edge holds two colours side-by-side without mixing. Load the lighter colour on one side of the brush and the darker colour on the other side. Practice on scrap paper first.
Fluid or soft-body acrylics flow smoothly off a flat brush. Thick body acrylics need to be thinned with water or a flow medium. Avoid palette-knife-thick paint — it doesn't load the brush cleanly for one-stroke work.
Stretched cotton canvas is the standard surface for one-stroke painting — the slight tooth grips the gradient and holds it crisp. Smooth canvas panels and gessoed wood panels also work well. For practice and warm-ups, use heavy 200-300 gsm acrylic paper. Avoid glossy or unprimed surfaces (the brush slides too fast and the gradient streaks) and avoid heavily textured watercolour paper (the tooth pulls colours apart mid-stroke). Beyond canvas, one-stroke also works on fabric (with textile medium), terracotta, glass, and wood once primed.
Yes, with practice. The brush-loading setup does most of the shading for you, so a beginner can create petal or leaf shapes that look more advanced than their actual skill. Expect 2–3 practice sessions to get comfortable with the brush-loading step.
Start with a daisy — half-circle pivot strokes for the petals around a pat-and-lift orange centre. Then add a leaf branch (comma stroke for each leaf along a chisel-line stem) and a spring tulip (three comma strokes for the cup). Save the rose for last — it needs multi-petal layering and is the hardest of the six flowers we tutorial above. Once you've completed these four in order, sunflowers and hibiscus follow the same half-circle pivot pattern with a different colour load.
Flowers (roses, daisies, leaves), ribbons, scrolls, and letters are the classic subjects. Once comfortable, use the technique for landscape foliage, butterflies, dragonflies, and decorative borders. Furniture and sign painting also benefit from the fast colour-blending effect.
Yes — add a fabric medium (2 parts paint to 1 part medium) so the paint bonds to fibres. Heat-set with an iron from the back once dry for permanent wash-safe designs. Works on tote bags, cotton tees, aprons, and canvas shoes.
Three causes: (1) paint is too thin — heavy-body acrylic holds the gradient inside the brush; thin paint blends to mud halfway through. Heavy-body, water-based acrylic is the right consistency. (2) You walked the brush too many times on the palette before applying — 3-4 walks is the sweet spot; beyond that the colours pre-mix. (3) You hesitated mid-stroke — pause and the gradient migrates. Fix: thicker paint, fewer palette walks, and one decisive uninterrupted stroke.
The 70/30 rule says one element should dominate roughly 70% of the composition while a contrasting element fills the remaining 30%. In one-stroke flower painting, this often means 70% open background + 30% painted flowers, or 70% colour + 30% negative space. The asymmetric ratio prevents a finished piece from feeling cluttered or clinically symmetrical, and gives the eye a clear focal point to land on.
subscribe to receive special offers and new art ideas