Nika Rouss is a mixed media artist who enjoys working with all sorts of materials including oils, pastels, and watercolors. Her creativity expresses itself in painting, ceramics, stampings, collages and more. When presented with a chance to try Chalkola chalk markers she jumped at the chance to try something new.
Supplies Required:
All you need is:
Chalkola chalk markers
Piece of chipcorad
Black chalk paint
Foam roller
Several stamps
Ruler
Nika wanted to make an erasable monthly calendar but not just any calendar. It had to be different, beautiful, and one of a kind. She starts with a piece of chipboard, black chalk paint, and a foam roller. She coats the chipboard several times with the chalk paint. When all the layers dry, Nika has a chalkboard about the size of a wall calendar. She adds one last coat of chalkboard paint. Once the chalkboard is completely dry it’s time to start making the erasable calendar. Nika enjoys stamping and has several stamps she plans to use on the calendar. But first she needs to see if the chalkboard turned out as she wanted it to. She uses a white Chalkola Platinum jumbo sized marker to write on her chalkboard. Now that she’s satisfied that the Chalkola markers are easy to clean off and don’t leave shadows she is ready to start. Using the white chalk marker she quickly colors in the flowers and stems on her first stamp. She adds some blue highlights to the flowers. While the ink is still wet, Nika presses the stamp down upon the chalkboard. Pressing firmly, she waits for a few seconds before she removes the stamp from the chalkboard. Now she has what looks like a few vines of hollyhocks on the side of her chalkboard. They look lovely against the dark background. She repeats the process of inking the stamp with the chalk markers. This time she positions the stamp in the upper corner of the board. She has positioned the second set of flowers so that they appear to be hanging from the top of the board. It’s a very interesting effect. Nika gets another stamp to work with, a big peony blossom with pretty petals. She starts covering the stamp in white chalk marker ink. She used pink and blue over the white, creating a colorful flower that goes perfectly with the hollyhocks. Now she uses a stamp of what looks like baby’s breath flowers and adds ink to it. Having completed the flower motif on both halves of the chalkboard, Nika uses a ruler to start drawing the calendar itself. She chooses the metallic silver pen for the lines. At the bottom of the calendar she uses a stamp coated in blue chalkboard marker to print an inspirational message. She writes the month above the grid she has made, using a silver metallic marker. When Nika is done she has a beautiful erasable chalkboard calendar! The best thing about this calendar is that she can erase the month and keep the flower theme if she likes or erase it all and start fresh the next month. Chalkola chalk markers work well with stamps, proving that there are a wide variety of techniques with which to use them. Nika loved working with Chalkola chalk markers and showing her audience a new way to use them.
Liquid error (sections/article__main line 500): comparison of String with 0 failed
Liquid error (sections/article__main line 503): comparison of String with 0 failed
subscribe to receive special offers and new art ideas


 Nika Rouss is a mixed media artist who enjoys working with all sorts of materials including oils, pastels, and watercolors. Her creativity expresses itself in painting, ceramics, stampings, collages and more. When presented with a chance to try Chalkola chalk markers she jumped at the chance to try something new.
 She starts with a piece of chipboard, black chalk paint, and a foam roller.
  She coats the chipboard several times with the chalk paint.
  When all the layers dry, Nika has a chalkboard about the size of a wall calendar.
  She adds one last coat of chalkboard paint.
  Once the chalkboard is completely dry it’s time to start making the erasable calendar. Nika enjoys stamping and has several stamps she plans to use on the calendar.
  But first she needs to see if the chalkboard turned out as she wanted it to. She uses a white Chalkola Platinum jumbo sized marker to write on her chalkboard.
  Now that she’s satisfied that the Chalkola markers are easy to clean off and don’t leave shadows she is ready to start. Using the white chalk marker she quickly colors in the flowers and stems on her first stamp.
 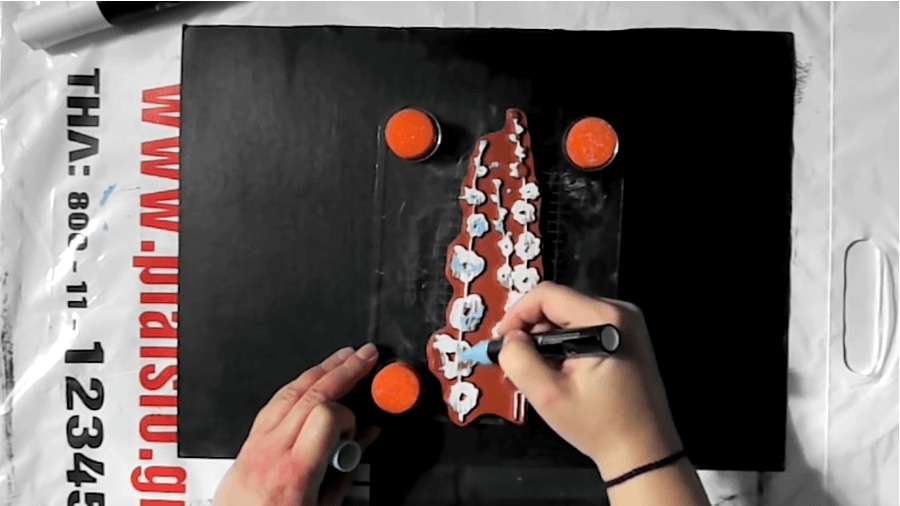 She adds some blue highlights to the flowers.
  While the ink is still wet, Nika presses the stamp down upon the chalkboard.
  Pressing firmly, she waits for a few seconds before she removes the stamp from the chalkboard.
  Now she has what looks like a few vines of hollyhocks on the side of her chalkboard. They look lovely against the dark background.
  She repeats the process of inking the stamp with the chalk markers.
  This time she positions the stamp in the upper corner of the board.
  She has positioned the second set of flowers so that they appear to be hanging from the top of the board. It’s a very interesting effect.
  Nika gets another stamp to work with, a big peony blossom with pretty petals.
 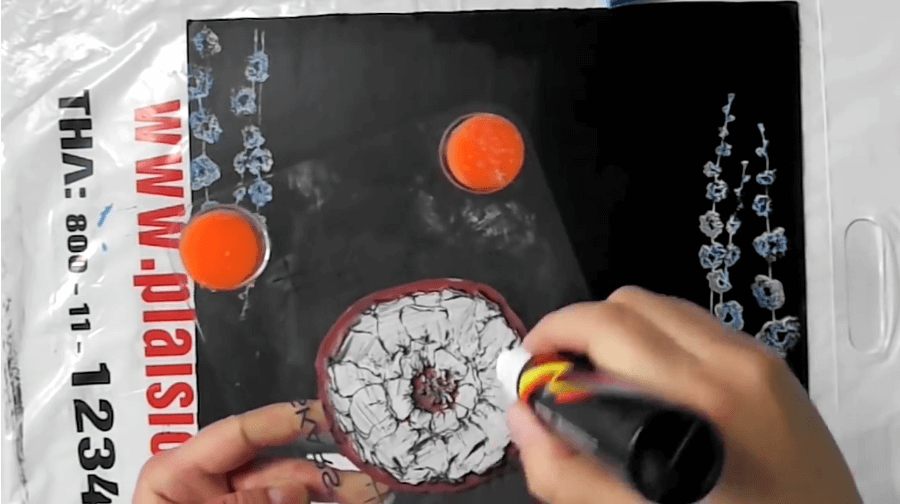 She starts covering the stamp in white chalk marker ink.
  She used pink and blue over the white, creating a colorful flower that goes perfectly with the hollyhocks.
  Now she uses a stamp of what looks like baby’s breath flowers and adds ink to it.
 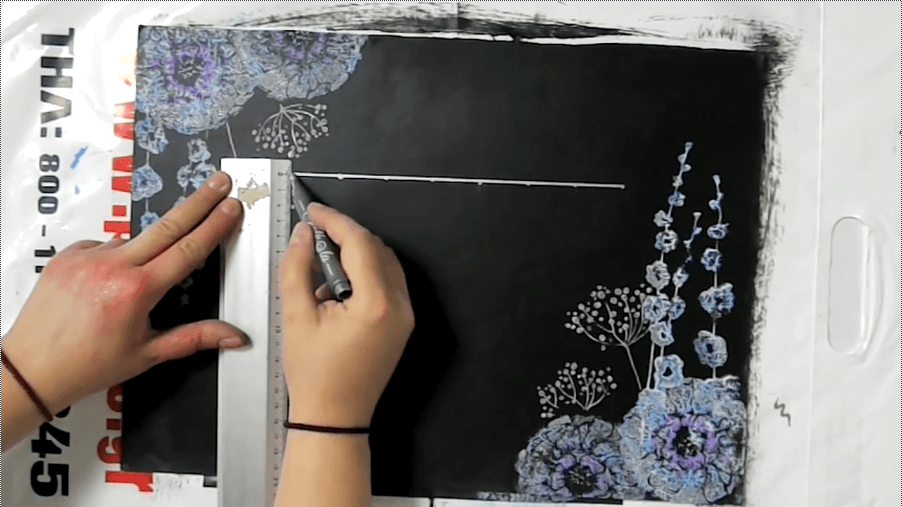 Having completed the flower motif on both halves of the chalkboard, Nika uses a ruler to start drawing the calendar itself. She chooses the metallic silver pen for the lines.
  At the bottom of the calendar she uses a stamp coated in blue chalkboard marker to print an inspirational message.
  She writes the month above the grid she has made, using a silver metallic marker.
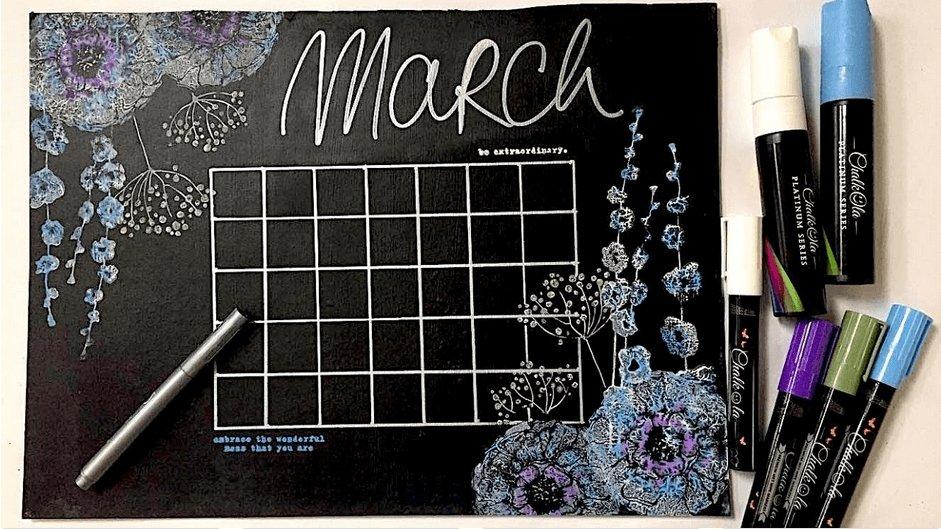
  When Nika is done she has a beautiful erasable chalkboard calendar! The best thing about this calendar is that she can erase the month and keep the flower theme if she likes or erase it all and start fresh the next month.
  Chalkola chalk markers work well with stamps, proving that there are a wide variety of techniques with which to use them. Nika loved working with Chalkola chalk markers and showing her audience a new way to use them.