New snacks on sale now for a limited time! Use code NEW for 15% off.
Chalkola · Tutorial
How to Paint Plant Pots Using Acrylic Paint Pens
Updated Jul 2026
QUICK ANSWER
To paint on pots, lightly clean the surface, prime if needed, then apply 2 thin coats of craft acrylic OR use water-based acrylic paint pens for crisp detail. Let each coat dry 30 minutes. For outdoor pots, finish with 2 coats of clear acrylic sealer to lock the design against rain and UV.
Having plants at home – whether indoors or outdoors, or both – doesn’t just make any space look good, it makes you feel good too. It’s been shown to boost moods, improve creativity, productivity, and concentration, reduce stress, and eliminate air pollutants, making your life healthier and happier.
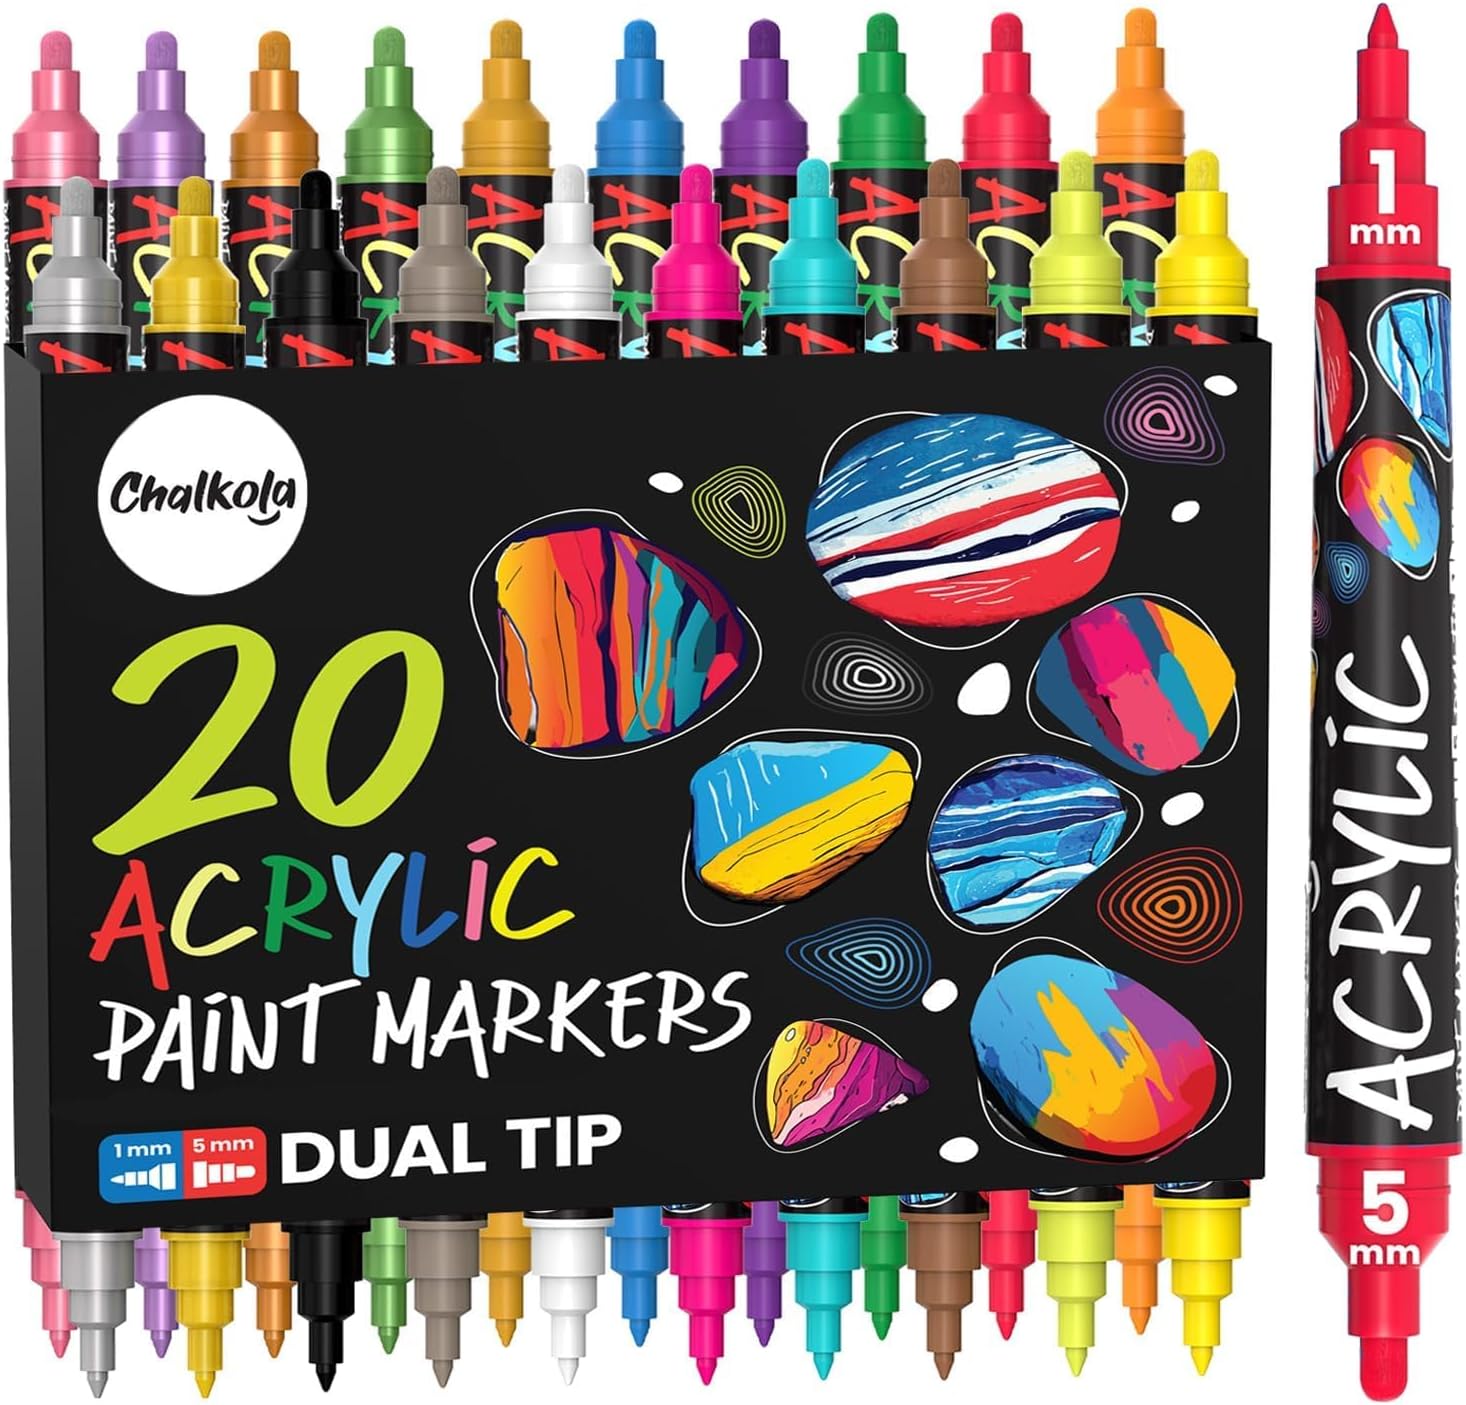
Aside from its many benefits, having potted plants around gives you the opportunity to get more artistic. How? By painting on the pots using acrylic paint markers! These paint pens are great for most, if not all, types of plant pots, including clay, plastic, and ceramics. The paint holds up well, stays vibrant on the surface you use it on, and it’s easy to apply with its thick and smooth consistency, plus, it comes in the form of a marker so you can do tiny details, even on a curved surface, without hassle.
Ready to add more colors to your indoor plant collection or your garden? Then let’s start painting flower pots!
Watch the art tutorial below and see how fun and easy it is to design your own plant pots with florals using acrylic paint pens.
Steps:
With a white acrylic marker, draw the outline of your flowers on the clay pot.
Pick up the green acrylic marker and fill in the outline of the stems and leaves.
Use yellow, red, or your color of choice to draw the flowers.
Add finishing touches like details or layers to make the design pop.
If you’re wondering how acrylic paintwould look and hold on a plastic plant pot, check out the video below. The colors are still as vibrant and application is as smooth as ever.
And just like that, you’ve painted beautiful flowers or awesome patterns to add more charm to your plant collection! Painting on plant pots is also a wonderful idea in case you’re giving someone a potted plant or flower as a gift.
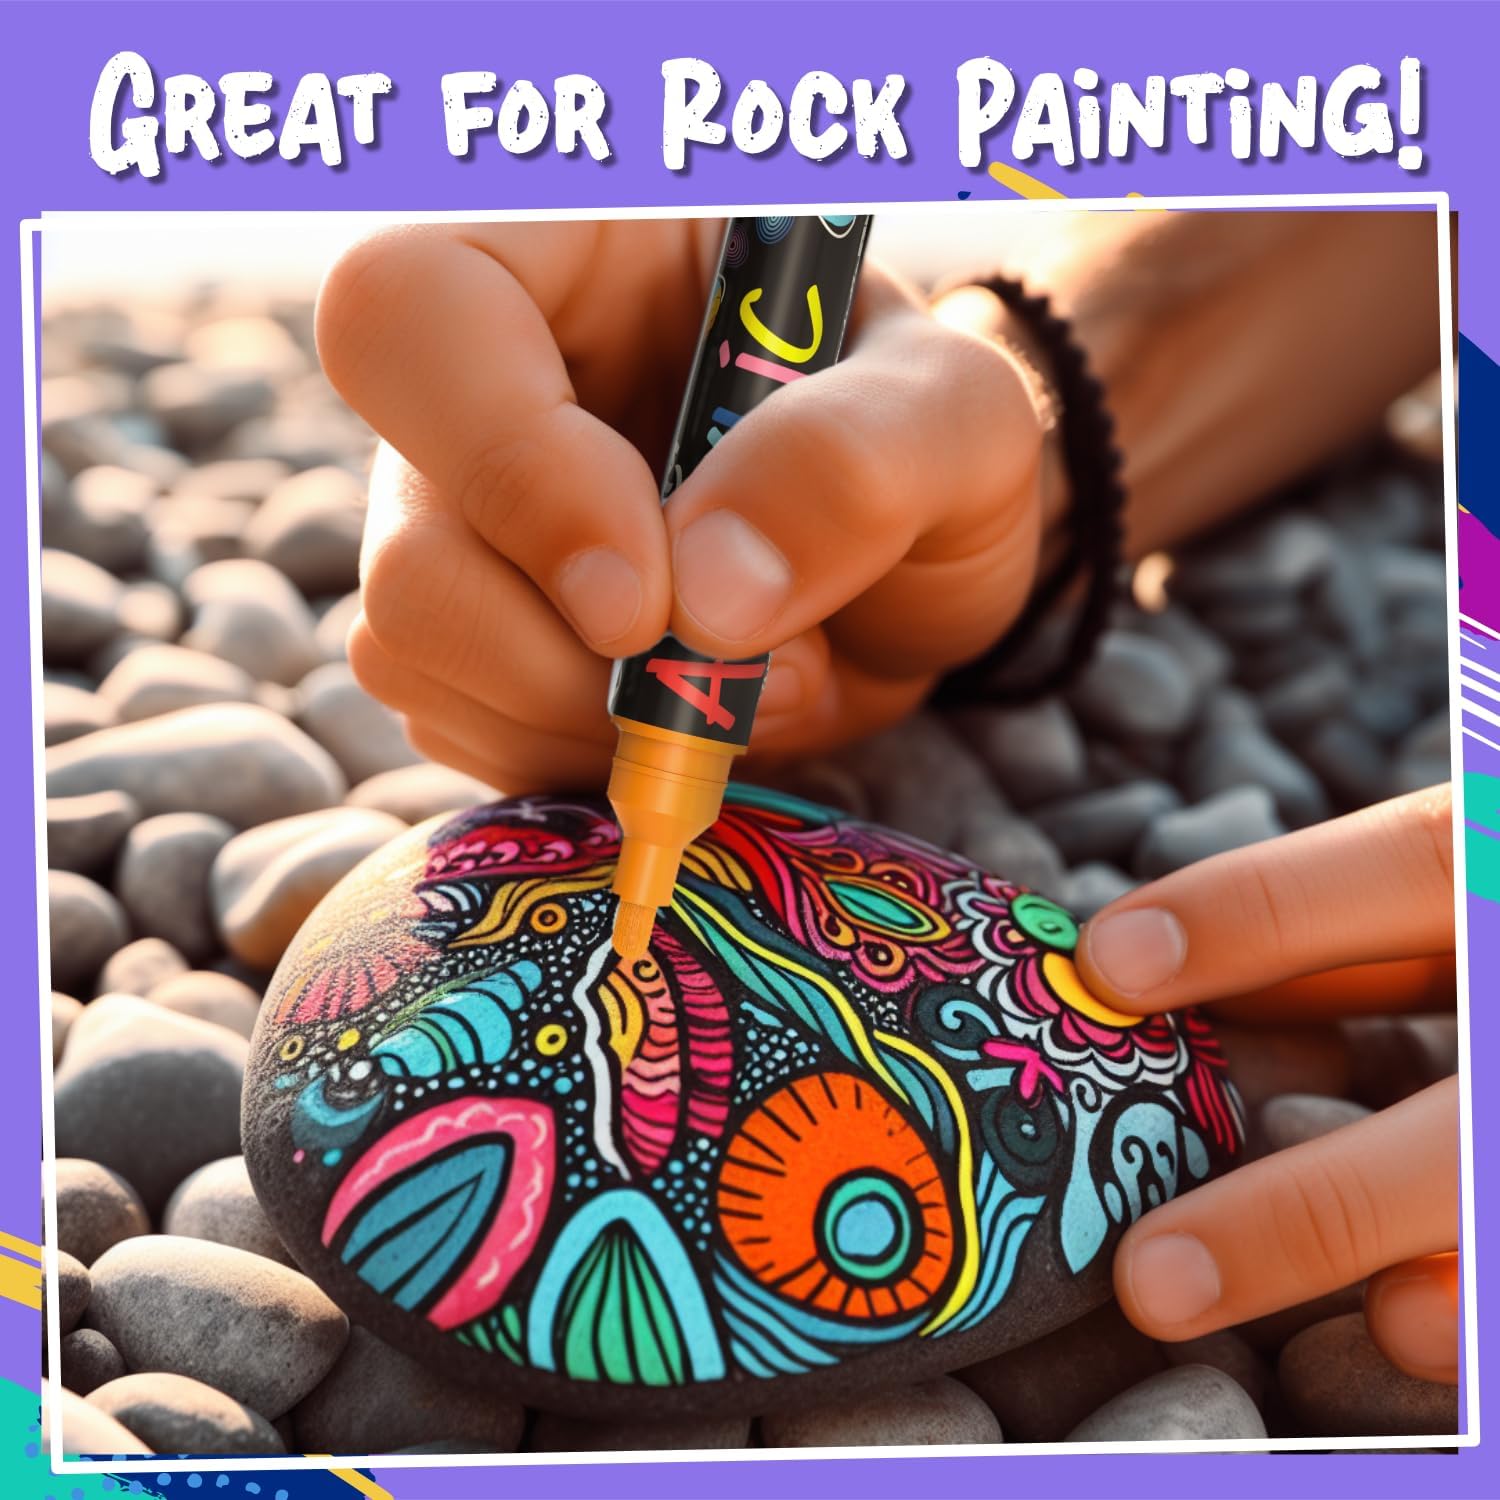
If you’re looking for more creative inspiration on how to spruce up your garden or living space using natural materials, you might be interested in these 30 Easy Rock Painting Ideas to Get You Started! Happy painting!
Best paint for plant pots (by surface)
Pot painting is forgiving but paint choice matters — the wrong paint flakes off in the first rainstorm. Match paint to surface:
Terracotta + clay pots: craft acrylic for fills + acrylic paint pens for lines. No primer needed on raw clay.
Glazed ceramic + glass pots: oil-based pens or chalk markers (latter erasable). For permanent results, ceramic-bake acrylic at 300°F.
Plastic pots: sand with 220-grit, plastic-rated primer, then craft acrylic.
Concrete pots: concrete-rated paint OR 2 coats craft acrylic over a sealed surface.
Metal pots: metal-rated primer first, then craft acrylic. Skip primer = flaking in weeks.
For 90% of plant-pot projects, water-based acrylic paint pens on terracotta give the best mix of detail, durability, and beginner-friendliness — no brushes, no mess, no wait between coats.
12 easy designs
12 painted-pot ideas to copy this weekend
All 12 are beginner-friendly and use only the acrylic-paint-pen kit linked above. Pick one to start, mix techniques as you grow.
Idea 01 / 12
Geometric stripes
Painter's tape gives crisp lines. Thin horizontal stripes for a modern look, fat vertical stripes for retro. 20 minutes total — easiest 'looks expensive' pattern.
Idea 02 / 12
Polka-dot rainbow
Press the paint-pen tip straight down without dragging — instant perfect dot. Vary sizes and colours. Kid-favourite, adult-pretty.
Idea 03 / 12
Ombre gradient
Sponge the lightest colour over the top third, mid-tone over the middle, deepest at the base. Blend the seams while wet.
Idea 04 / 12
Mandala dot art
Use a 1mm fine pen and a steady hand. Start with a centre dot, build concentric rings outward — symmetric meditation in pot form.
Idea 05 / 12
Botanical leaves
Outline simple leaf silhouettes in deep green, fill with sage or olive. Match the painted leaf to the real plant inside — monstera, fern, palm.
Idea 06 / 12
Hand-lettered names
Mark herbs, label kids' rooms, or letter a one-word phrase. Pencil-sketch first, ink with a 3mm chisel pen.
Idea 07 / 12
Faux mosaic tile
Sketch a grid in pencil, fill alternate squares with two colours. Outline each tile with a fine black pen for the grout effect.
Idea 08 / 12
Galaxy splatter
Black or navy base, splatter white with a toothbrush, dot tiny stars with a fine pen. Add a planet ring for kid-room magic.
Idea 09 / 12
Chalkboard label
Paint a rectangle in chalkboard paint, write the plant name in chalk marker. Re-label whenever you swap the plant.
Idea 10 / 12
Diamond pattern
Tape diagonal lines crossing each other. Paint alternating diamonds in a complementary colour. Geometric, gallery-style.
Idea 11 / 12
Smiley face
Yellow base, simple black smiley. Y2K-vibe and impossible to mess up — perfect first pot for kids.
Idea 12 / 12
Gold-rim minimalist
Black or charcoal base, single 1cm gold band around the rim. Modern, $2 pot looks like $40 designer ware.
How to seal a painted pot for outdoor use
Indoor pots don't need a sealer. Outdoor pots face rain, UV, and temperature swings that fade and flake unprotected acrylic in one season. Sealing is non-negotiable for patio + balcony use.
Mod Podge Outdoor — brush-on, 2 coats. Slower but lets you control thickness.
Polyurethane spray — strongest but yellows over years. Use only on dark or warm-tone pots.
Apply sealer at room temperature in a well-ventilated area. Let pot cure 24 hours before planting and 7 days before exposing to direct rain.
5 common mistakes (and how to avoid them)
Skipping the wash step. Soap residue and pot dust stop paint from gripping. 30 seconds of wash + dry prevents 90% of flaking.
Painting too thick. One thick coat cracks. Always 2 thin coats with full drying time between.
Using craft paint outdoors without sealer. First rainstorm = flaked masterpiece.
Painting the inside. Don't — paint chemicals can leach into wet soil and damage roots. Leave the inside raw.
Ignoring efflorescence. Raw terracotta wicks moisture from soil and pushes white salt deposits up under your paint. Seal the inside with non-toxic terracotta sealer first.
"I'm an adult artist and finger paint with these on canvas. Smooth body, good coverage, zero skin irritation. The colour spread is perfect."
— Jenna L. · ★★★★★
What painters say about Chalkola
4.7★
Average rating
12K+
Verified reviews
96%
Would recommend
Water-based
Non-toxic, low-odour
★★★★★
"Painted 8 terracotta pots for the patio. Lines are crisp, colours stay true outdoors after 2 months — I sealed with a clear acrylic spray after, no flaking yet."
Maya R. · Verified Amazon buyer
★★★★★
"Used these for my daughter's pot-painting birthday party — 8 kids, zero mess, every kid took home a beautiful labeled herb pot. The 1mm tip is the secret."
Jenna L. · Verified Amazon buyer
★★★★★
"I sell painted pots at our local farmers market. These pens hold up against the dishwasher (yes I tested) and the colour range covers everything I sketch."
Olivia T. · Verified Amazon buyer
★★★★★
"Mandala dot work on glazed ceramic mugs — the 1mm tip stays consistent for a hundred dots in a row. No skipping, no bleeding."
Water-based acrylic paint pens for terracotta — they dry permanent, give crisp detail, and don't need a primer. For glazed ceramic, plastic, or metal pots, use surface-rated paint (ceramic-bake acrylic, plastic primer + craft acrylic, metal-rated paint). Outdoors, always finish with a clear acrylic sealer.
Yes. Clean the terracotta first with dry cloth, prime with a quick coat of white or coloured acrylic base, and let each layer cure fully before decorating. Acrylic paint pens bond well to the porous clay once primed. Seal outdoor pots with exterior acrylic sealer for UV and rain resistance.
Ceramic, terracotta (primed), glazed pottery, galvanized metal, and plastic pots all take paint pens well. Glazed and glass surfaces need a sealer to lock. Unglazed terracotta benefits from priming first so colour stays vibrant.
Outdoor pots need paint + sealer. For paint, water-based craft acrylic or acrylic paint pens work on terracotta, ceramic, sealed wood, and concrete. For plastic, use a plastic-rated primer first. The mandatory finish is a clear outdoor sealer — Krylon Crystal Clear Acrylic Spray (2 light coats) or Mod Podge Outdoor (brush-on) — applied after a 24-hour cure. Without sealer, expect fading in one season; with sealer, painted pots survive 3+ years outdoors.
No paint is fully waterproof on porous surfaces without a sealer, but a few are highly water-resistant: oil-based enamel paint pens, ceramic-bake acrylic (cured at 300°F in your oven), and chalk paint topped with a wax or matte sealer. The simplest path: use any acrylic paint or pen and finish with 2 coats of clear acrylic spray sealer. That stack survives rain, sprinklers, and dishwashers.
Seal if the pot will be watered from above, sit outdoors, or take rough handling. A matte or gloss acrylic sealer spray in 2–3 light coats locks the design and adds water resistance. Indoor decorative pots that stay dry can skip sealing entirely.
Three steps prevent peeling. (1) Prep — wash and dry the pot thoroughly, sand glossy surfaces with 220-grit, wipe with rubbing alcohol on metal/plastic/glazed ceramic. (2) Apply 2 thin coats with 30 minutes drying between each, never one thick coat. (3) Seal outdoor pots with 2 coats of clear acrylic spray sealer after 24-hour cure. The most common cause of peeling is soap residue not being rinsed off before painting.
Indoors, sealed designs last years. Outdoors, 1–2 years depending on sun exposure — direct sunlight fades colours fastest. Re-seal every 6 months for outdoor pots. Unsealed designs may scratch with fingernails or chip if the pot moves frequently.
Absolutely. Start with simple geometric patterns, dots, stripes, or a name tag. Acrylic paint pens forgive mistakes — wipe wet paint off with a damp cloth before it sets, or paint over dried errors with 2 coats. No art skill required.
Use water-based paint pens (non-toxic), wear old clothes, and lay down a plastic sheet. Let kids outline first, then fill colour. Finish with adult-applied sealer so the pot survives daily watering. This project doubles as a gift or a weekend classroom activity.
No — never paint the inside of a pot that will hold living plants. Acrylic paint contains polymers that can leach into wet soil and damage roots over time. If your pot will be decorative-only (no plant or fake plant), inside paint is fine. For real plants, seal the inside with a non-toxic terracotta or pottery sealer instead — that protects the pot wall without contacting the soil chemically.
subscribe to receive special offers and new art ideas