
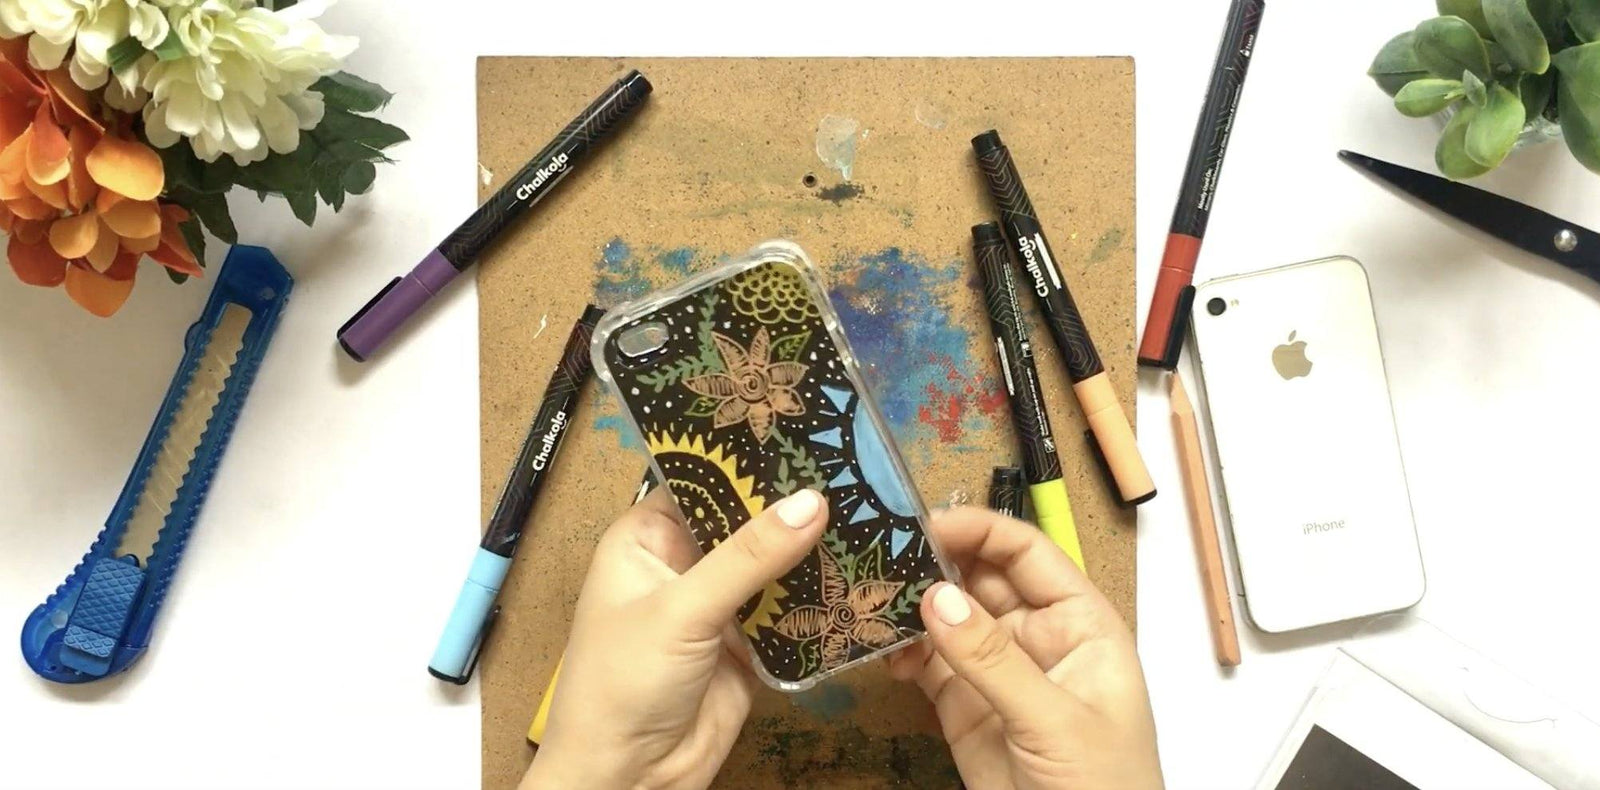

Our smartphones are probably the most used gadget that we own. So it's only natural to keep changing up our phone cases to keep our phones looking and feeling fun and new. At the same time, it can be wasteful to replace a perfectly working case just to freshen up your phone's look. For this DIY art tutorial, we'll show you how you can redesign your phone case without breaking the bank. You get to express your creativity and craftiness, too!
Here’s a step-by-step guide on how to customize and reuse your old phone case using chalk markers. It’s easy and fun to do so keep scrolling!
Materials needed:
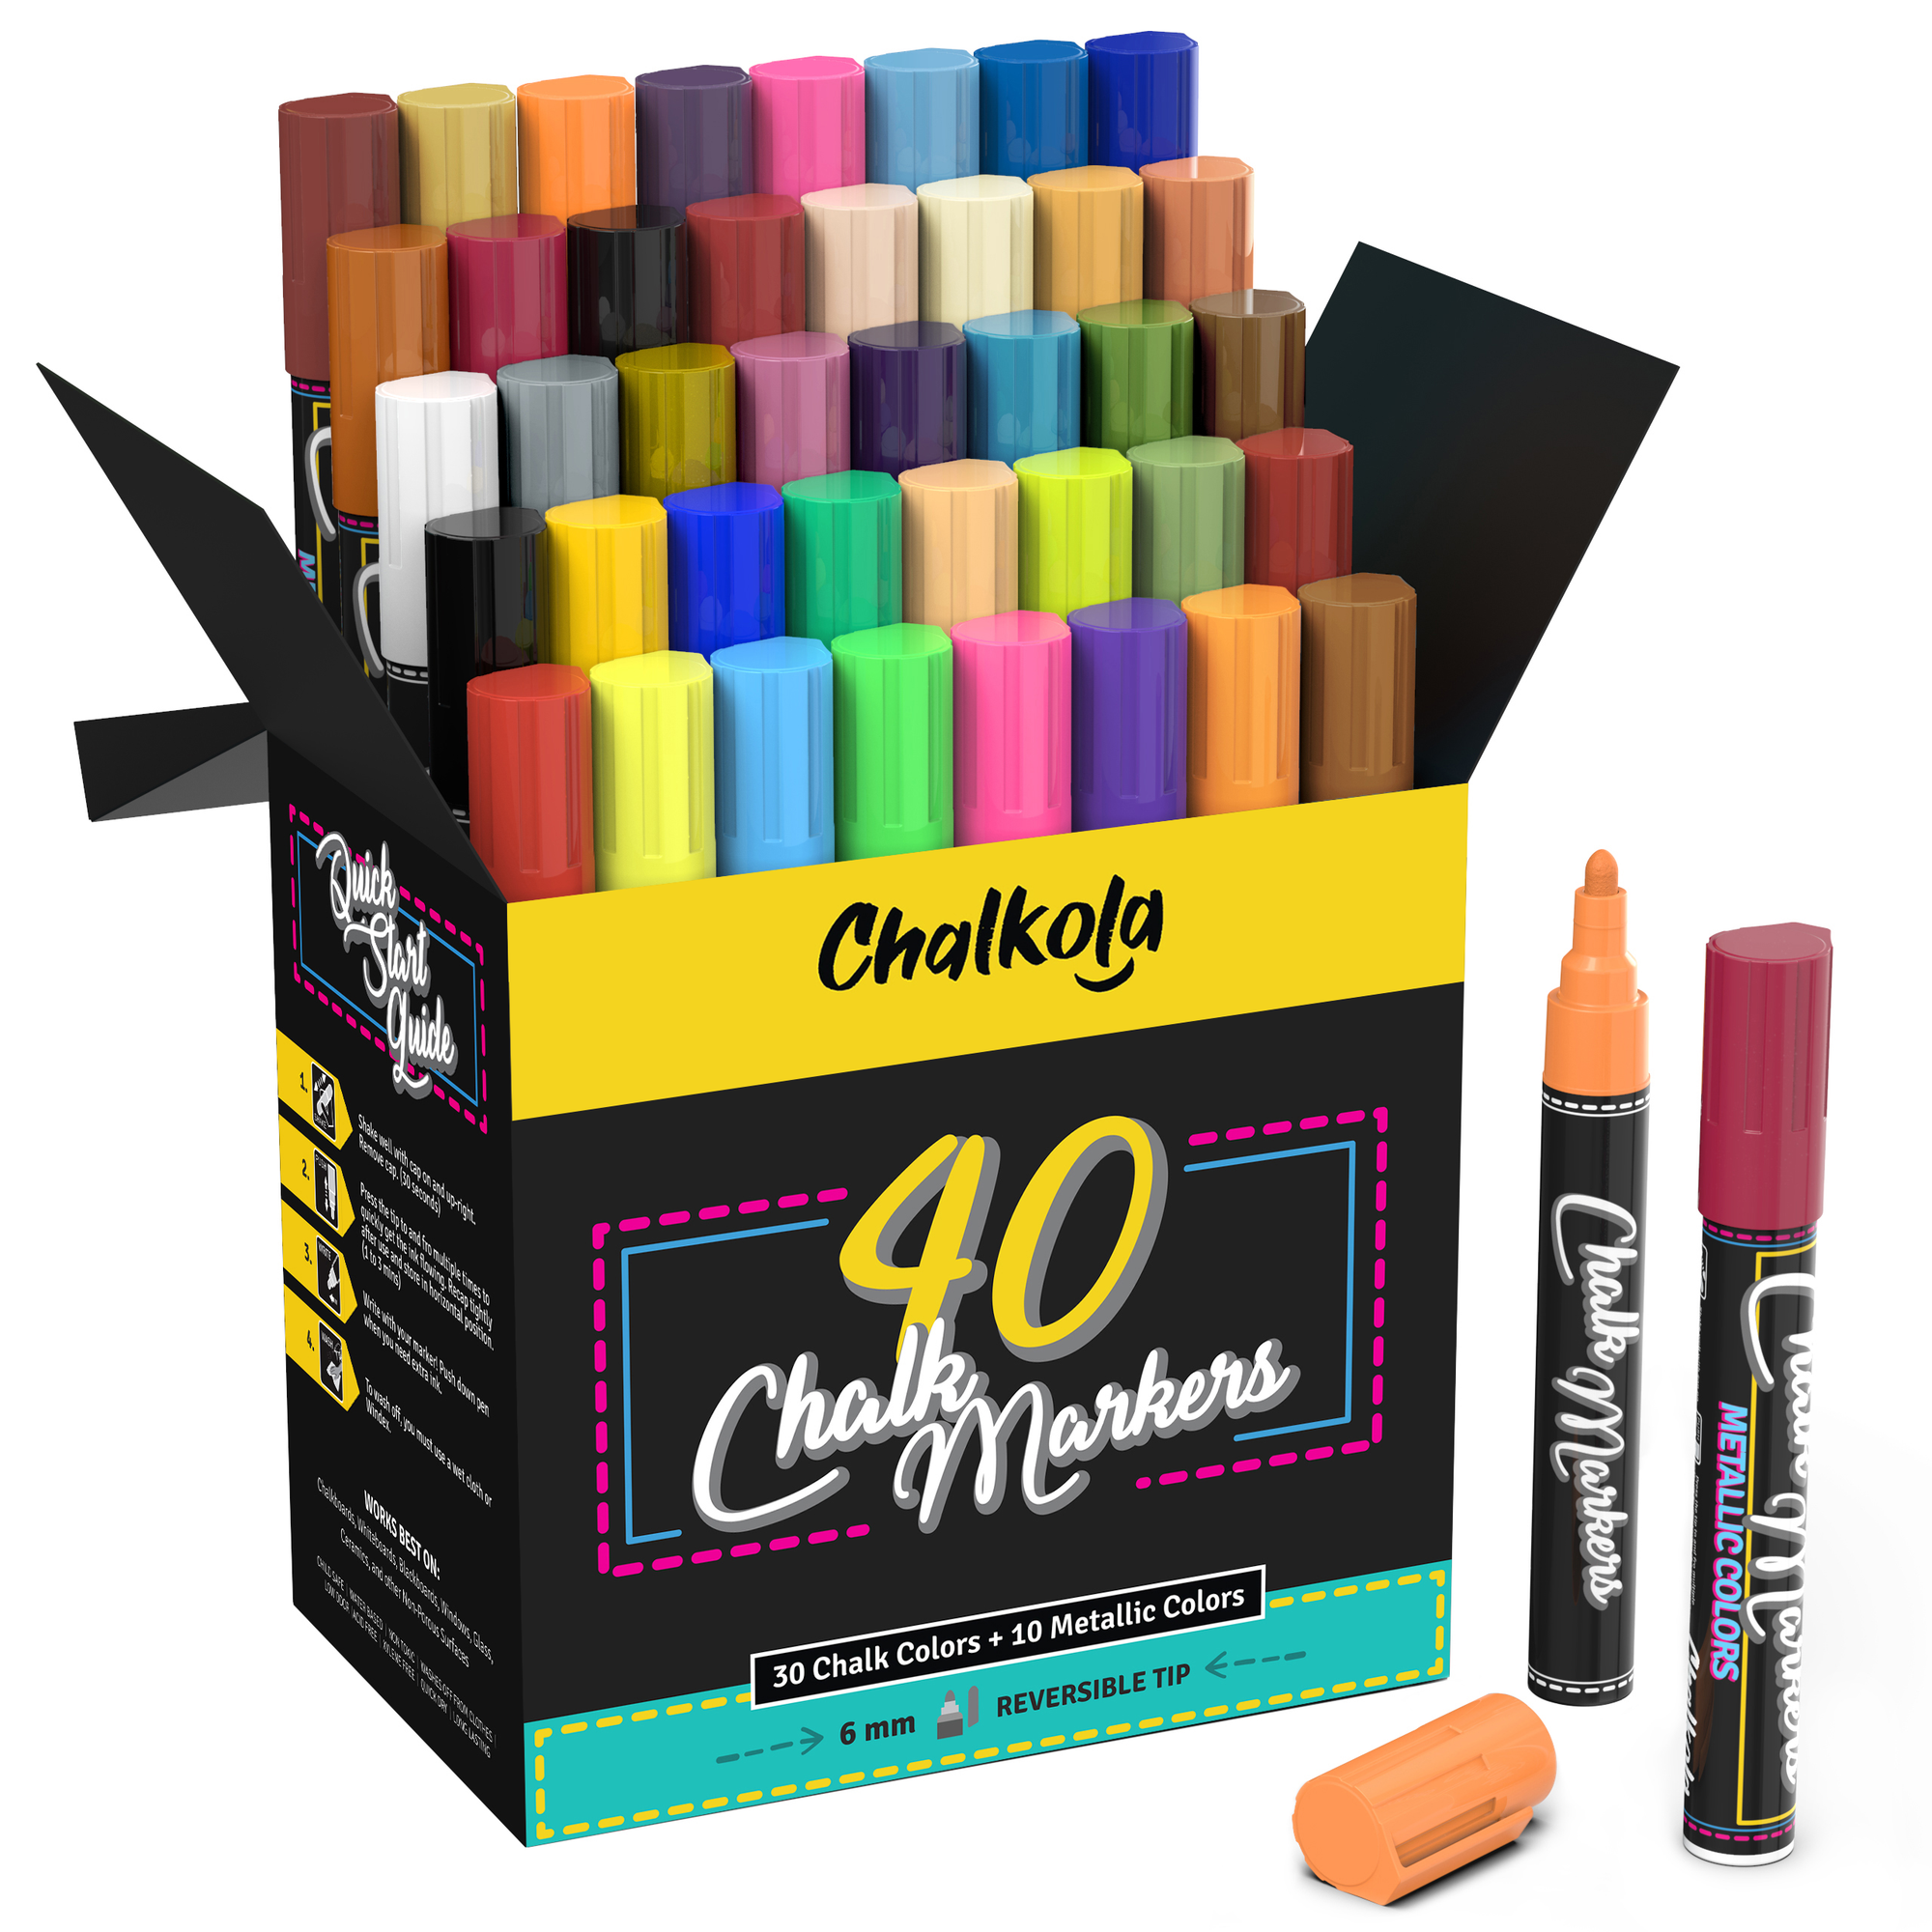
- Chalkola Chalk Markers
- Chalkboard vinyl
- Vellum board
- Cutter
- Scissors
- Pencil
- Clear phone case
- Your phone (for scale)
Watch the video below, and let's start customizing!
Steps:
- Place your phone on the chalkboard vinyl.
- Trace your phone using a pencil.
- Cut the case shape using your scissors.
- Use the cutter to cut the hole for the camera.
- Peel off the paper from the back of the chalkboard vinyl.
- Stick it on the vellum board.
- Cut the case shape again.
- Cut the camera hole again using the cutter.
- Design your phone case.
- Your insert is now ready. Place in the clear phone case.
Want to change the design? Easy!
- Simply spray water on the current design.
- Wipe with a tissue or cloth.
- Design again!
Works like magic, right? Chalkola Chalk Markers are erasable as long as you use them on non-porous surfaces.
Want more ideas on customizing your daily things? Check out this list on the 13 Best Wearable Art Ideas Using Acrylics. Happy creating!