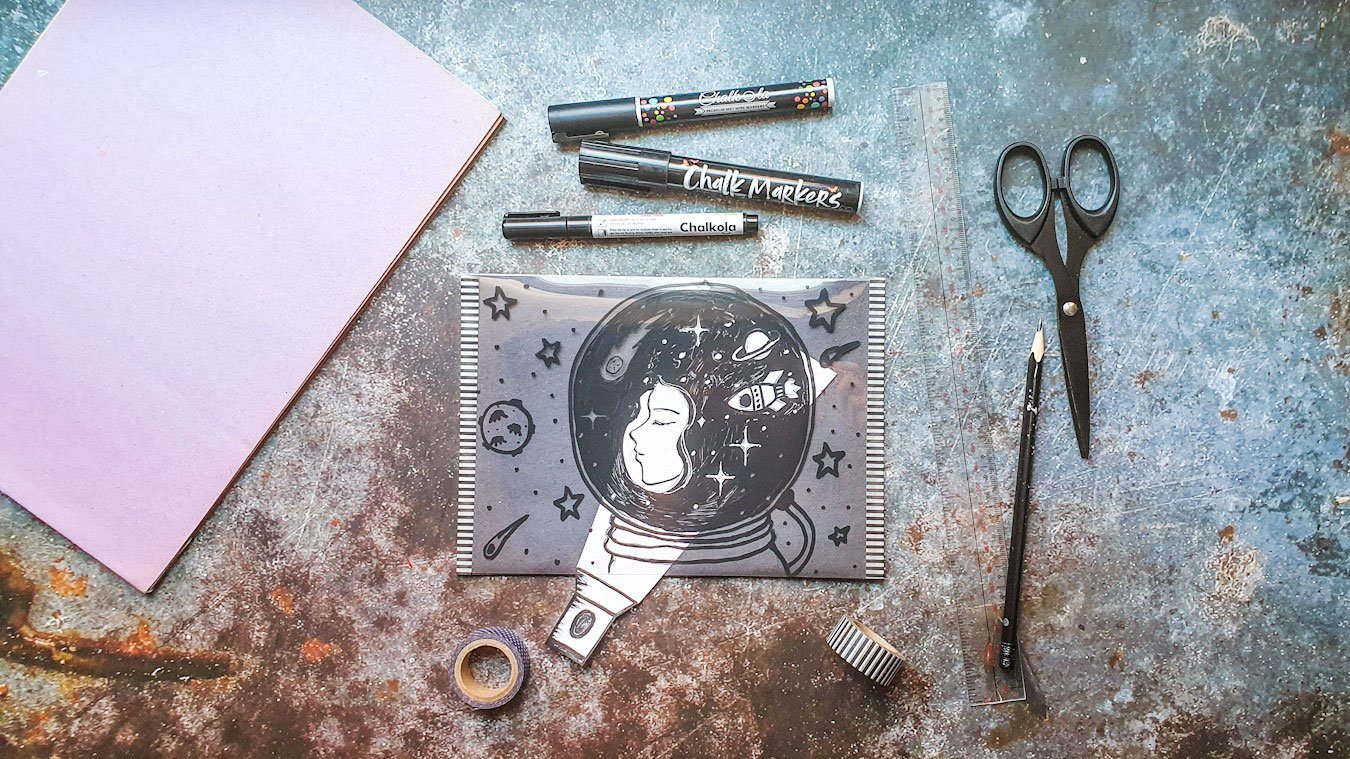
Shine a light on your artwork and see its magical details come to life! This art activity may seem like it requires a special trick or spell, but trust us when we say it’s pretty simple and easy to do–no hocus pocus needed. Check out the basic materials you’ll need below:
- Chalkola Black Markers(6mm and 3mm)
- PVC clear cover
- Black art paper
- White paper (thick, preferably cardstock)
- Scissors
- Ruler
- Washi tape
Ready to start? Just watch the quick video and let's create this one-of-a-kind artwork together!
Steps:
- Fold the clear PVC in half with the help of a ruler, and wipe it clean with a tissue.
- Use the washi tape to tape the two sides of the clear PVC, forming a shape similar to an envelope.
- Using a 3mm Chalkola Black Marker, draw your design or picture. You can draw whatever you want, whether it’s inspired by nature, animals, planets, people, or all of them together. Just put your own vision on paper and it will surely turn out unique and amazing!
- Use the 6mm Chalkola Black Marker to fill in your picture for a more defined design.
- To make your drawing whimsical, add little details or even hidden messages to your artwork. This is also a fun and unique way to send a message if you’re planning to give it as a gift card to someone else!
- Use the ruler to gently scratch off some excess ink to add more depth and details to your drawing.
- Draw your flashlight on the white paper, and then make a cutout.
- Insert your flashlight in the PVC to see your drawing come to light (and life)!
Tip: We used white paper for our flashlight cutout, but you can experiment with other colors, too. You can try neons like yellow, orange, green, purple, or blue! Each color will definitely give your artwork a different effect, so don’t hesitate to add more options to your cutout piece!


